
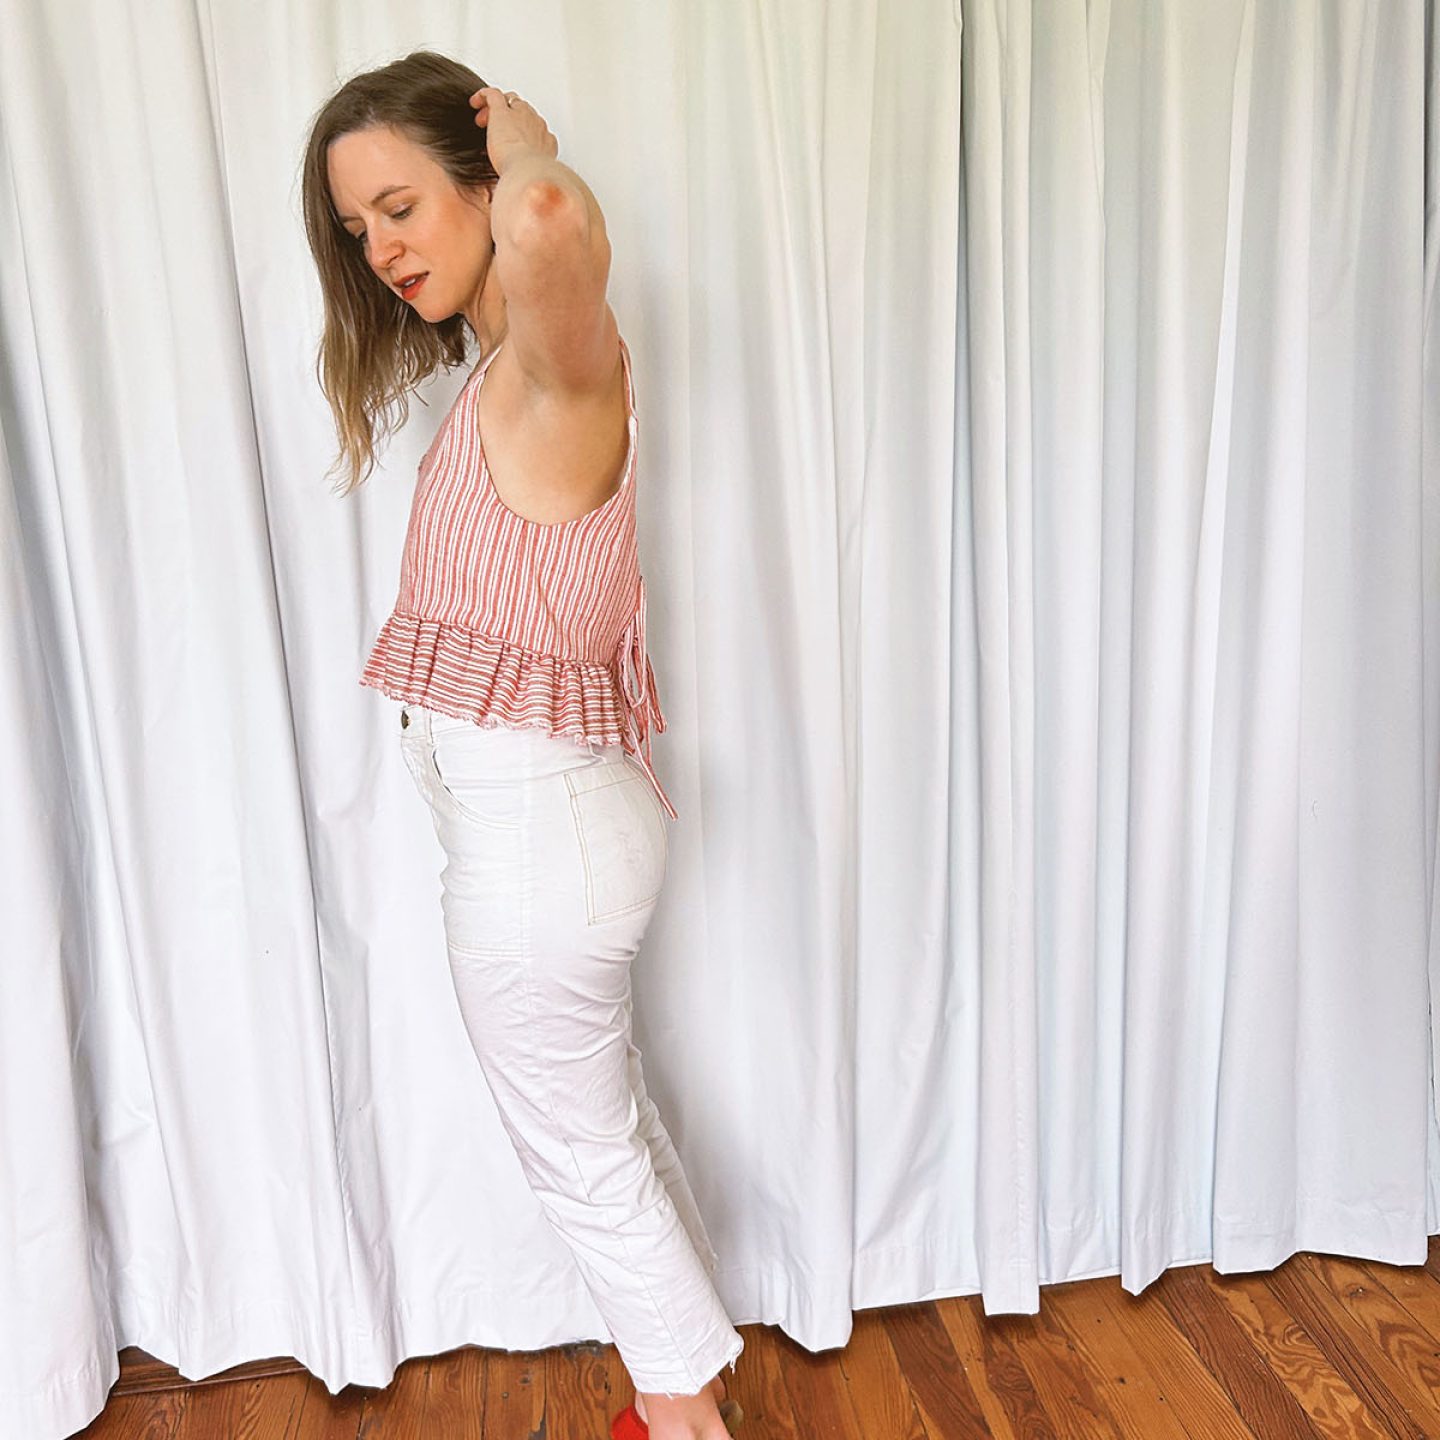
I’m so excited to share this hack tutorial for you! I created this hack as part of a two piece set I made using my Audie Playsuit pattern. Matching sets are so much fun, I love how you can were them together or style them separately. For clarity’s sake, I thought it best to give each piece in this set its own tutorial. Keep reading to see how I made this cute peplum crop top using my Audie Playsuit (or Playdress) pattern.

Before you begin:
- Please note that you need the Audie Playsuit or Audie Playdress pattern to complete the hack for this top.
- These instructions reference steps in the Audie Playsuit pattern instructions. While the top can be completed with the Audie Playdress pattern as well, the instruction book for the Playdress is a little different, and referenced steps may be different than noted here.
- This instructions are fairly minimal and assume you have a basic understanding of sewing terms and garment construction. If you get stuck, for extra help on a specific technique check the pattern instructions or do a search here on the blog, I have lots of tutorials that break down these techniques in detail.
Pieces Required
- Straps (D)
- Center front (E)
- Side front (F)
- Side Back (G)
- Center back (H)
The steps:
First, Follow steps 9-12 in the instructions for Views A & C to construct the bodice. This will be repeated for both the outer (main) and lining fabric.
2. Skip to step 42 to baste the straps in place to just the main fabric.
3. Try the bodice on and mark where you want the ruffle seam to be. I probably marked about 2″ up from the bottom. Subtract 1/2″ from this measurement for the seam allowance (so in my case, I am now measuring up 1.5″ from the bottom. Cut this much off the bottom of both bodice pieces (main and lining).

4. Measure the length of the new bottom edge of your bodice.

5. Cut the pieces for your peplum and ties as listed below.

6. Fold tie pieces right sides together, sew the long edge and one short edge with 1/4″ seam allowance, clip corners, use a loop turner or chopstick to turn right side out. Press.
7. While at the iron, press the bottom edge of the lining bodice piece up 3/8″ towards the wrong side.

8. Baste ties in place on outer layer of the bodice back opening. For spacing, I did one at the top, 1/2″ down from top edge, and one about 1 1/2″ up from bottom edge as pictured below.

9. Follow step 43 in the instructions to sew the lining and outer bodice pieces together. Be sure to keep all straps and ties out of the way so they don’t get caught in the stitching. In addition, sew down the center back opening. Clip curves, corners, and clip into the center V up to the stitch line.

10. Turn bodice right side out and press all edges flat.
11. Finish both short edges and one long edge of the ruffle piece with a 1/4″ double turned hem as pictured below. Press.
12. Along the top raw edge of the ruffle piece, sew two rows of gathering stitches.

13. Gather the ruffle piece to fit the width of your bottom bodice edge.
14. With right sides together, stitch the gathered edge of the ruffle piece to the bottom of the outer bodice piece. Be careful not to catch the bodice lining. Please note straps are not pictured here.

15. Press the ruffle down and the seam allowance up into the bodice.
16. From the right side of the garment, stitch in the ditch at the ruffle seam to catch the lining of the bodice underneath. Everything should now be clean finished with no raw edges visible.

17. TaDa!!! Your ruffle top is not complete!

I hope you enjoyed this hack! If you whip it up, be sure to share and tag me @amynicolestudio and use the hashtag #audieplaysuithack in addition to #audieplaysuit.
Happy Sewing!
Leave a Reply