
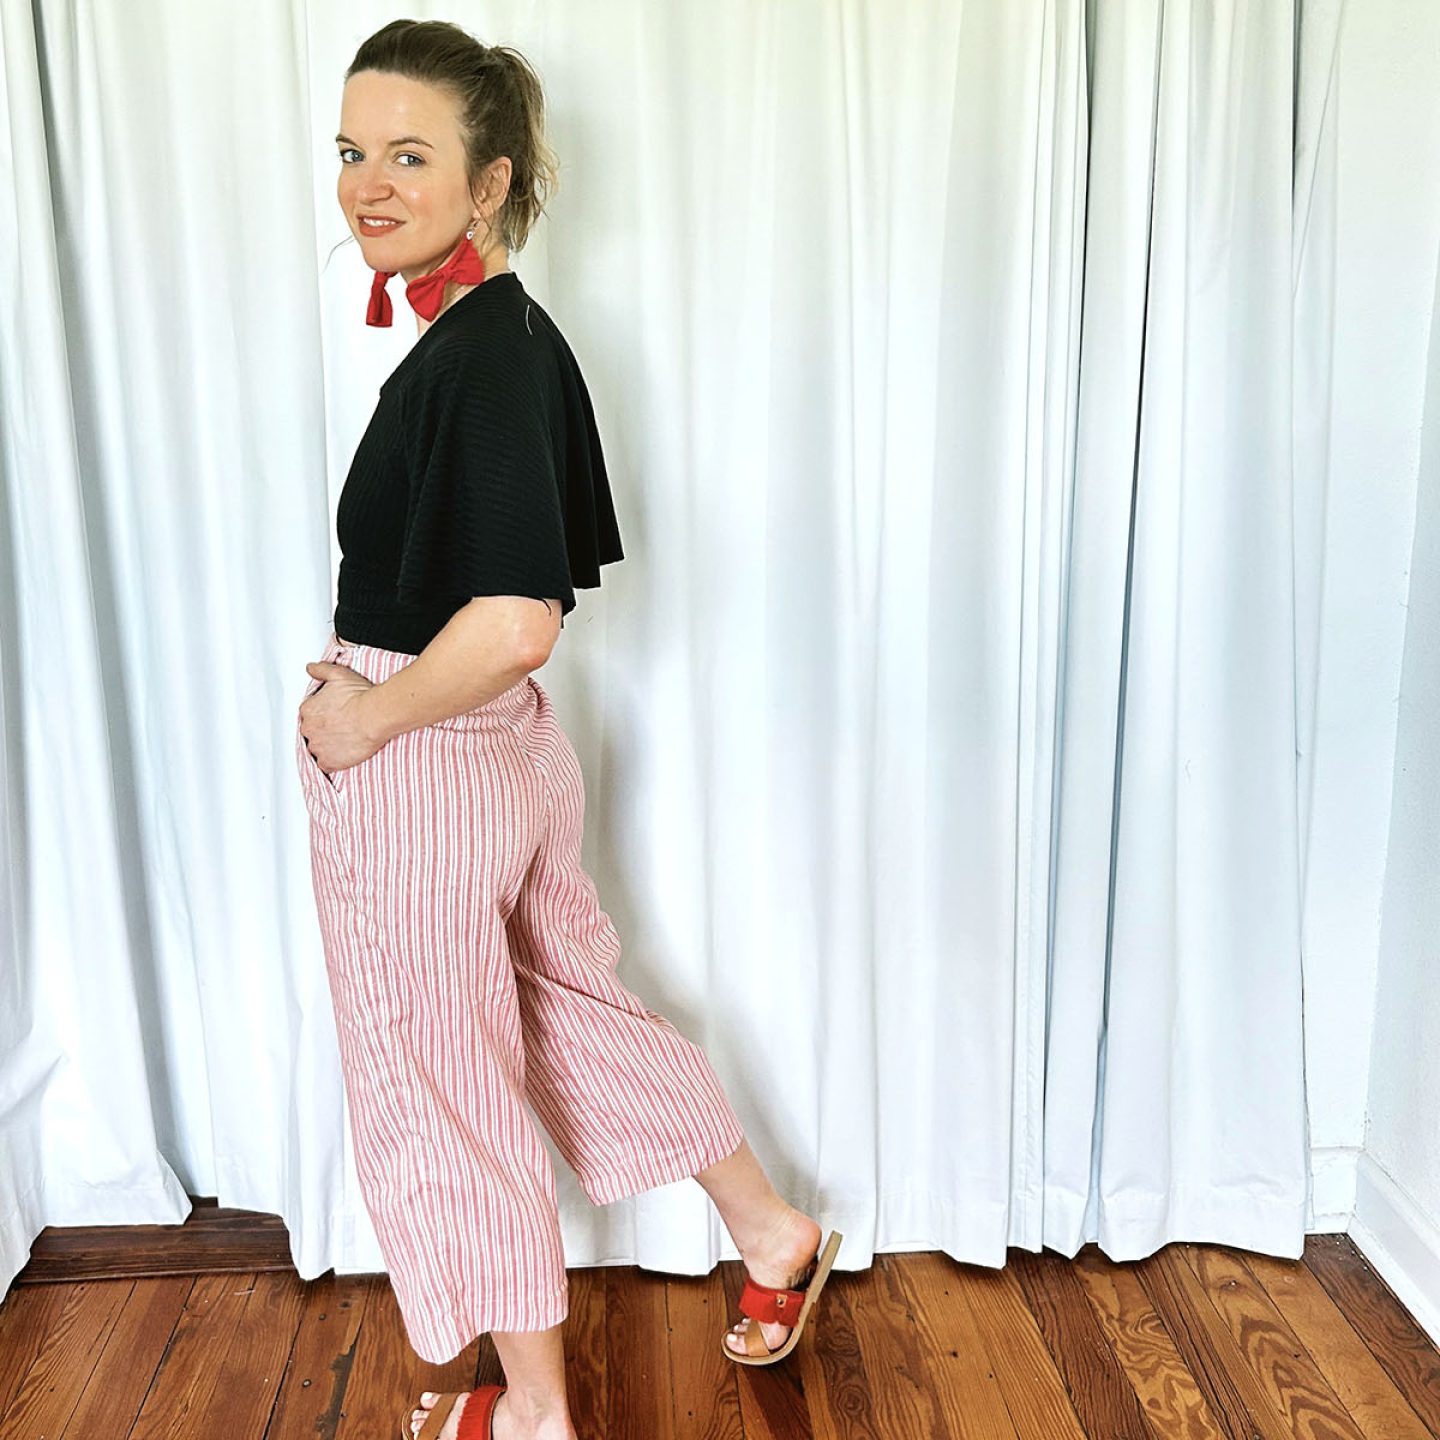
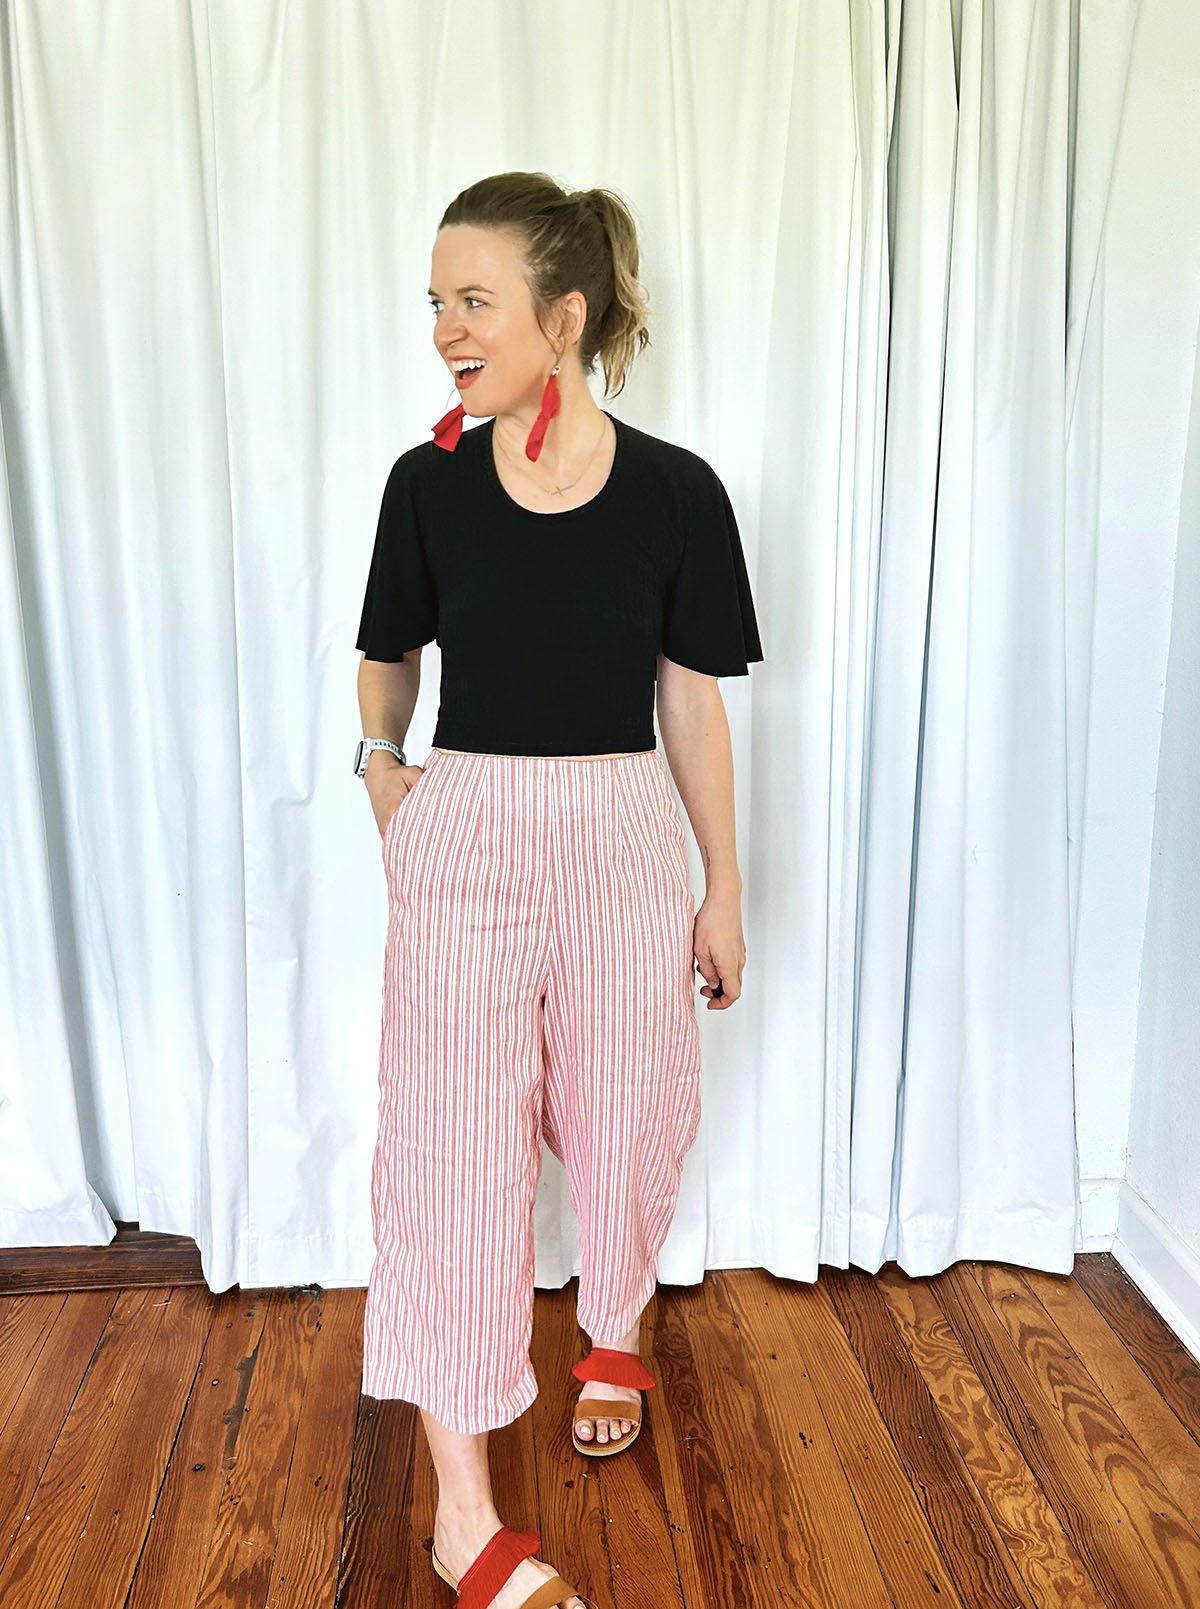
I’ve always loved the way the bottom half of the Audie Playsuit fits and thought it would make a great pair of pants! As a thank you to my subscribers, I’ve drafted a FREE bonus pattern piece so you can turn your Audie Playsuit into a cute pair of wide leg trousers.
Before you start:
- Download the pattern for the facing piece here.
- The tutorial below is written for a pair of pants. However, you could certainly use this pattern to turn the bottom of your Audie Playdress into a skirt!
- The instructions in this tutorial reference steps in the Audie Playsuit instructions. Steps referenced may differ in number if you are referring to the Audie Playdress instructions.
- These instructions are very basic and straightforward, assuming you have ample experience sewing your own clothing. I do not go into detail with specific techniques. If you need help, reference your pattern packet, or do a search hear on the site – I have lots of detailed tutorials to help get you through most sewing techniques referenced.


Download the pattern piece:
Pattern Pieces Required:
- Front Pant (A)
- Back Pant (B)
- Back Facing (M)
Instructions:
First, Cut your pieces: Cut one front facing piece (pattern provided in this post). For the back facing, use the pattern piece provided in your pattern, but first cut 1/2″ off the center back of the pattern piece (I’d recommend making a copy instead of cutting your orignal pattern piece so you dont get confused if you go back and make the Audie Playsuit later) Then cut your back facing out of your fabric on the fold at center back, so you have one back facing piece instead of two, as pictured below. Cut your front and back pants (or shorts) pieces as well.

2. Add fusible to the wrong side of both front and back facing pieces.
3. Use the standard 1/2″ seam allowance to sew the front facing to the back facing pieces at the right side seam (short ends), right sides together. Press seams open.

~ pay attention, this is where it gets a bit tricky ~
4. Follow steps 3-7 to construct the pants pocket and crotch curves. HOWEVER – in step 7 you will sew the whole back crotch curve, not just from the notch down.
5. Serge the crotch curves closed and serge the bottom edge of the facing to clean finish.
6. Skip to step 28-29 to sew the side seams and inseams of your pants. HOWEVER: On the left side seam, (your left when you wear the pants) only stitch from the notch down. (For the pants view, we will be sewing the zipper in the side instead of the back) **If you are looking at the instruction book, IGNORE the blown-up image in the circle labeled “view B” that shows the facing already attached**
7. Serge the side seams and inseams. The left side seam will be serged open to allow for the zipper.
8. Skip backwards to step 24 to insert the zipper, NOTE you will be doing this in the left side seam instead of the center back, but the process is the same.
9. Follow steps 25-26 to attach the facing to the pants. HOWEVER – the instructions reference a zipper in the center back, your zipper will be on the left. Otherwise, the technique for attaching the facing is the same. The instructions will depict the two separate back facing pieces from the original Playsuit pattern. For the pants, be sure to line up the side seams, center fronts, and center backs of the facing and the pants. Once the facing is attached, give the top edge of your pants a good press. I also like to tack the bottom of the facing to the pants seam allowance at the center front, right side, and center back to hold it in place. This can be done by machine or by hand.
10. Follow step 51 to add a hook and eye to the top of your zipper at the left side seam.
TA-DA! You now have a fancy pair of pants!


I hope you love this tutorial! I wear my Audie Trousers all the time. I whipped them up in a light linen fabric and they are great for spring and summer.
If you sew these up, I would love to see them! Tag me @amynicolestudio on instagram and use the hastags #audieplaysuit and #audieplaysuithack so I can check it out.
I look forward to sharing more hacks like this with you in the future! Till then,
Happy Sewing!
Leave a Reply