We are finally getting onto the construction part of the Chelsea Party Dress sewalong! At this point, your muslin has been made, you’ve adjusted the fit as necessary, chosen your fabrics, and cut out the pattern. Now let’s get to the fun part!
In the very beginning of the Chelsea Party Dress construction we jump into the hard stuff. Princess seams can be a bit daunting, especially if you have never sewn them before. But they don’t have to be!
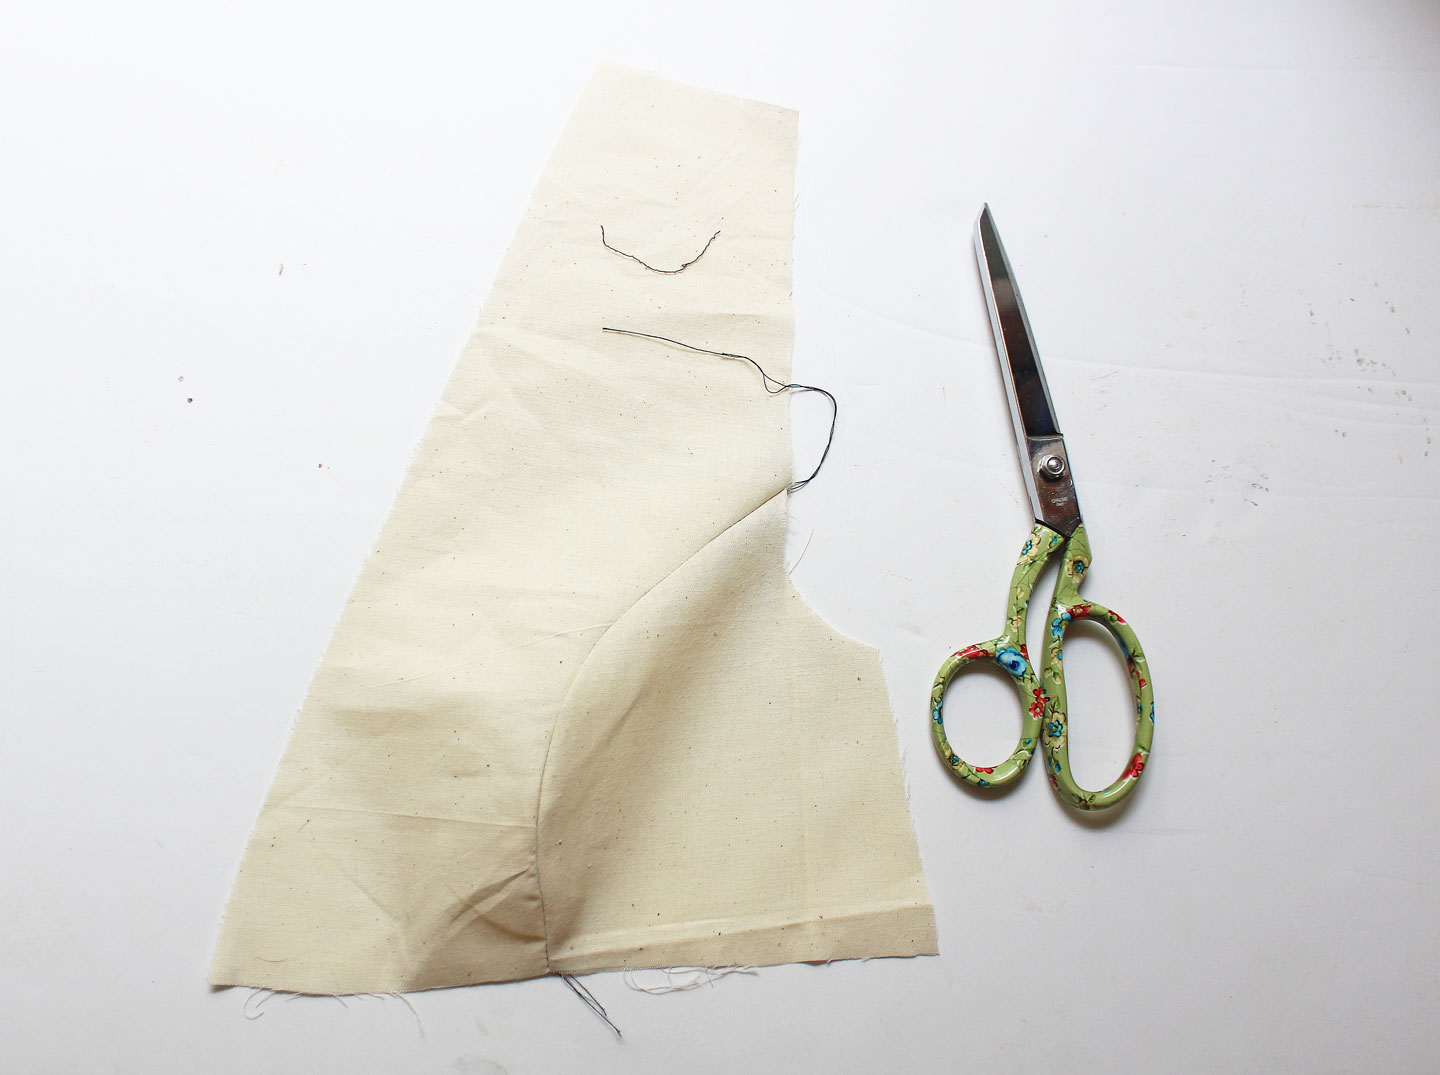
I find it’s easier to “walk” the fabric in as you go rather than try to pin the curved seam in place (which will result in a wrinkly, confusing mess). I like to sew princess seams with the concave curved piece on bottom and the convex curved piece on top, so I have more control of the piece with the rippling seam allowance. The most important thing is not to stretch the center front piece when trying to get the two seams together.
Watch this video to see what I mean. I apologize for the brightness of my sewing machine light, but I think you will be able to tell the general technique and work through getting this seam together. If necessary, practice on a piece of muslin first.
See now!? That wasn’t so hard!
Happy Sewing!


Leave a Reply