
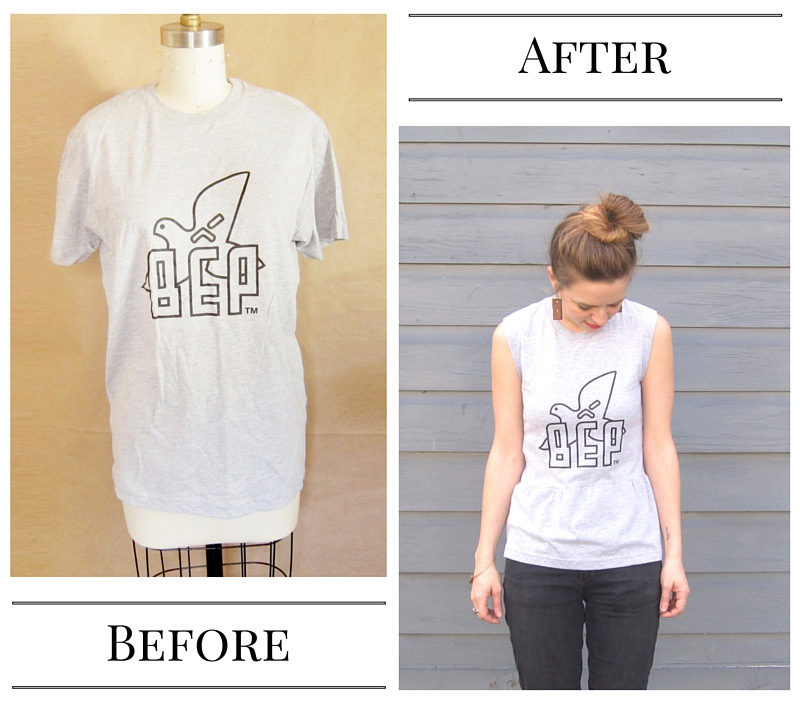
This is another one of those “been meaning to get around to forever” projects. I’ve been trying to make myself tackle one thing from the to mend/alter bin each week. Sometimes its hard to squeeze it in, but I’m making a lot of progress on what was once an overflowing mess and it feels good to get these things back into my wardrobe. This shirt was given to me from our dear friends at Bep restaurant in Brooklyn. I love the cute graphic logo, but the shirt was too big and baggy. So instead of banishing it to the pajama drawer, I whipped it into something I’d wear much more often. Keep reading for the full tutorial on this little peplum tee.


Make sure you are starting with a shirt that is several sizes too big for you.
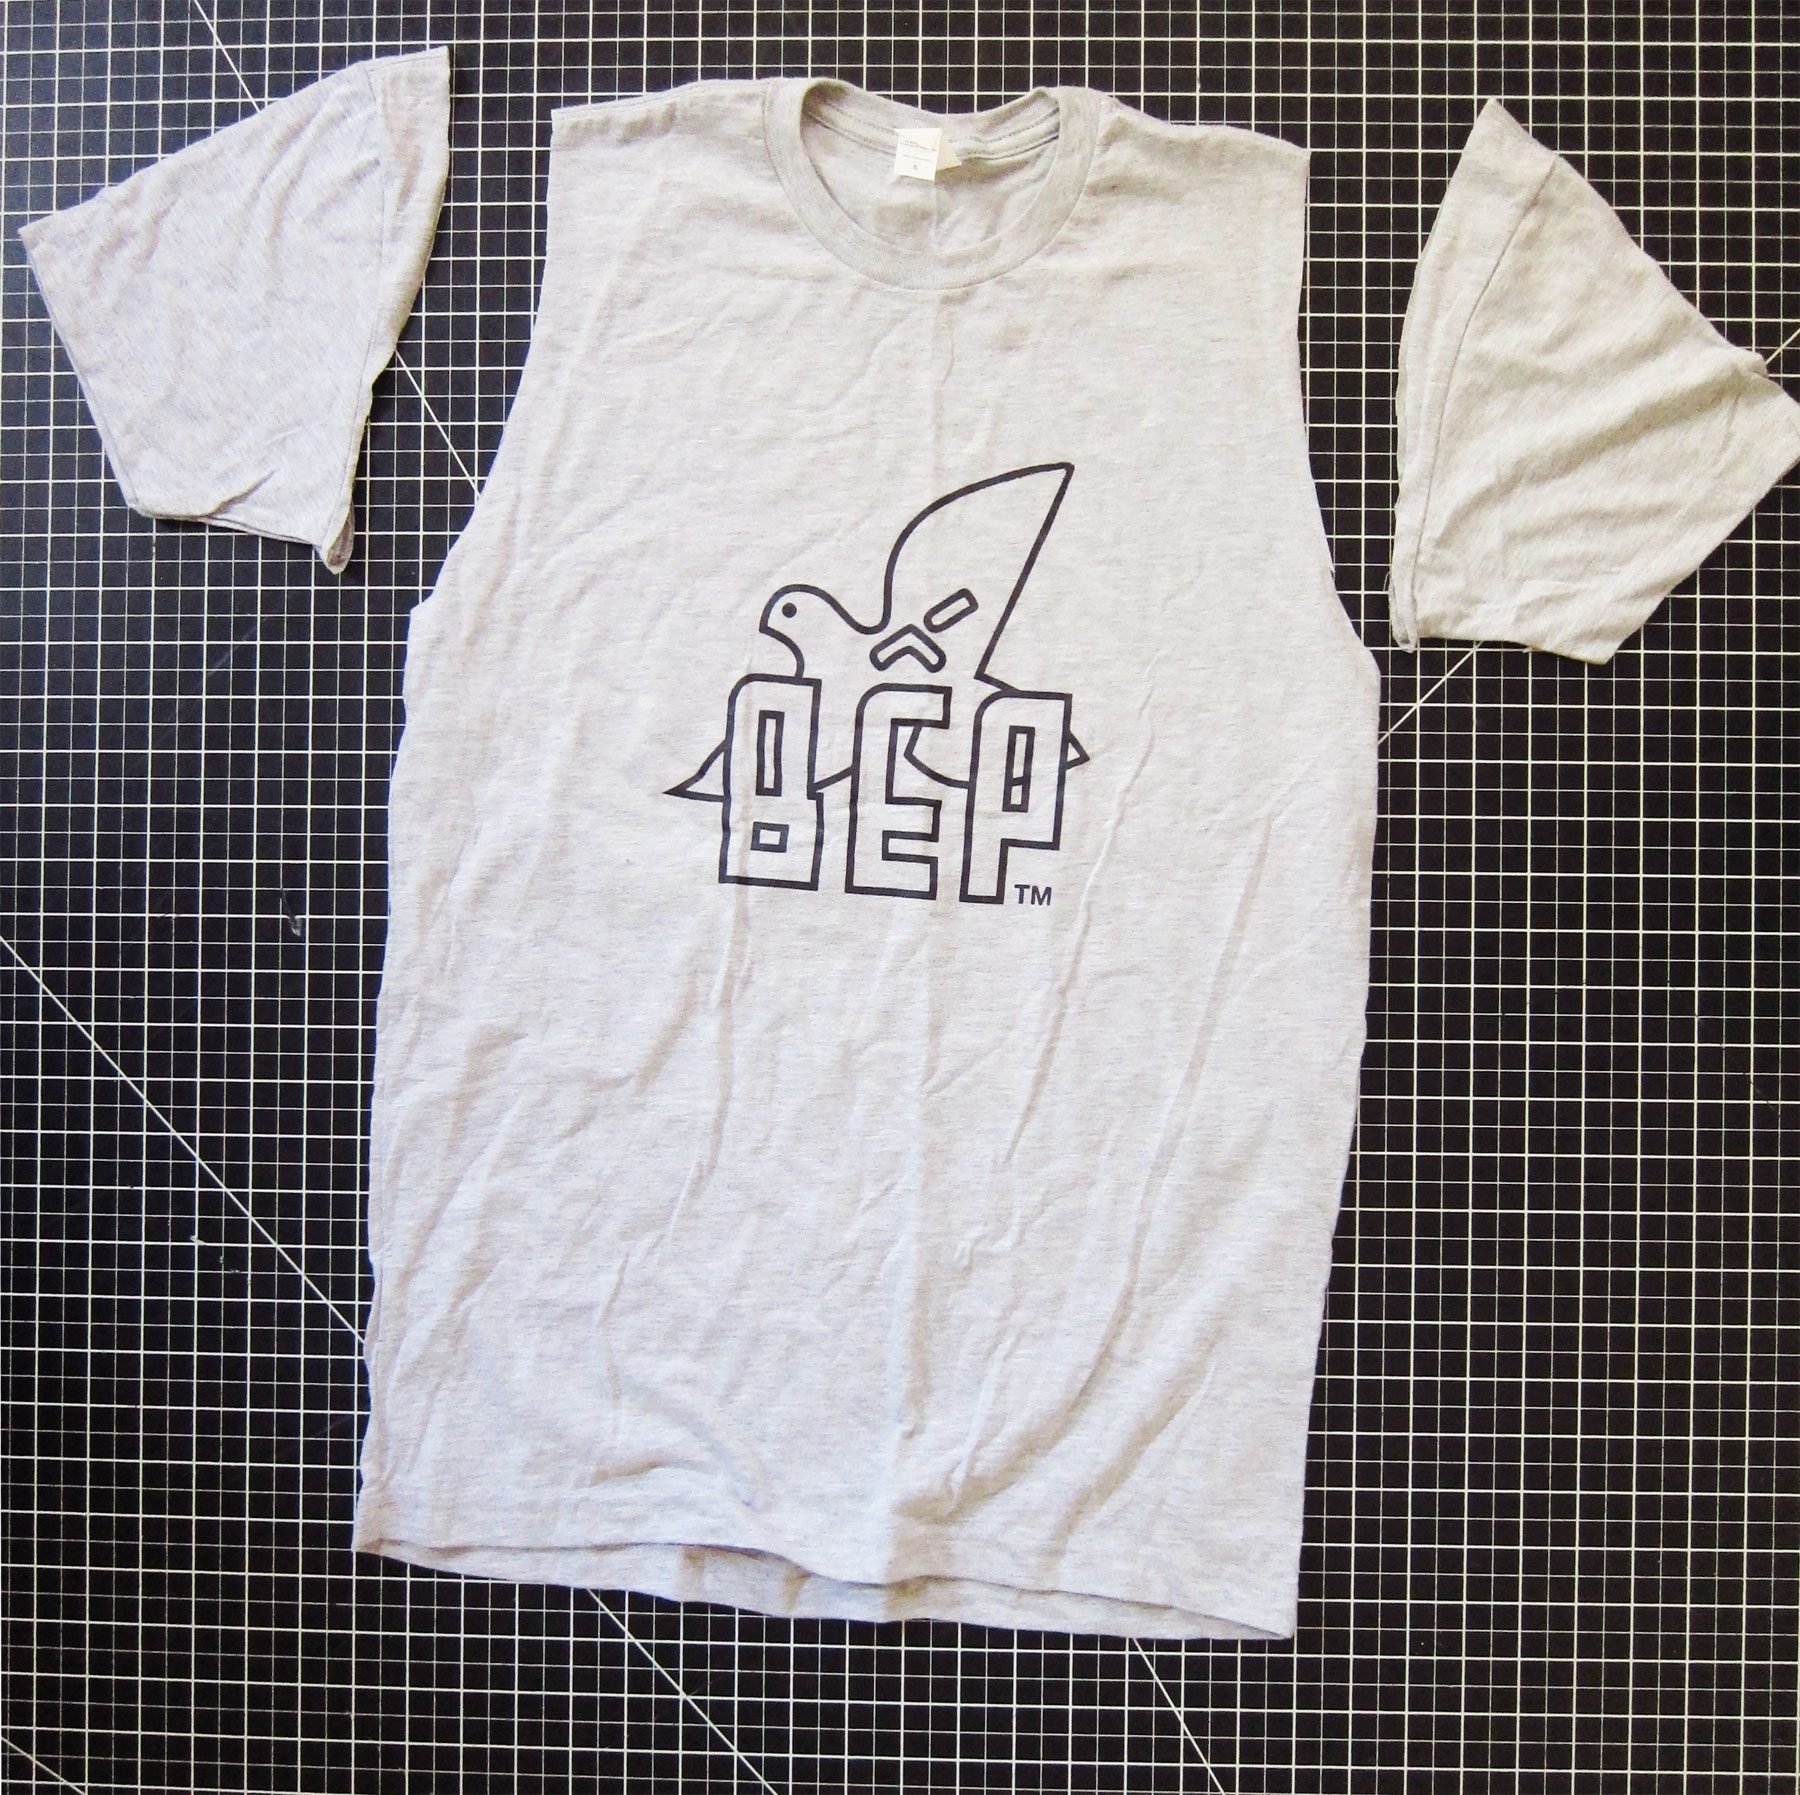
First, lay your shirt out flat and cut off the sleeves, making the shoulders as wide or narrow as you like.
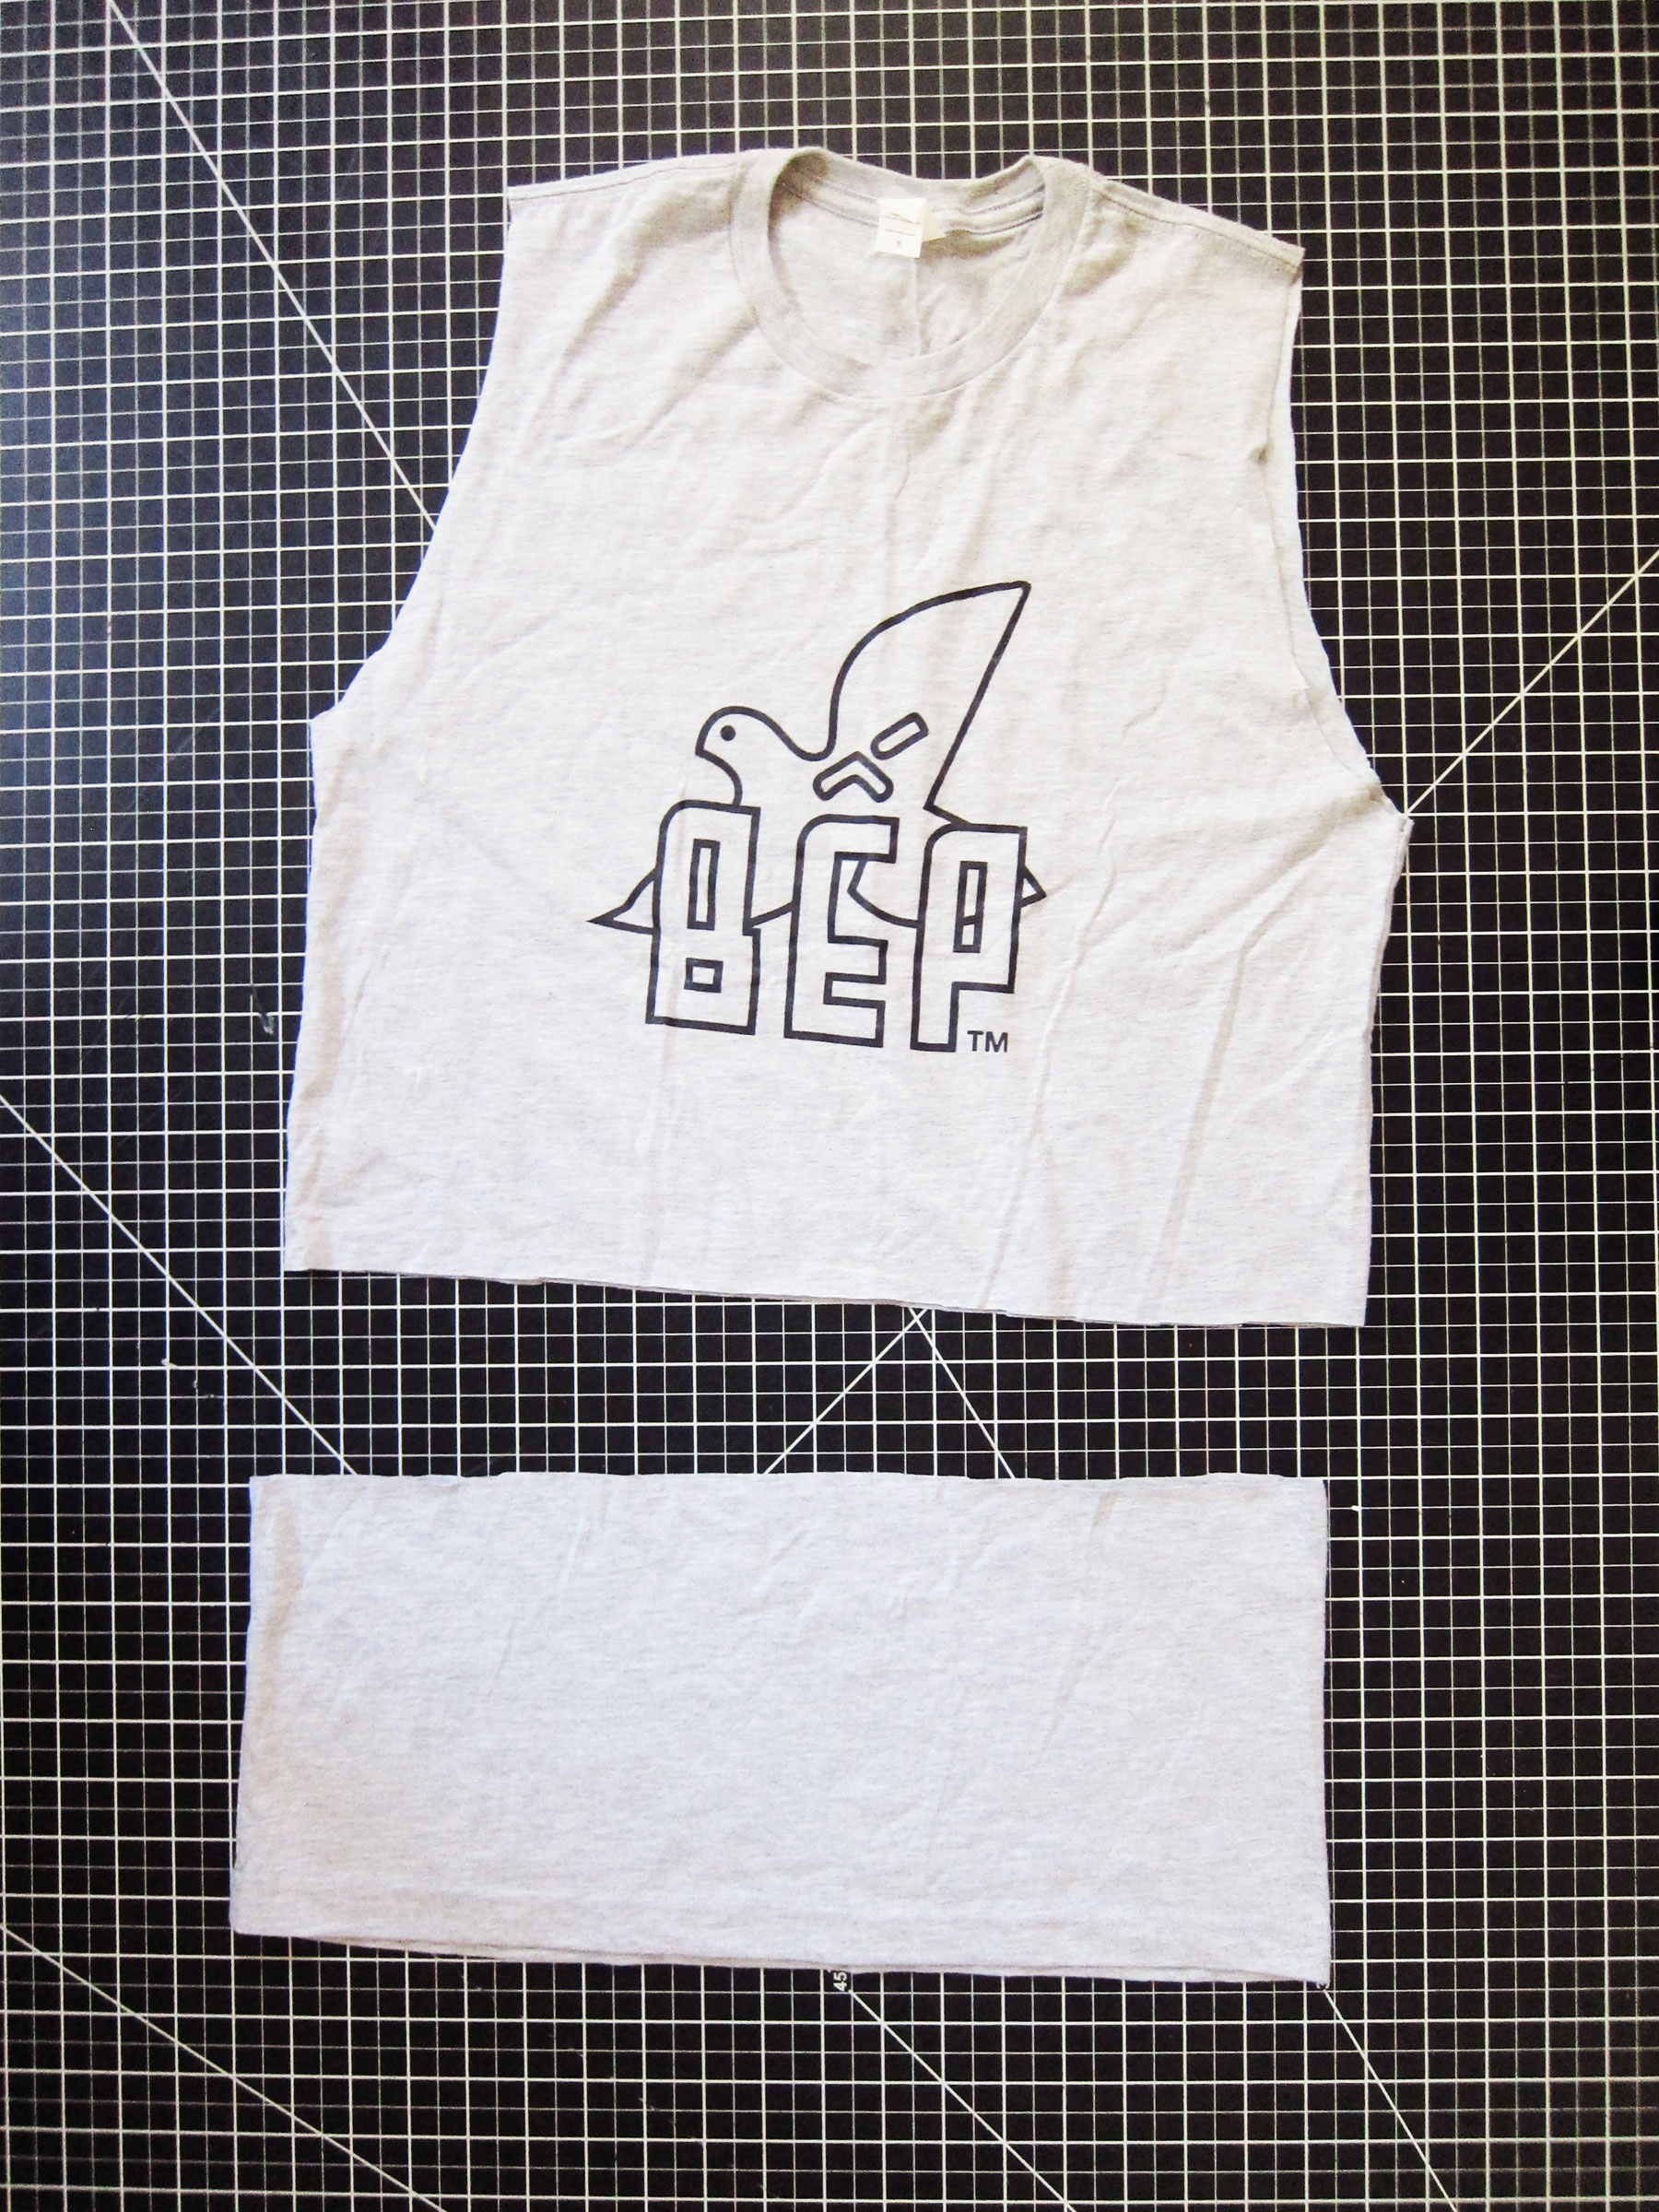
Next, Try on the shirt and make a mark using fabric chalk where you want your peplum seam to be. Lay the shirt flat again and cut a straight line across the middle shirt about 1/2″ UNDER that mark (this allows for seam allowance).
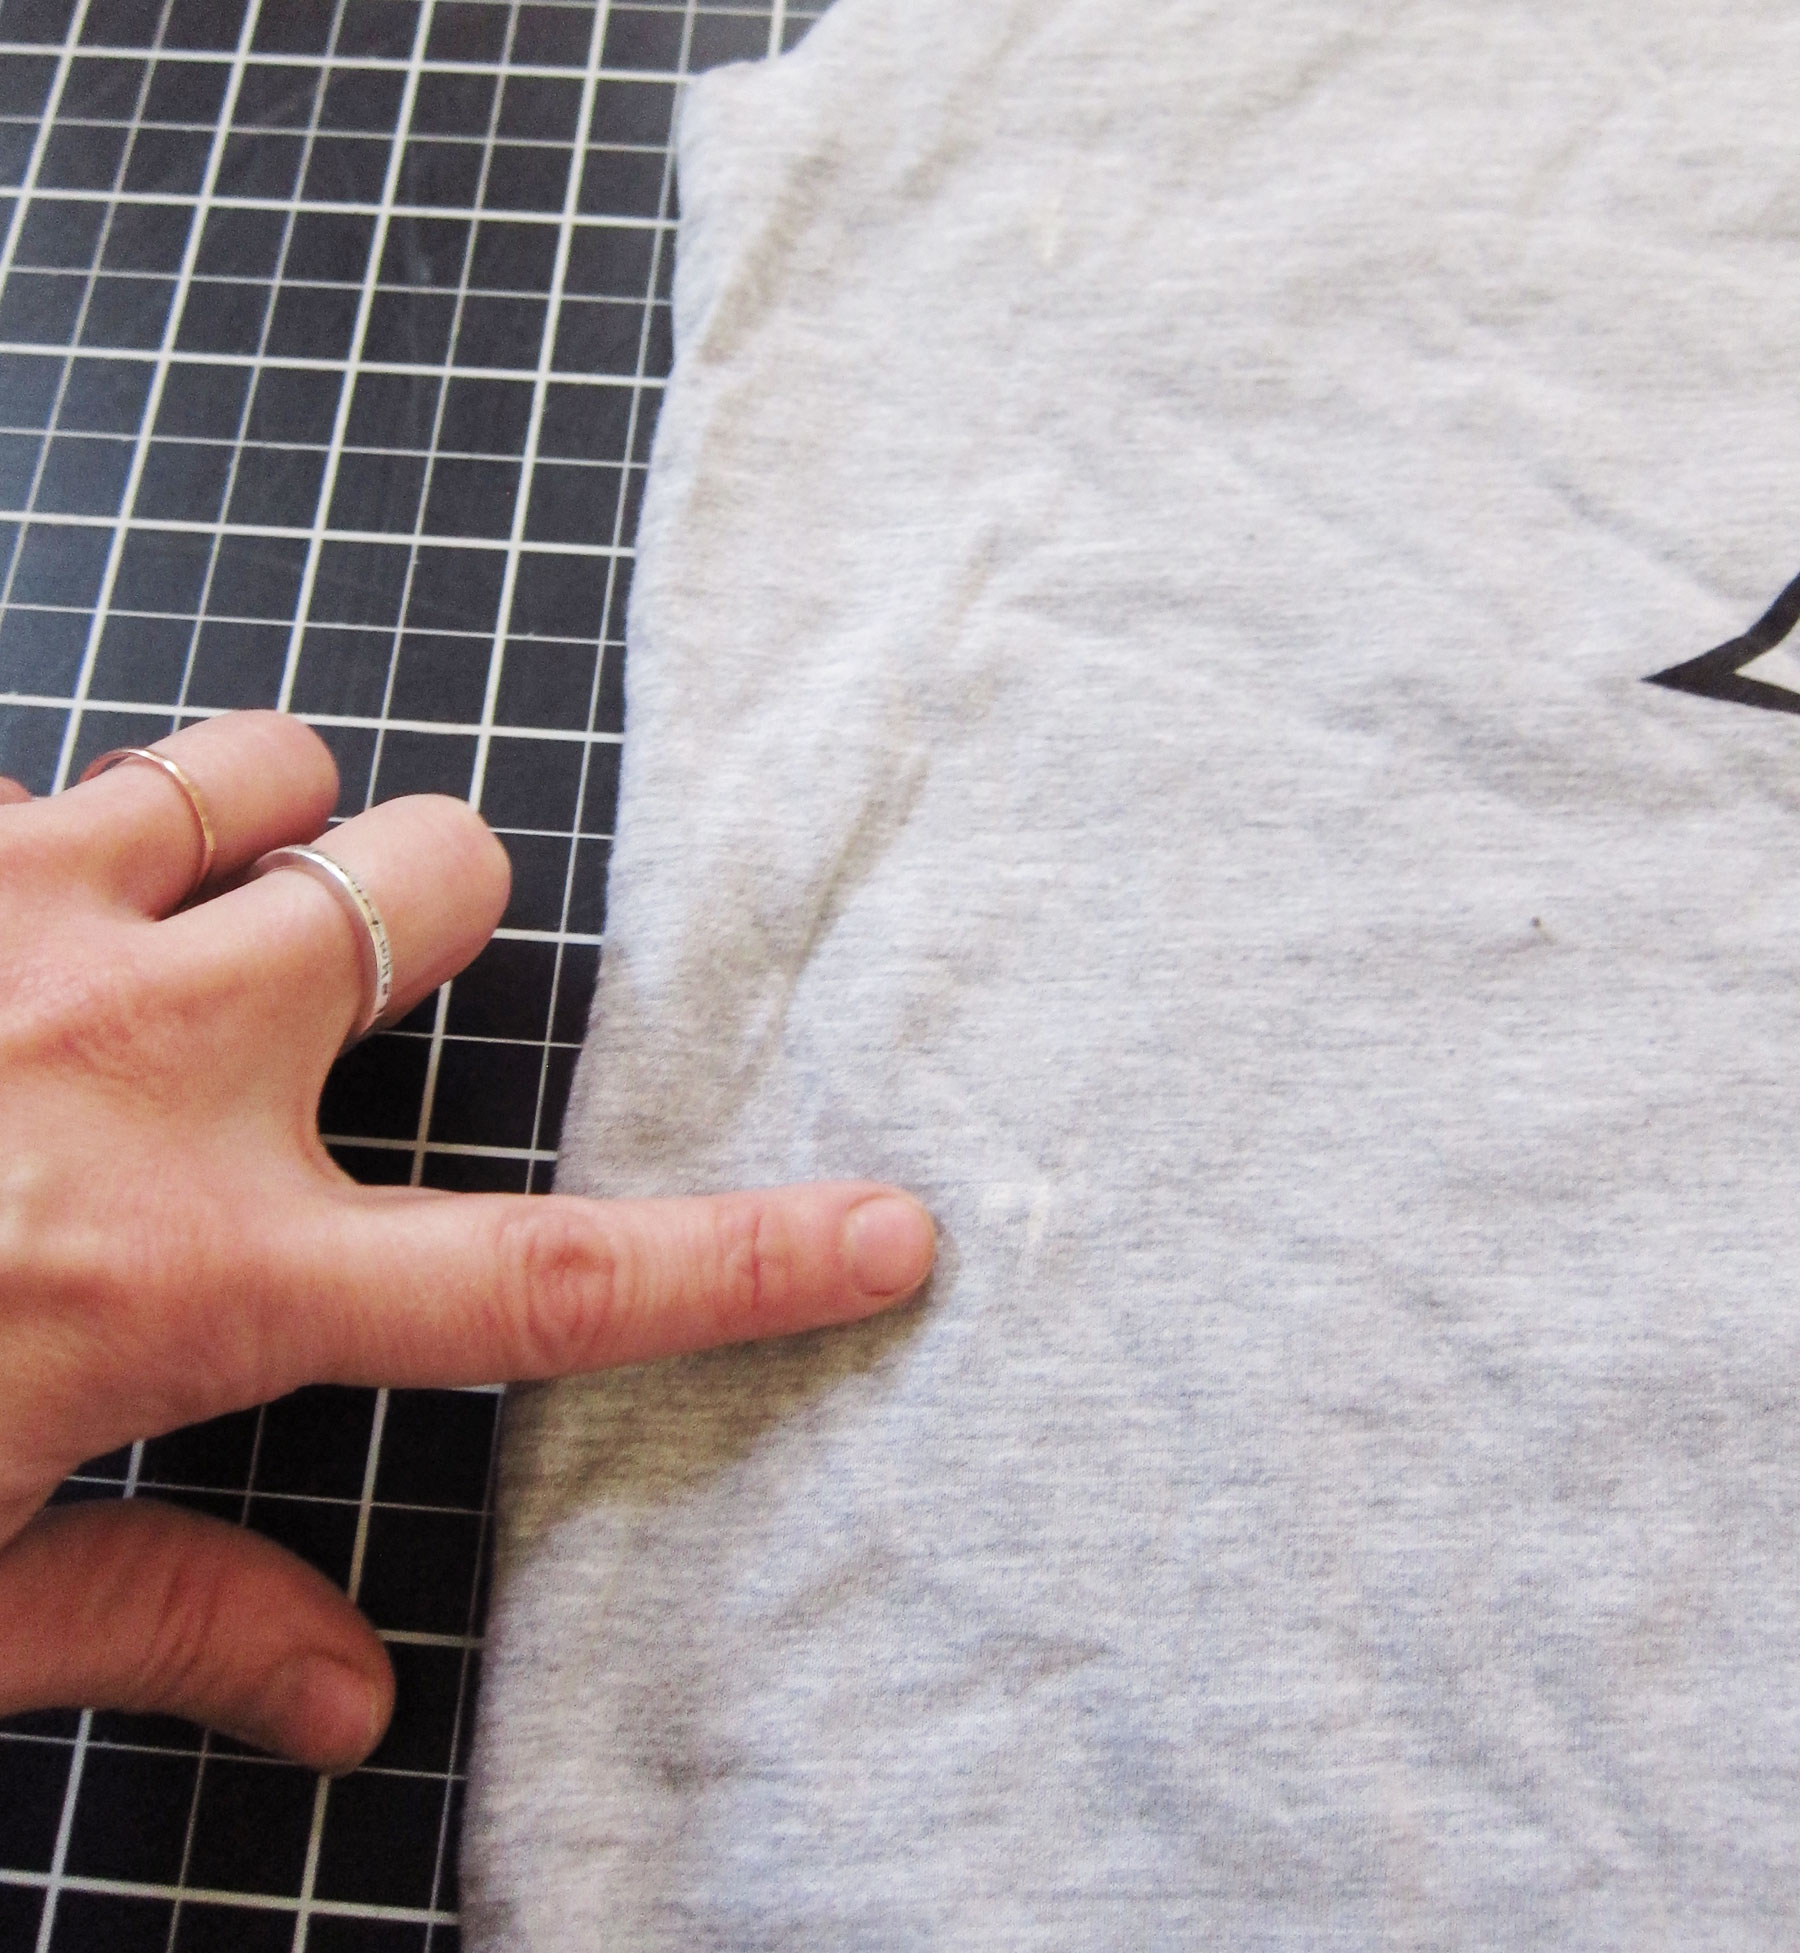
Now, try the shirt on again and pinch in the side seams till it fits the way you want to. Make a mark on each side where the front and back meet when you pinch it. Make sure the marks are the same distance from the side seam on each side of the shirt.
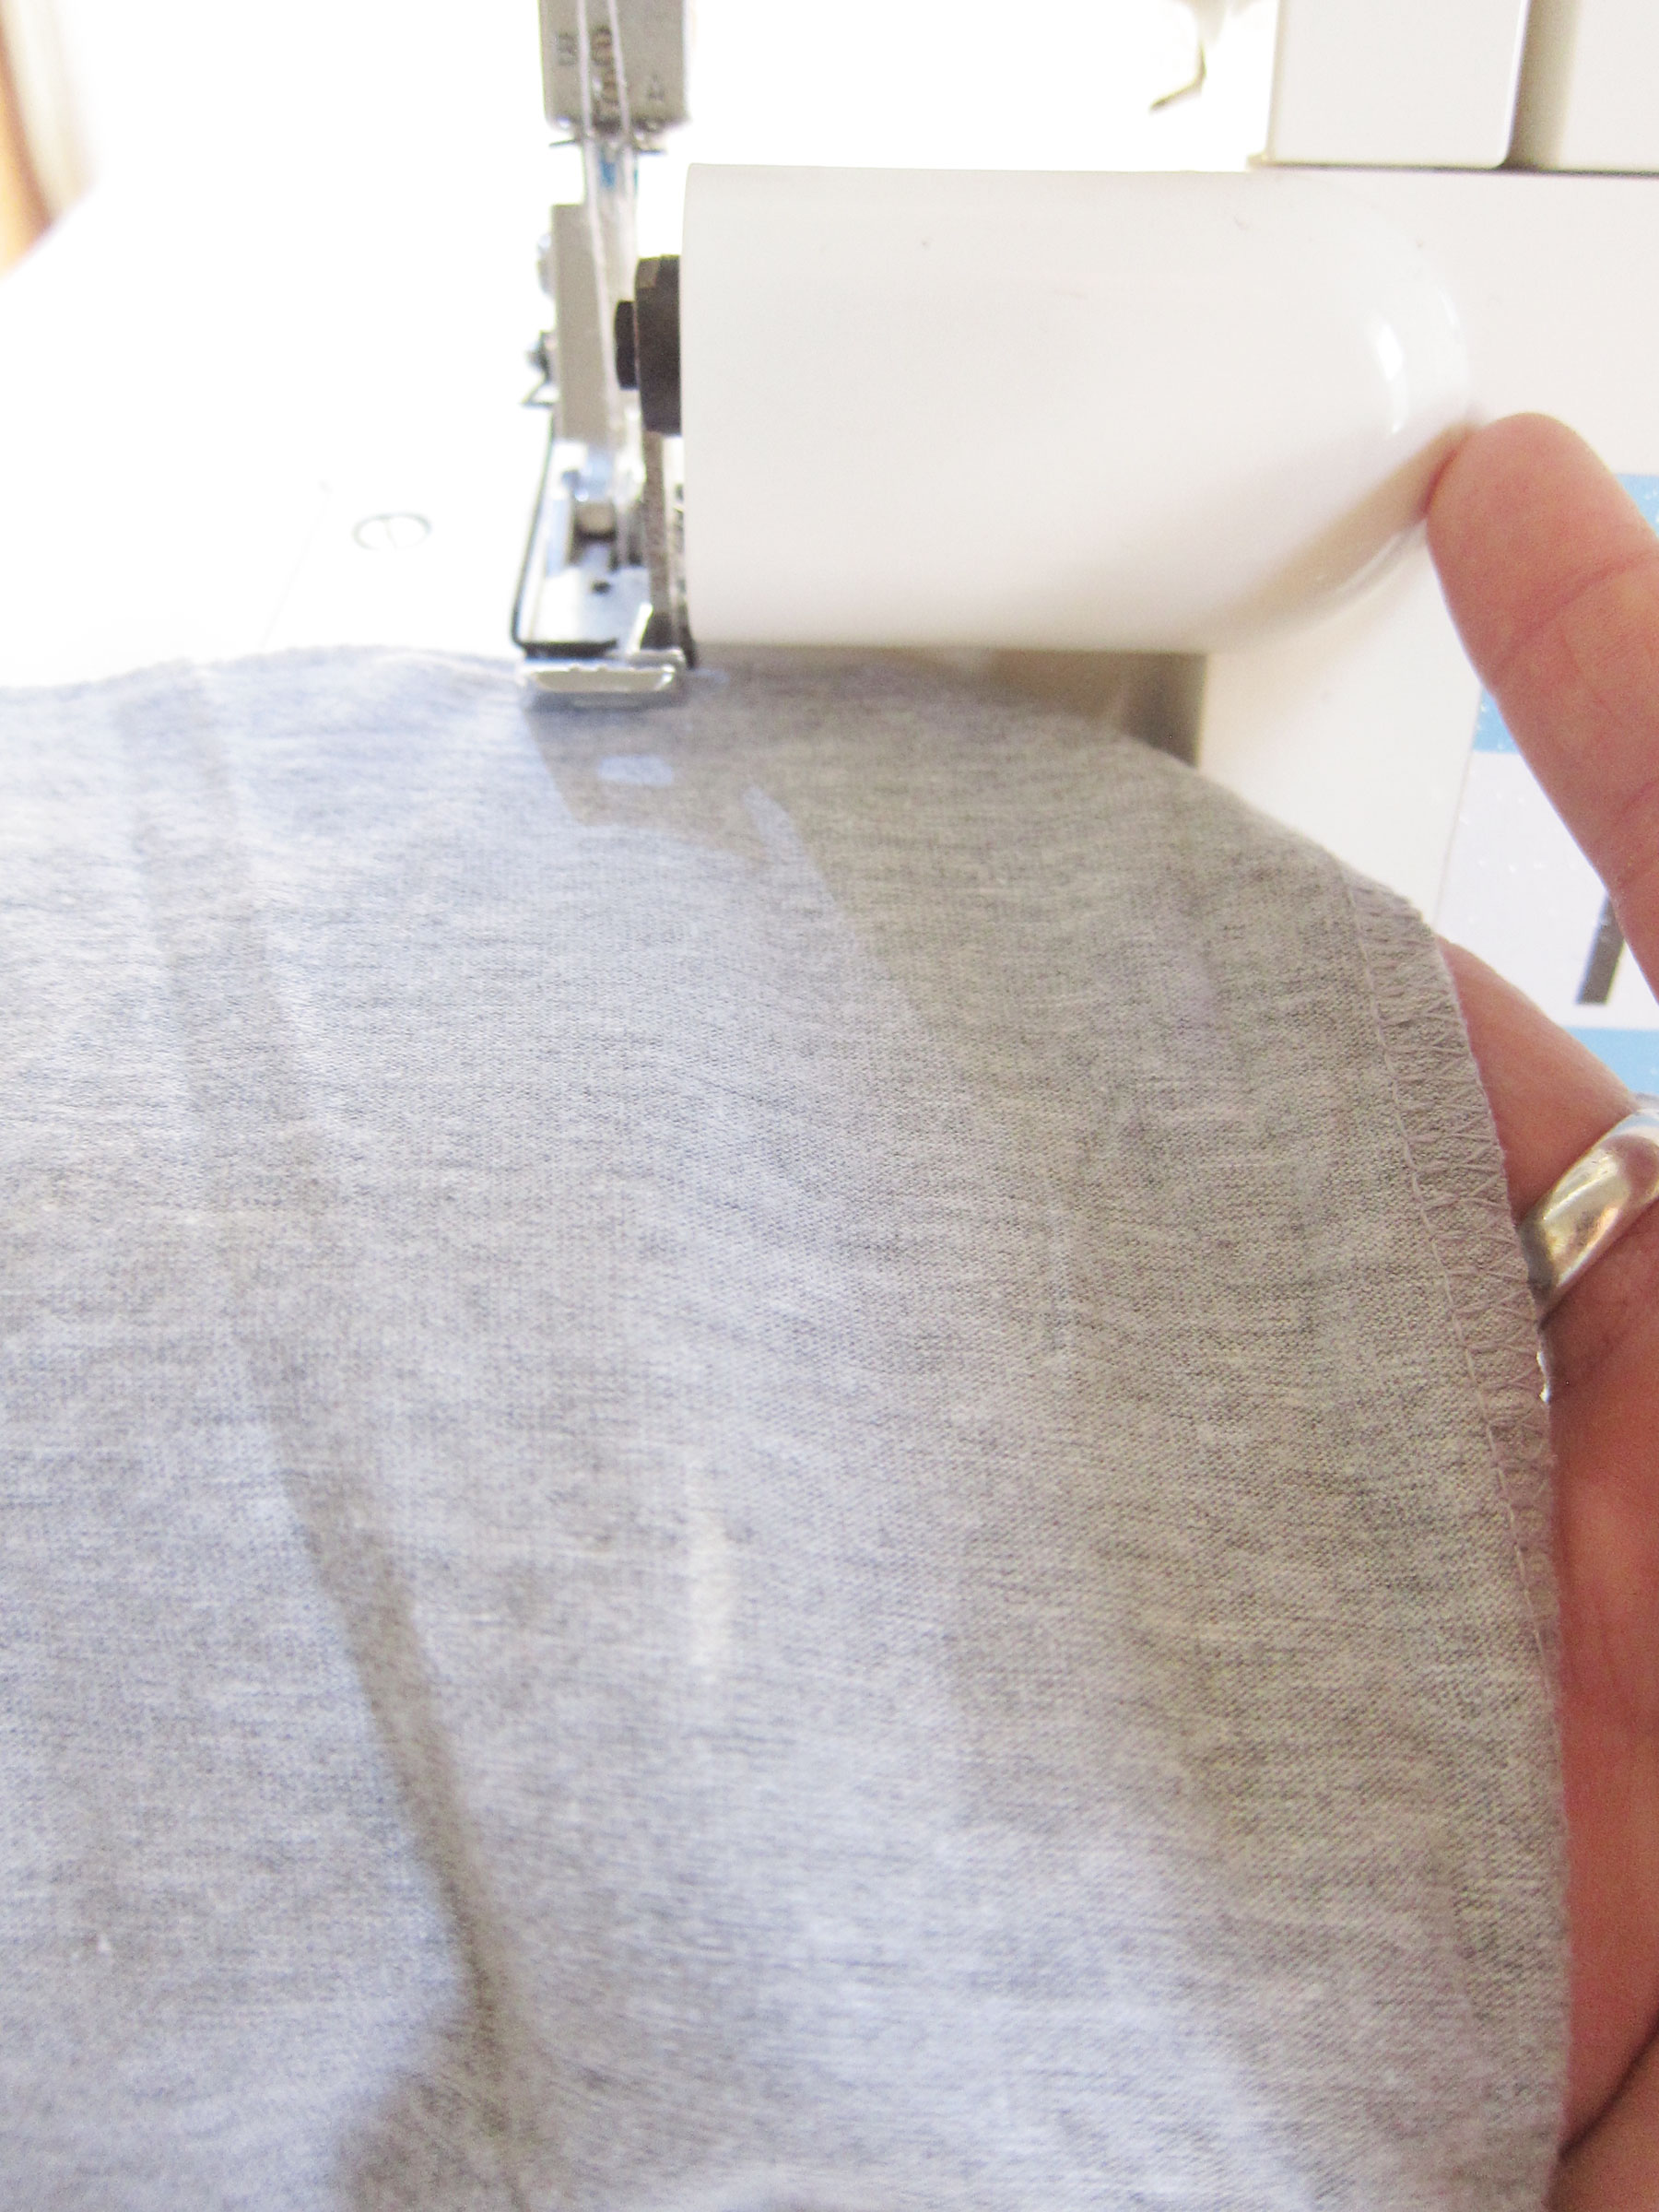
Using your serger (or straight stitch machine set on a zig zag setting) sew down the side seams using your mark as a guide (creating a new side seam), make sure the shirt is turned inside out. You may have to transfer your markings to the inside. If you are using a straight stitch machine you will have to trim away the excess fabric when you are done. A serger will simply cut away the excess as you sew.
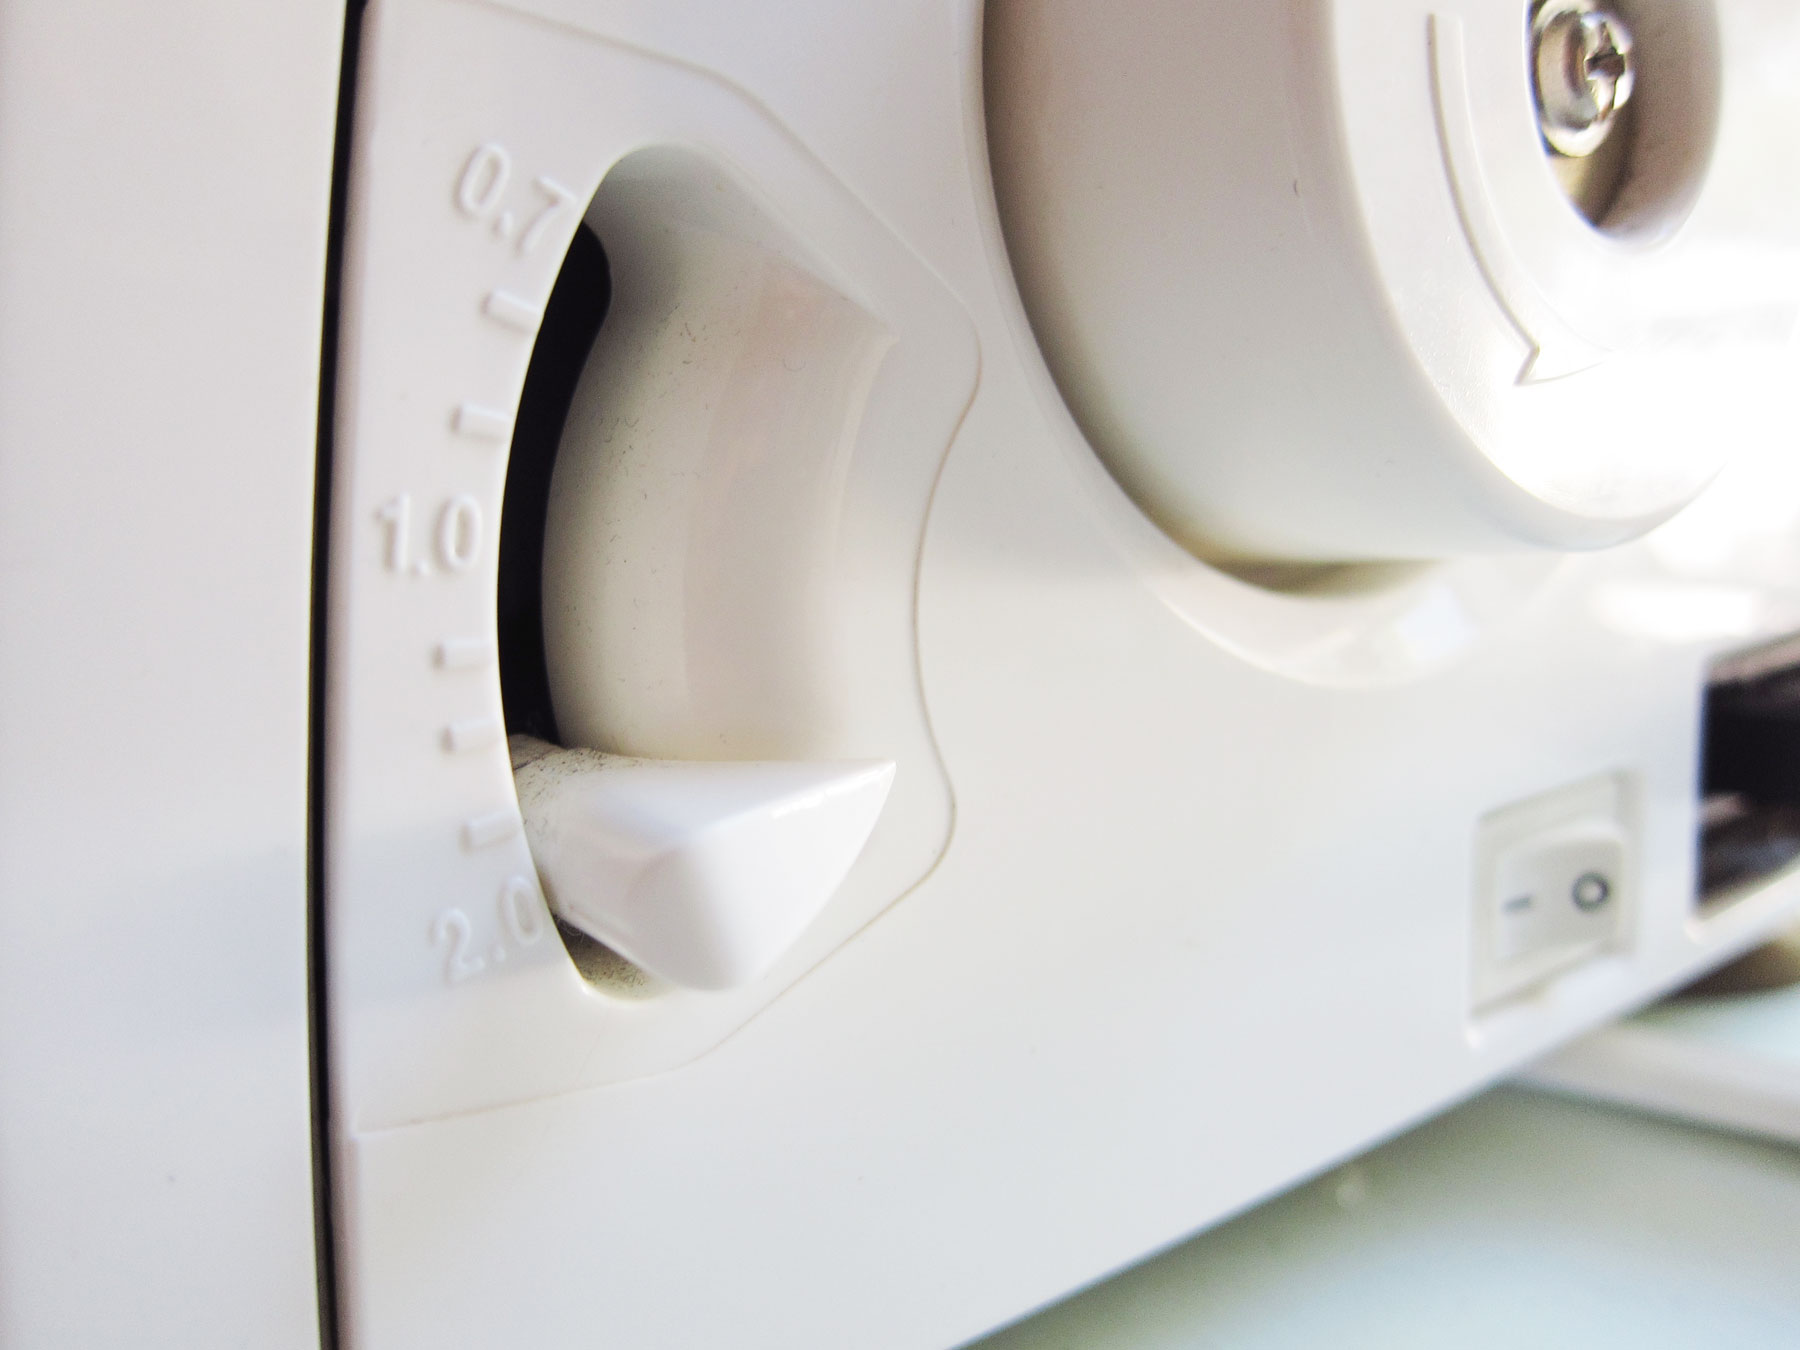
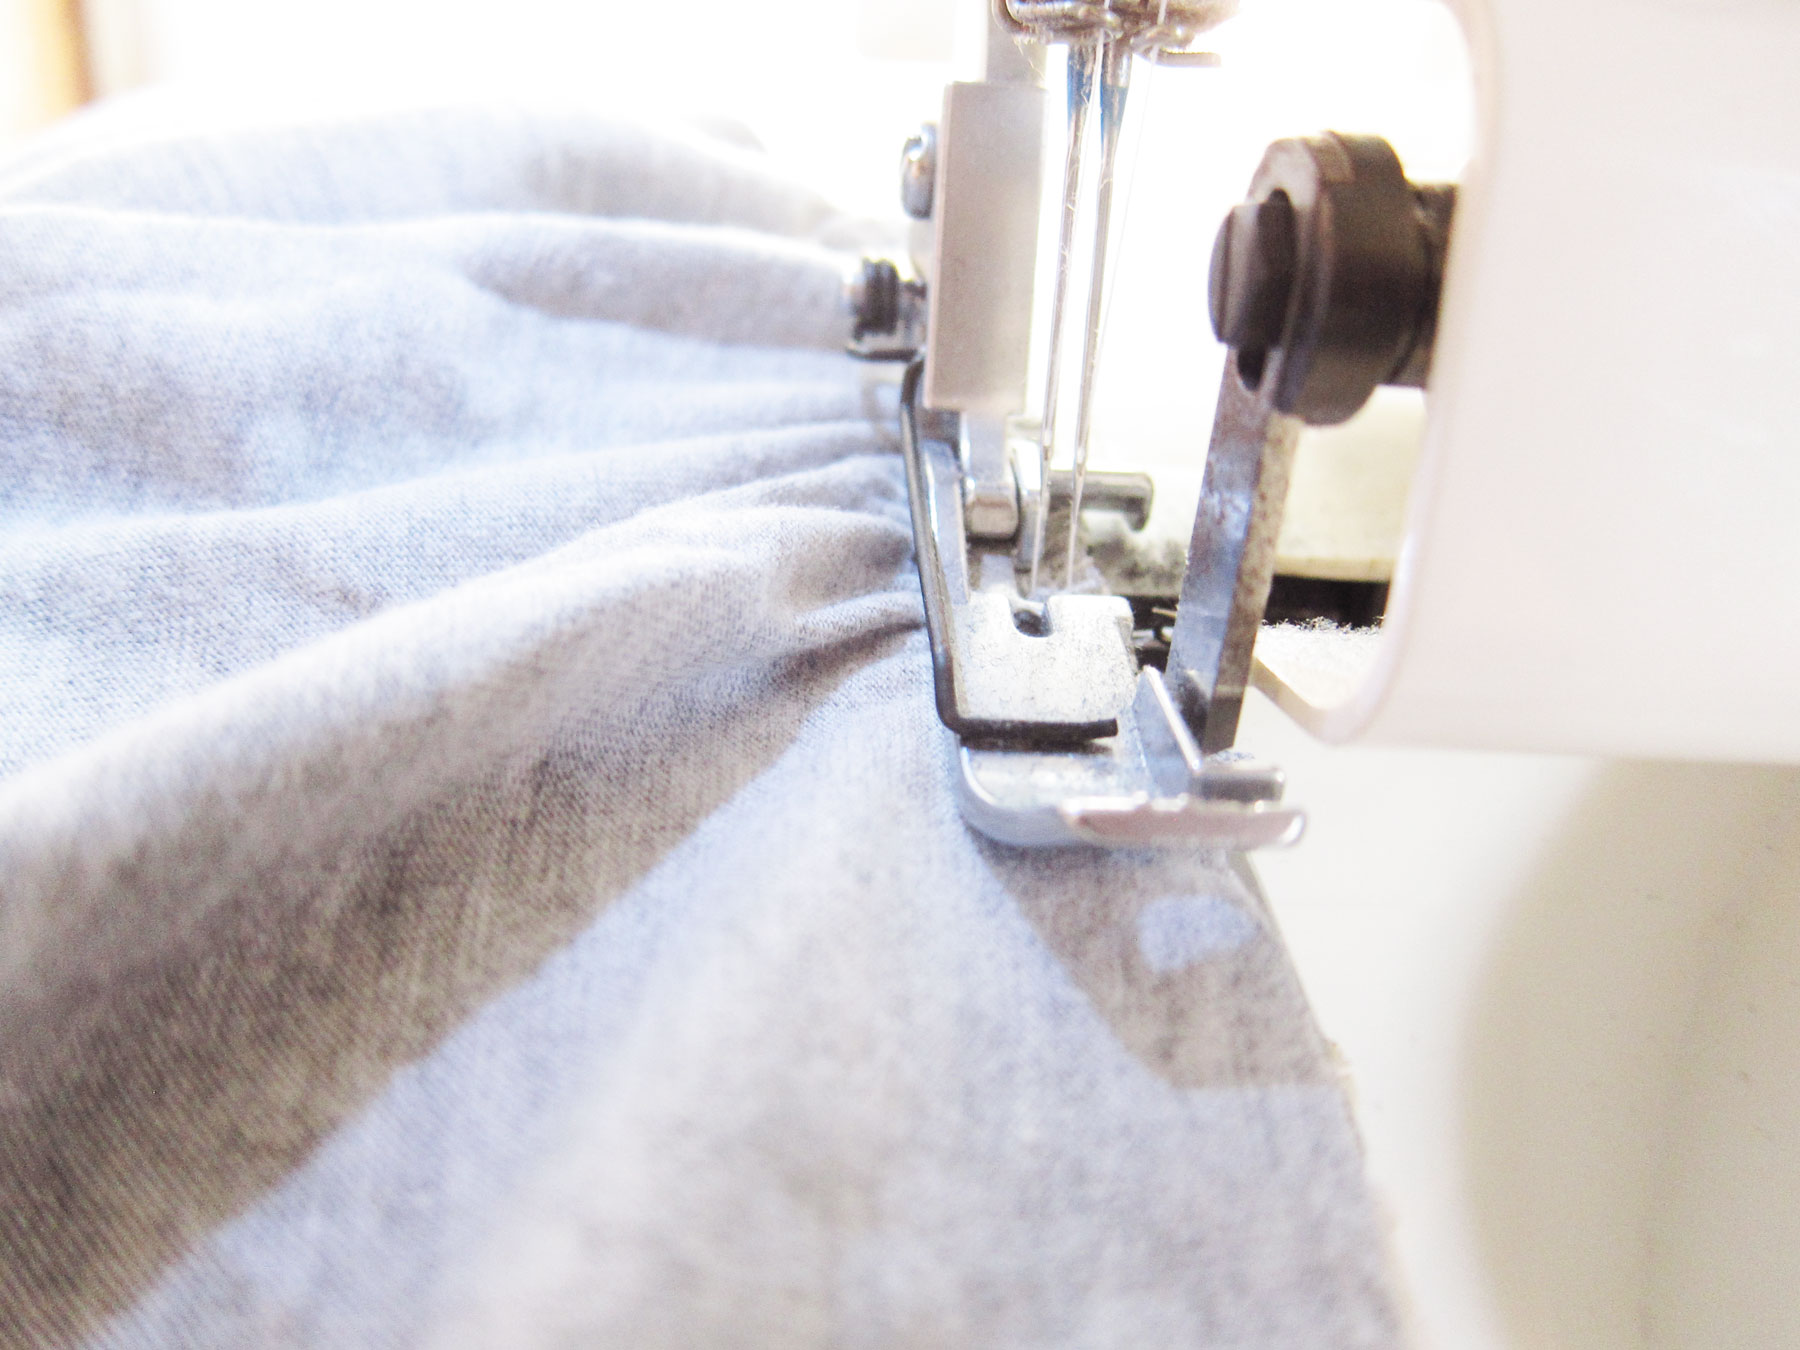
Take the hem piece you removed in the second step and gather it to match the measurement of your new top waist seam. You can use any method you prefer to gather, but I’m going to demonstrate how I used my serger. Its a quick & dirty method, and not great if you need to do more gathers more accurately, but for quick little projects it works just fine. Set the differential feed located on the side all the way to the highest setting and serge along the top of the hem piece, letting the fabric collect and gather as you go. Hold the piece up to your top when your done, you may have to pull out some of the gathers or you may have to gather it more.
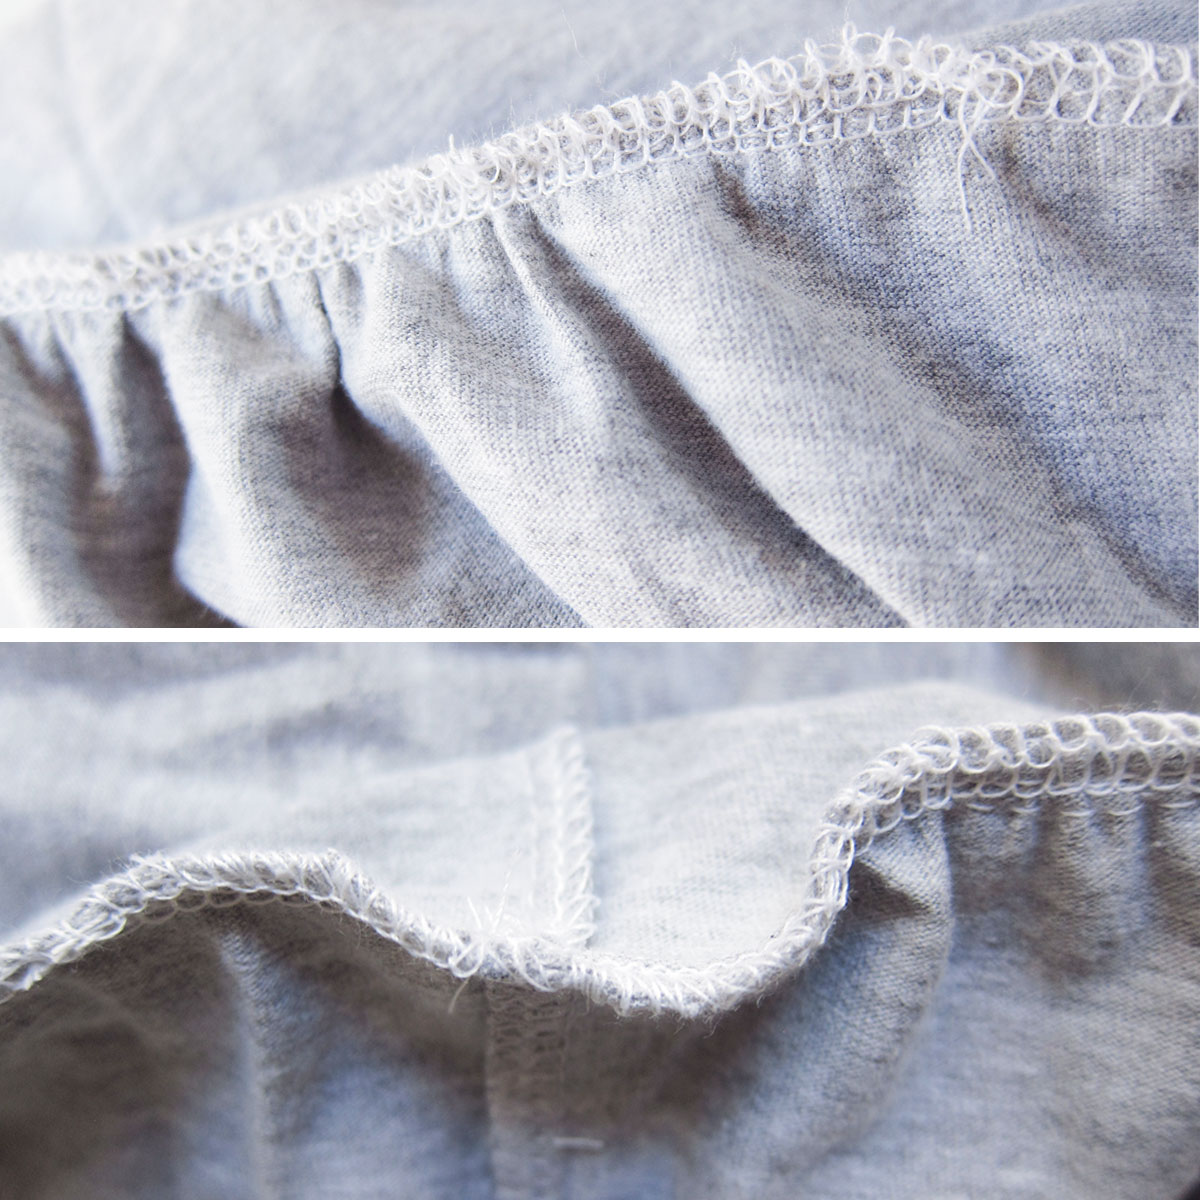
How gathered your peplum is will depend on the size of the shirt you began with and the amount you took in the top. My shirt ended up not being super gathered, but I don’t mind it because the style still comes across. The bigger the original shirt is on you, the more of a gather you will end up with.
Finally, with right sides facing, match up your two pieces at the side seams, and re-attach your peplum to the top. I again used a serger but a simple zig zag stitch will do.
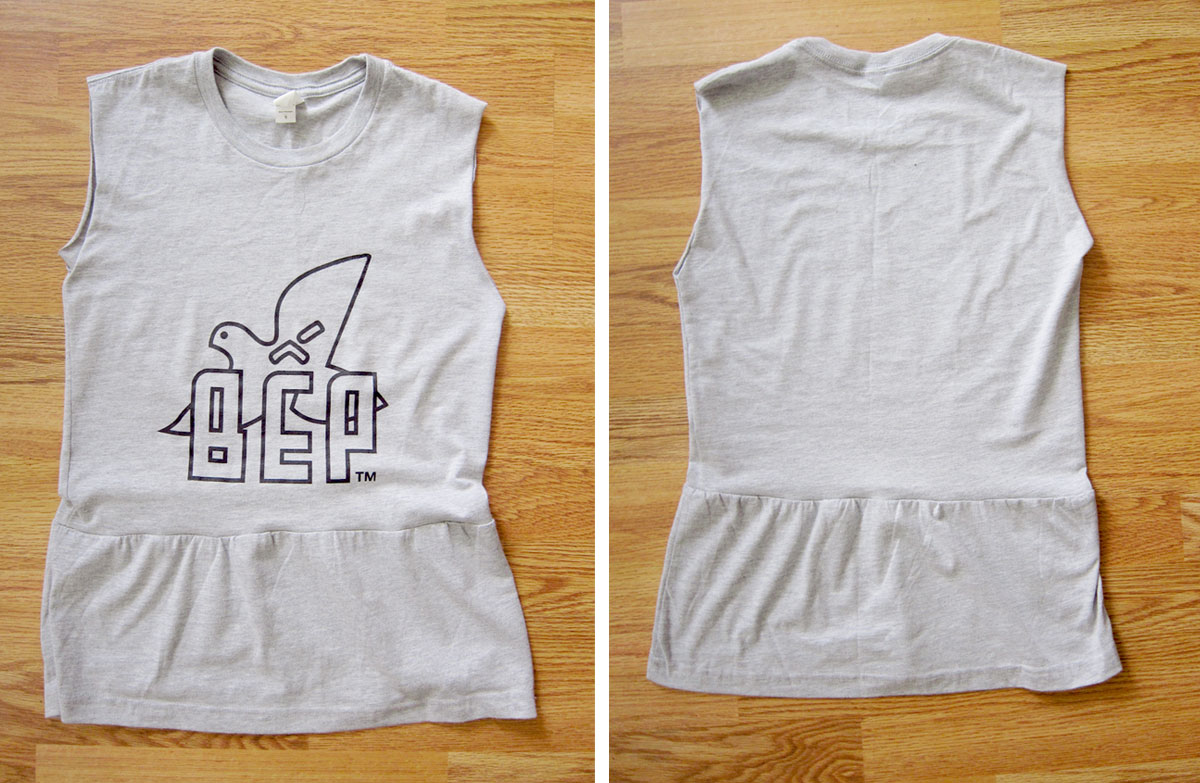
And there you have it! A quick and simple project to change any t-shirt into a cute little sleeveless peplum. You could really do this without taking the sleeves off. You’d just want to continue your new side seam up through the armpits and down the sleeves.

Happy Refashioning Y’all!

[…] Nicole has a quick and simple method for whipping up an adorable new top from a dowdy old tee on her self-titled […]