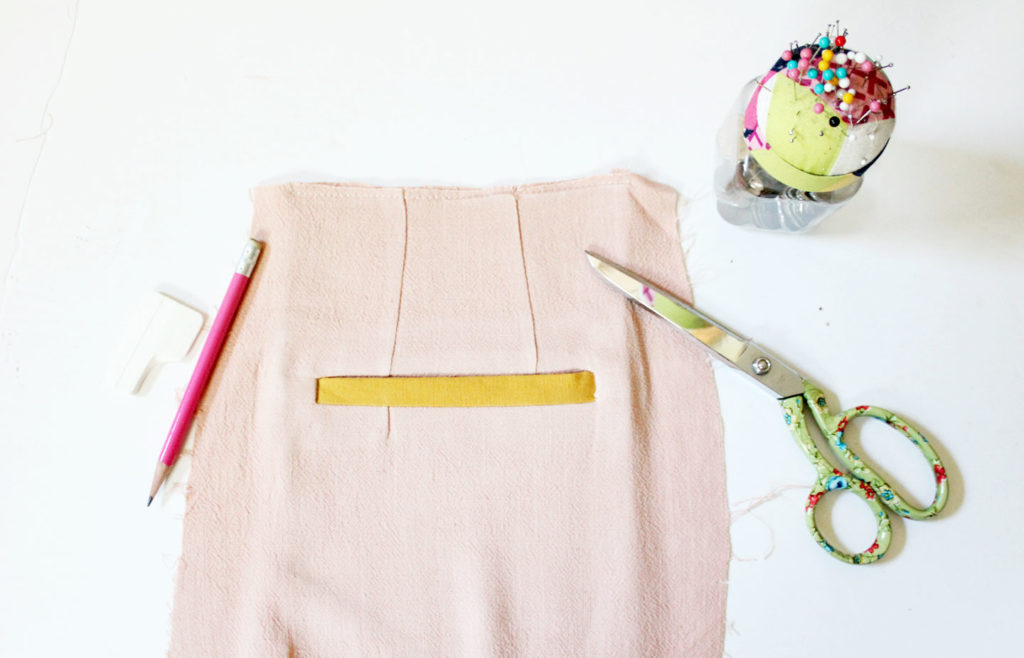
I am super excited to bring you this tutorial today as a part of the Nita Trousers sewalong! This was a step that some of my newer testers struggled with, and I know welt pockets can seem scary to sewists of any level. So lets break it down a bit shall we?

First, I will help you understand what a welt pocket is. A welt pocket is created by slashing into the fabric and attaching a pocket bag to the opening. The front of the pocket is encased in a separate piece of fabric for a clean finish.
There are a couple different kinds of welt pockets. There are different ways to sew them and different details you can add. There are double welt pockets (also known as besom pockets) that are encased in binding at both the top and bottom. For the Nita Trousers, we are sewing a single welt with a technique that uses one piece of fabric for the welt.
Check out the video below for steps 20-30.
And that’s it! Not as horrible as you thought right!?
To get ready for tomorrow, proceed with steps 31-38 to stitch & serge the center back, side seams, and inseam. Then cut your belt loops and stay stitch them to the waistband. We will attach it tomorrow!

I want to add a welt pocket on the outside thigh of a pair of premade pants. Is there a trick to do that or must I rip open the side seams to get access?
You wouldnt need to rip open the side seams. You can use the technique here, but you may need to open the inseam to the pants lay flat to work on. Does that make sense??