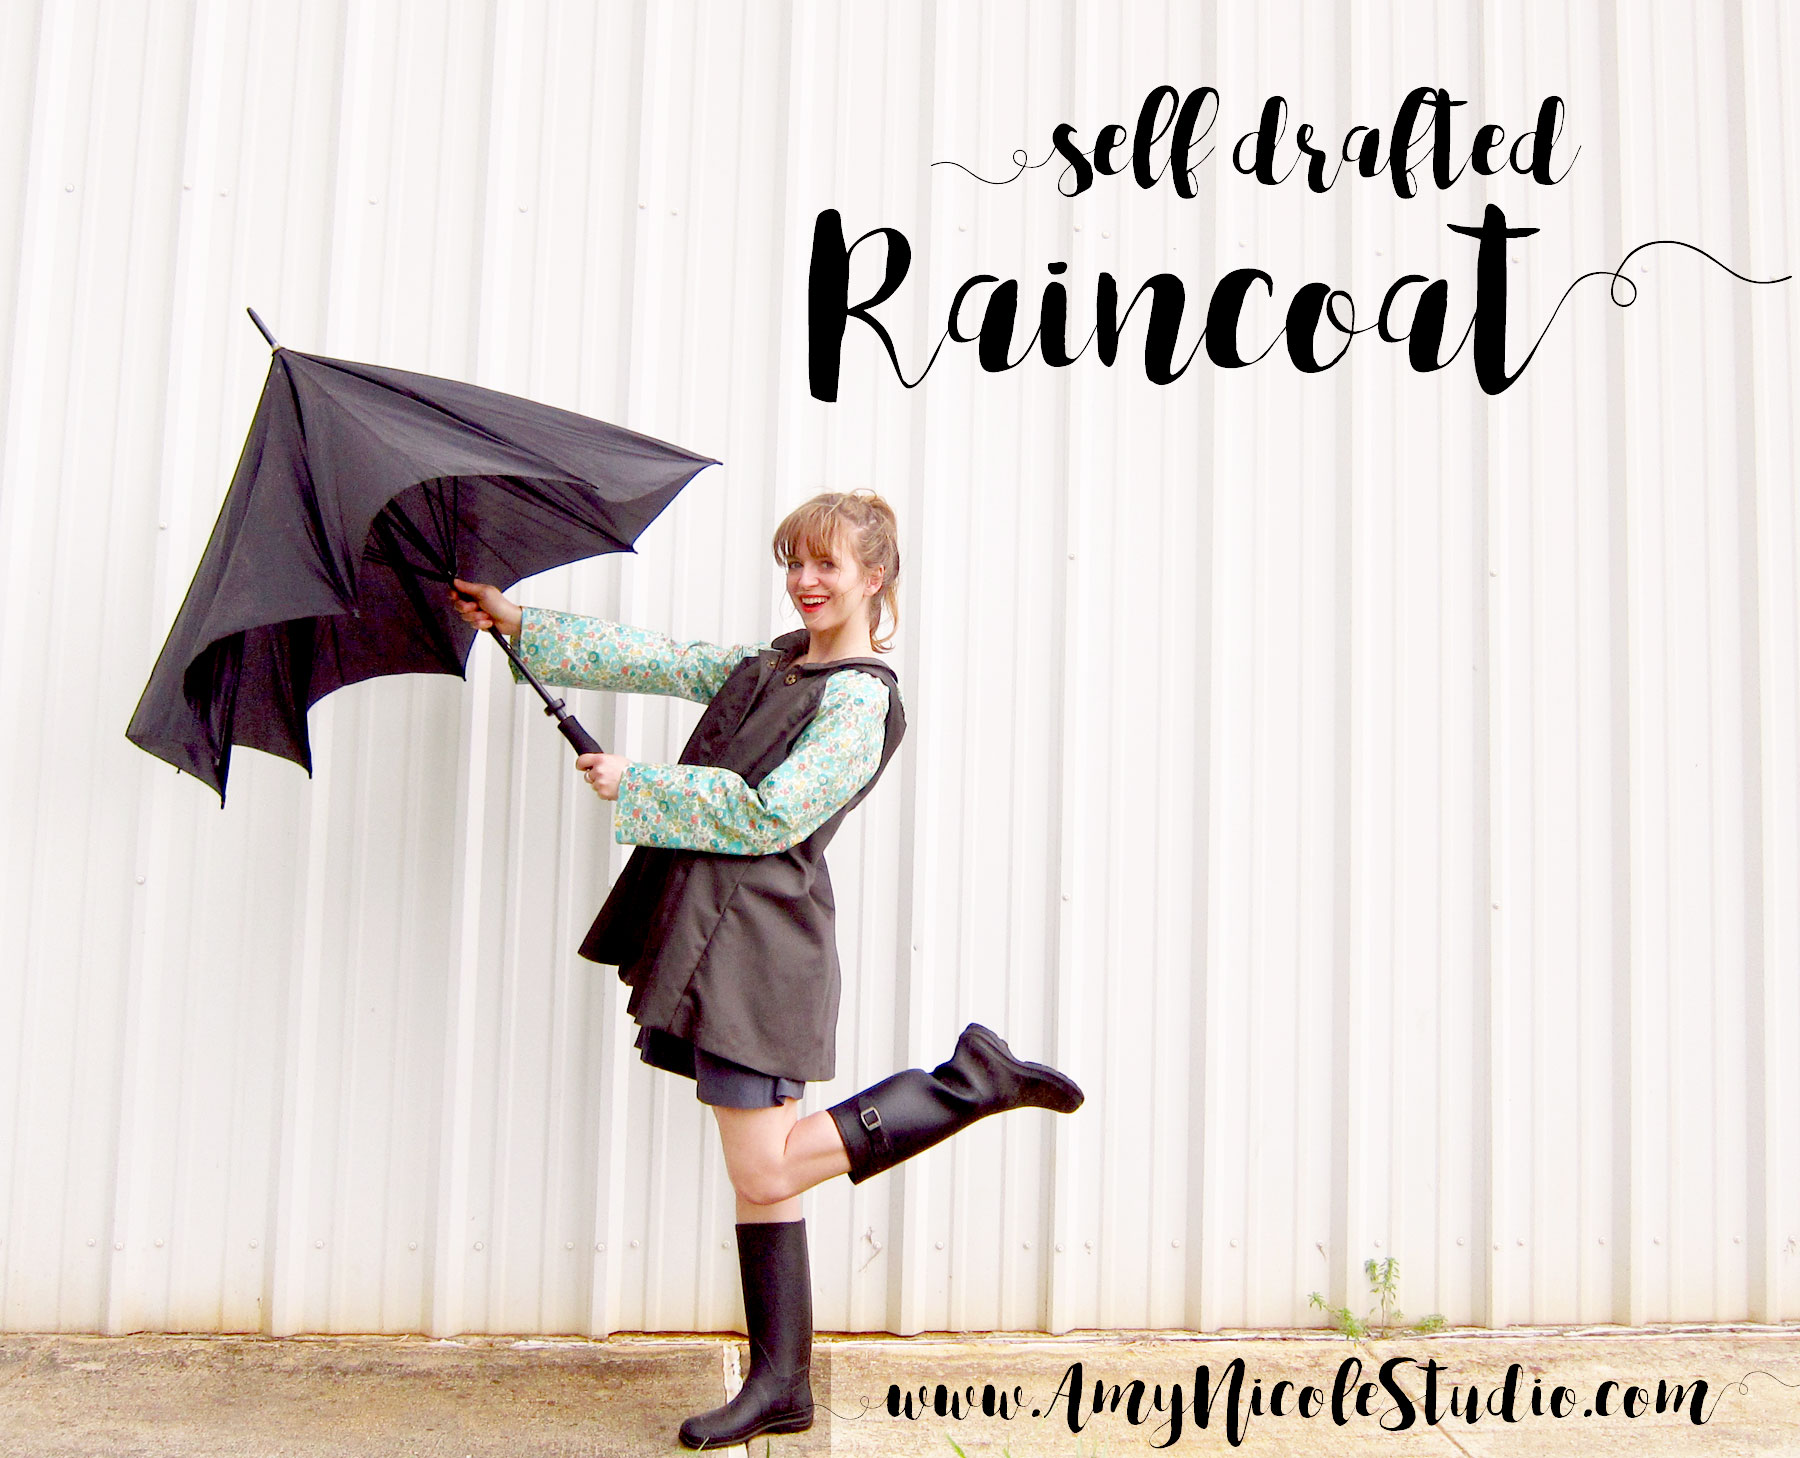
You guys, to say I’ve been planning on making this raincoat forever would be a MAJOR understatement. The idea first surfaced back in 2013 in this post, needless to say it didn’t happen. I did, however, manage to pick out and purchase fabric, which encouraged a new sketch and new plans blogged about in this post. Still.. one thing led to another and it never happened. I think since I knew I’d be self drafting, and need to make a muslin, it seemed like such a daunting project that I kept putting off. I’m SO GLAD I finally finished it. This will be one of those pieces I have around forever. I’m totally in love!
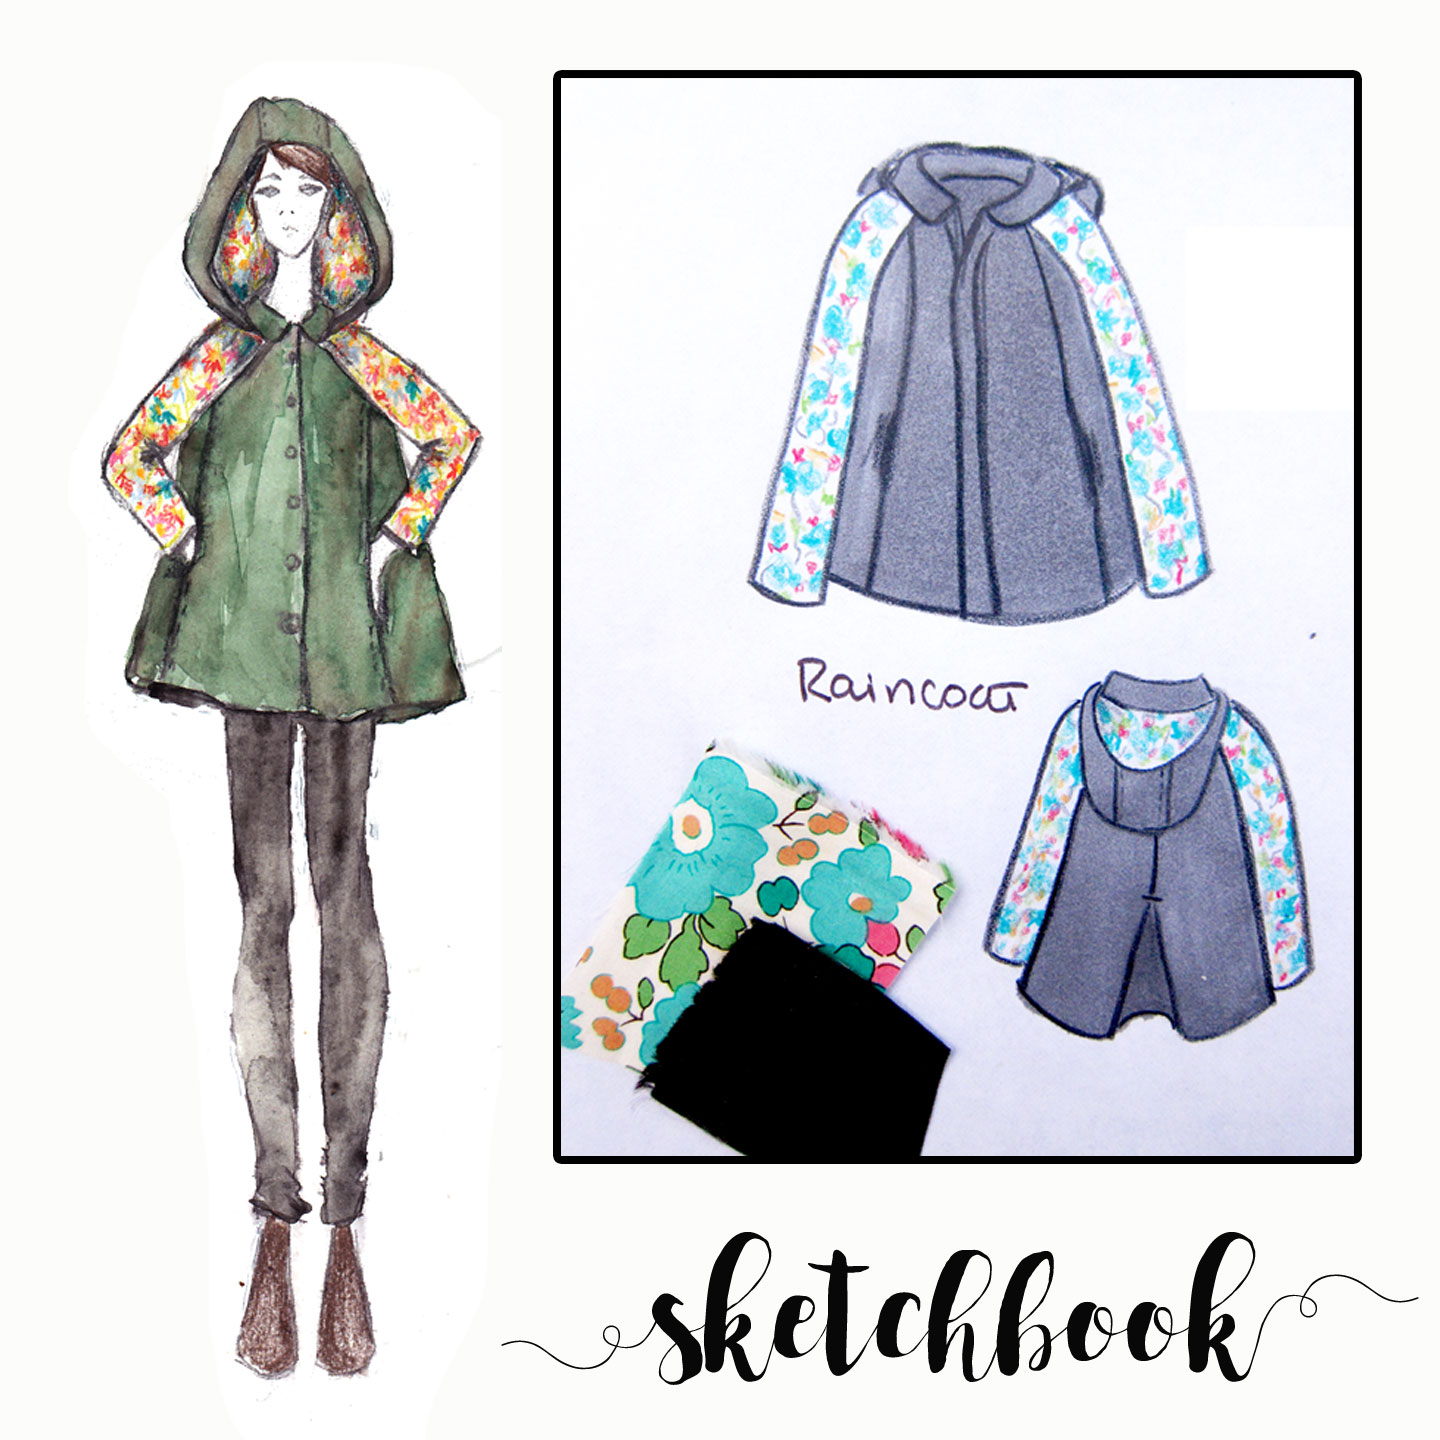
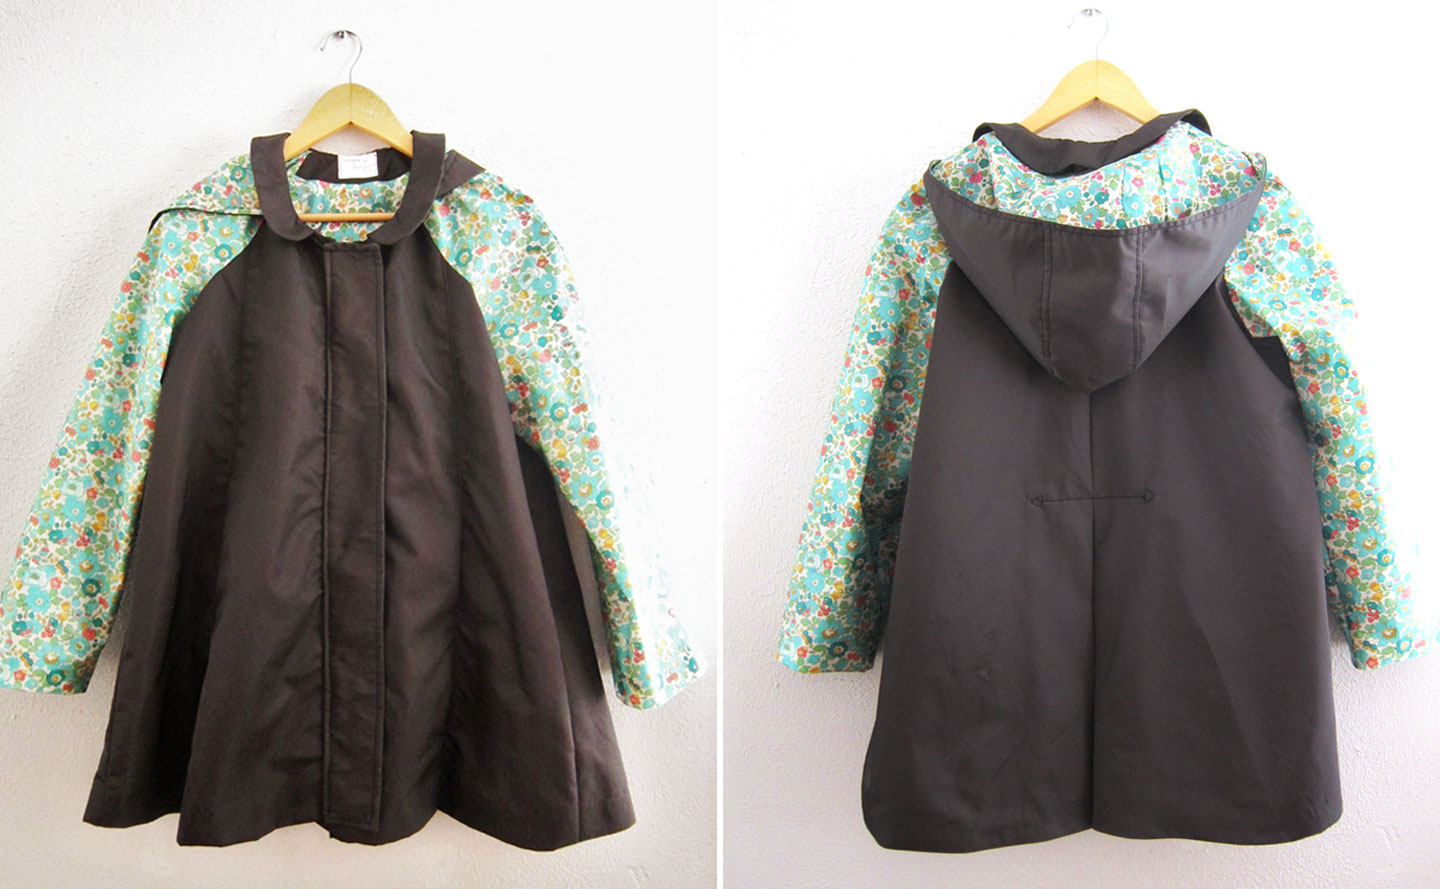
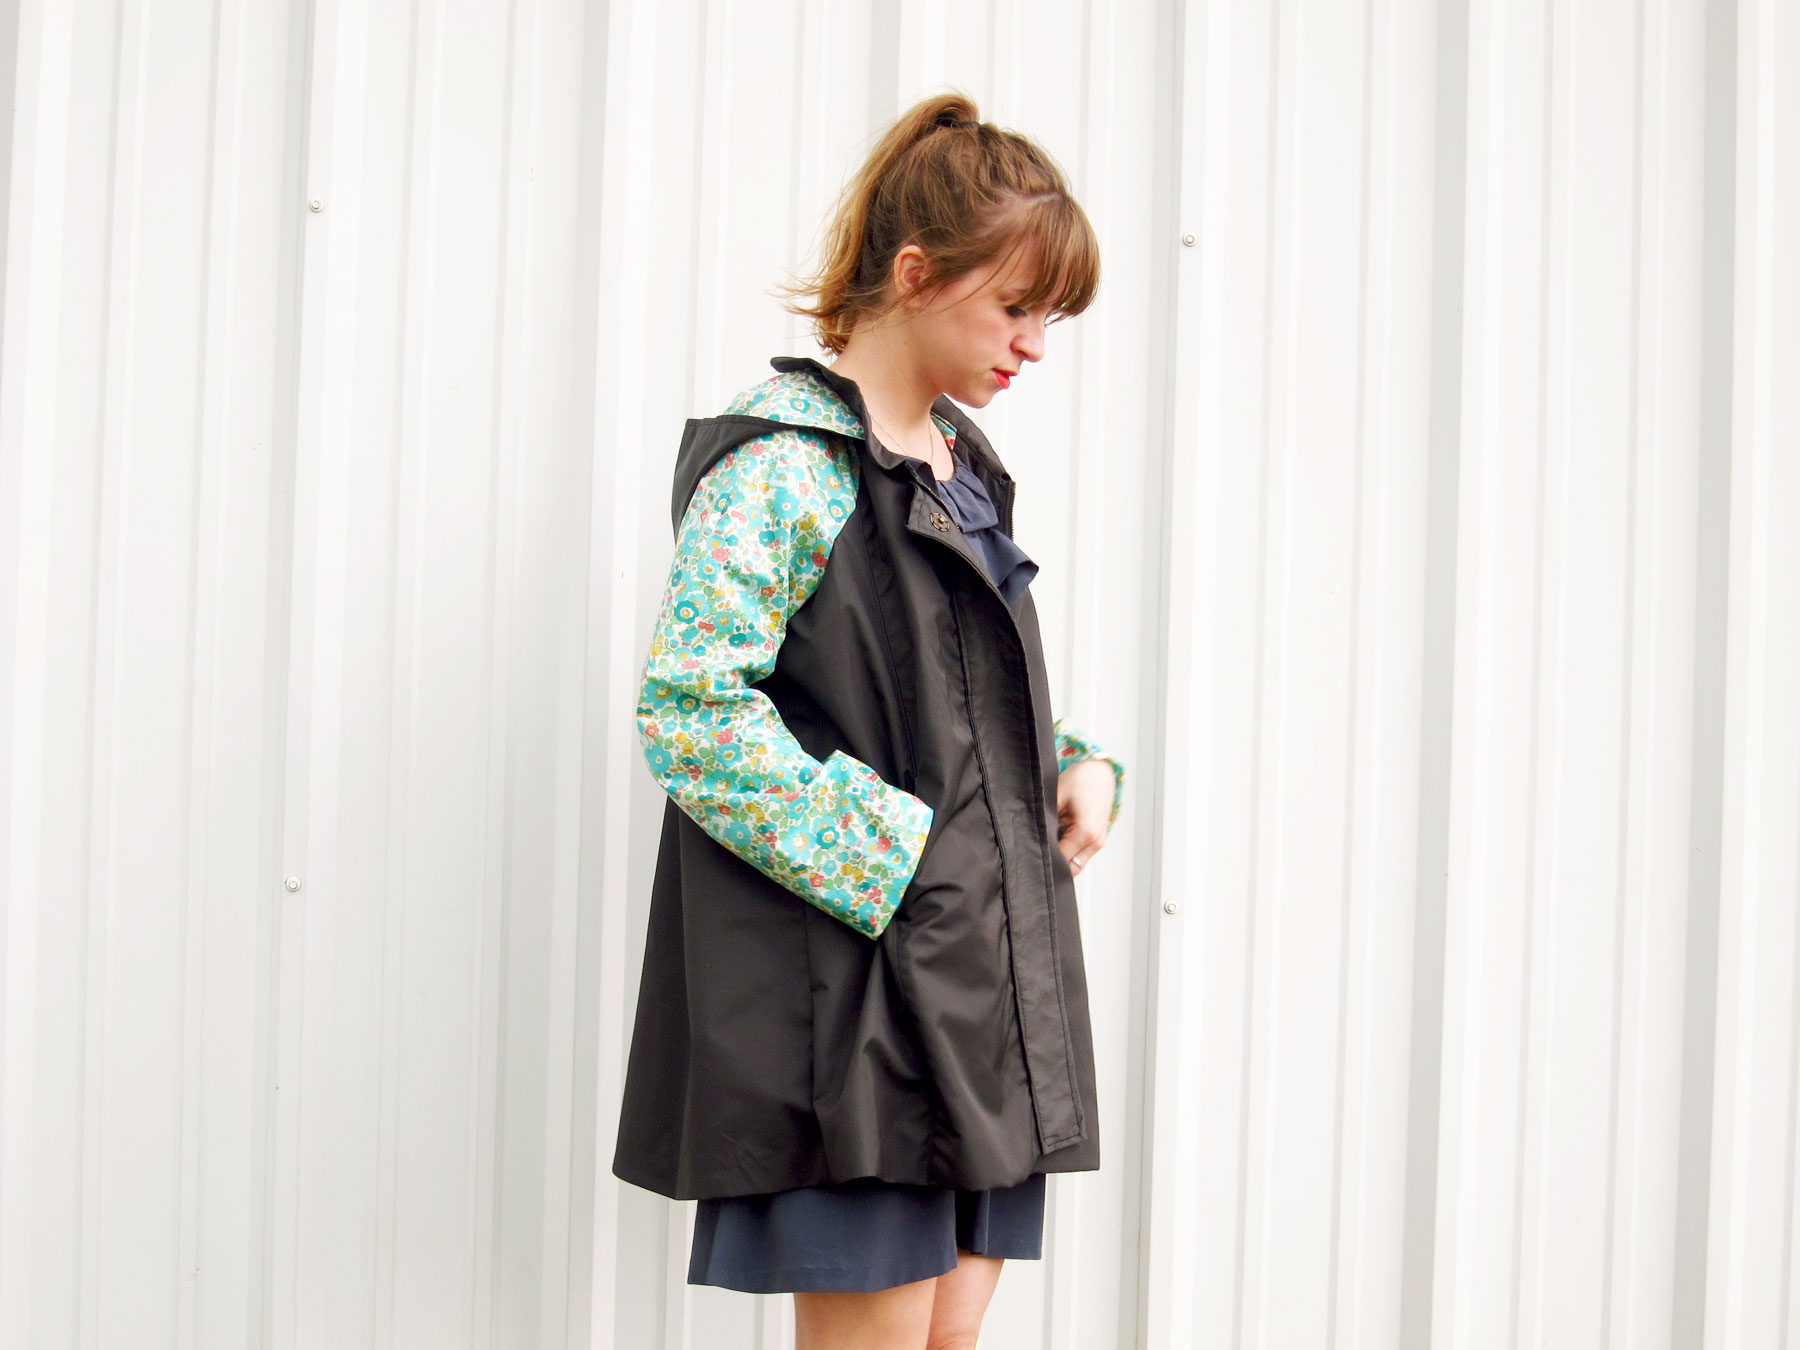
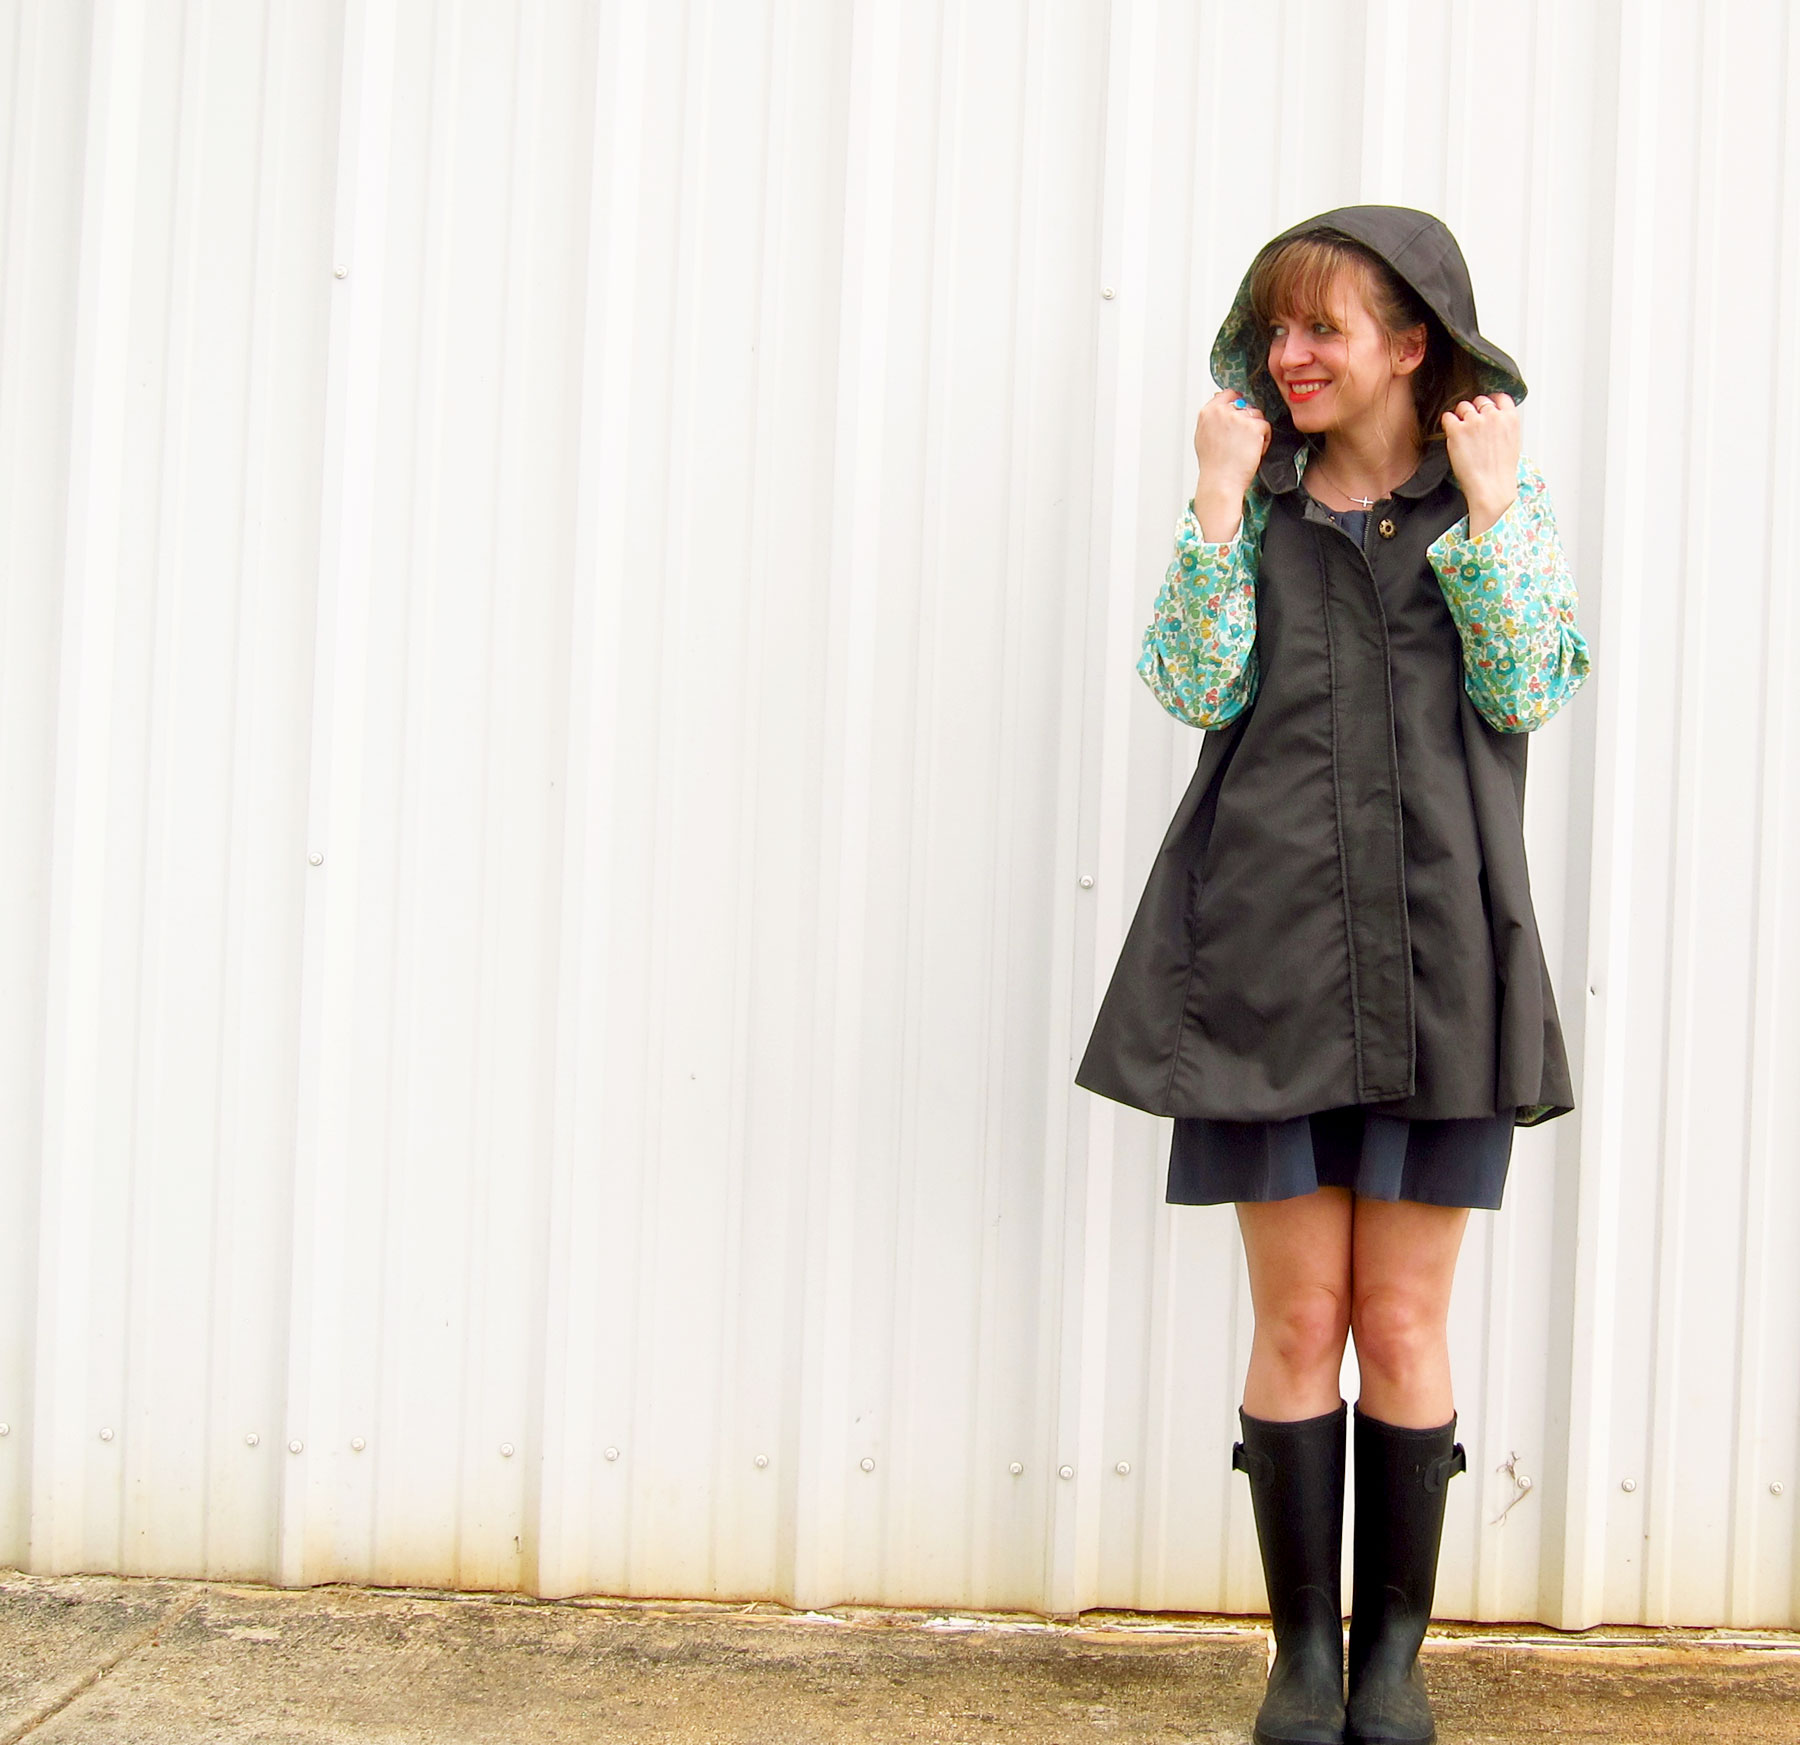
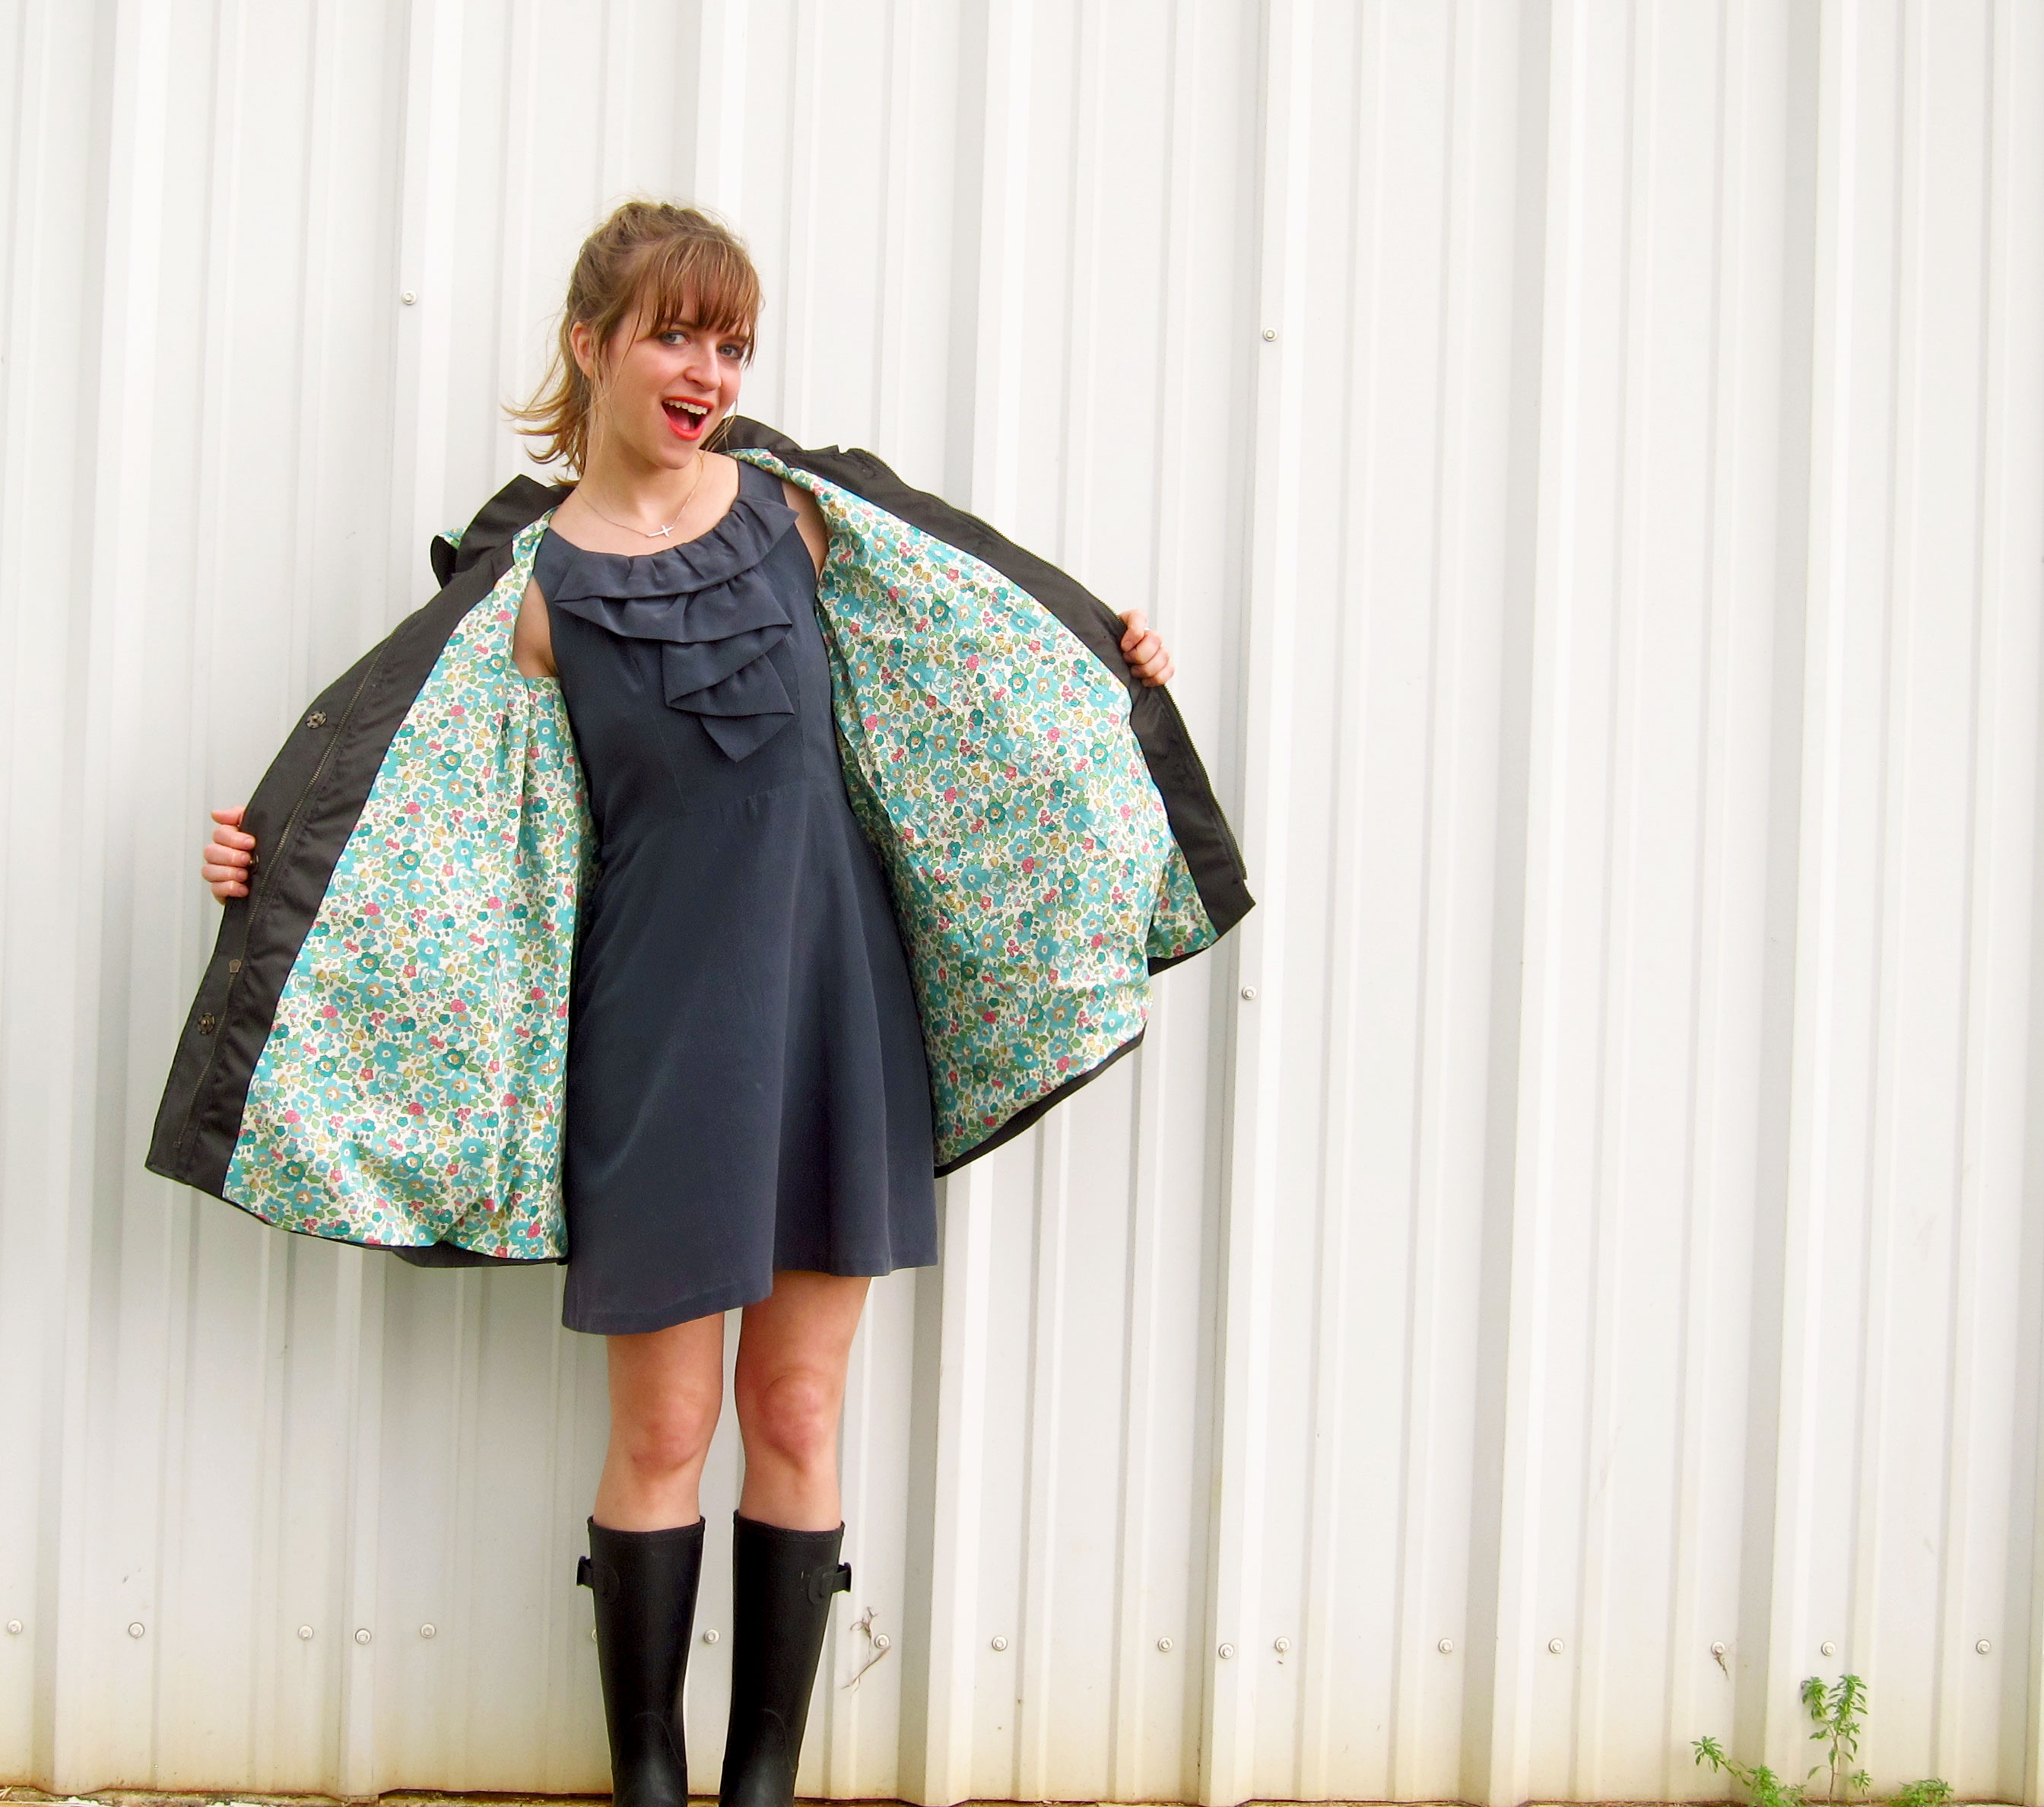
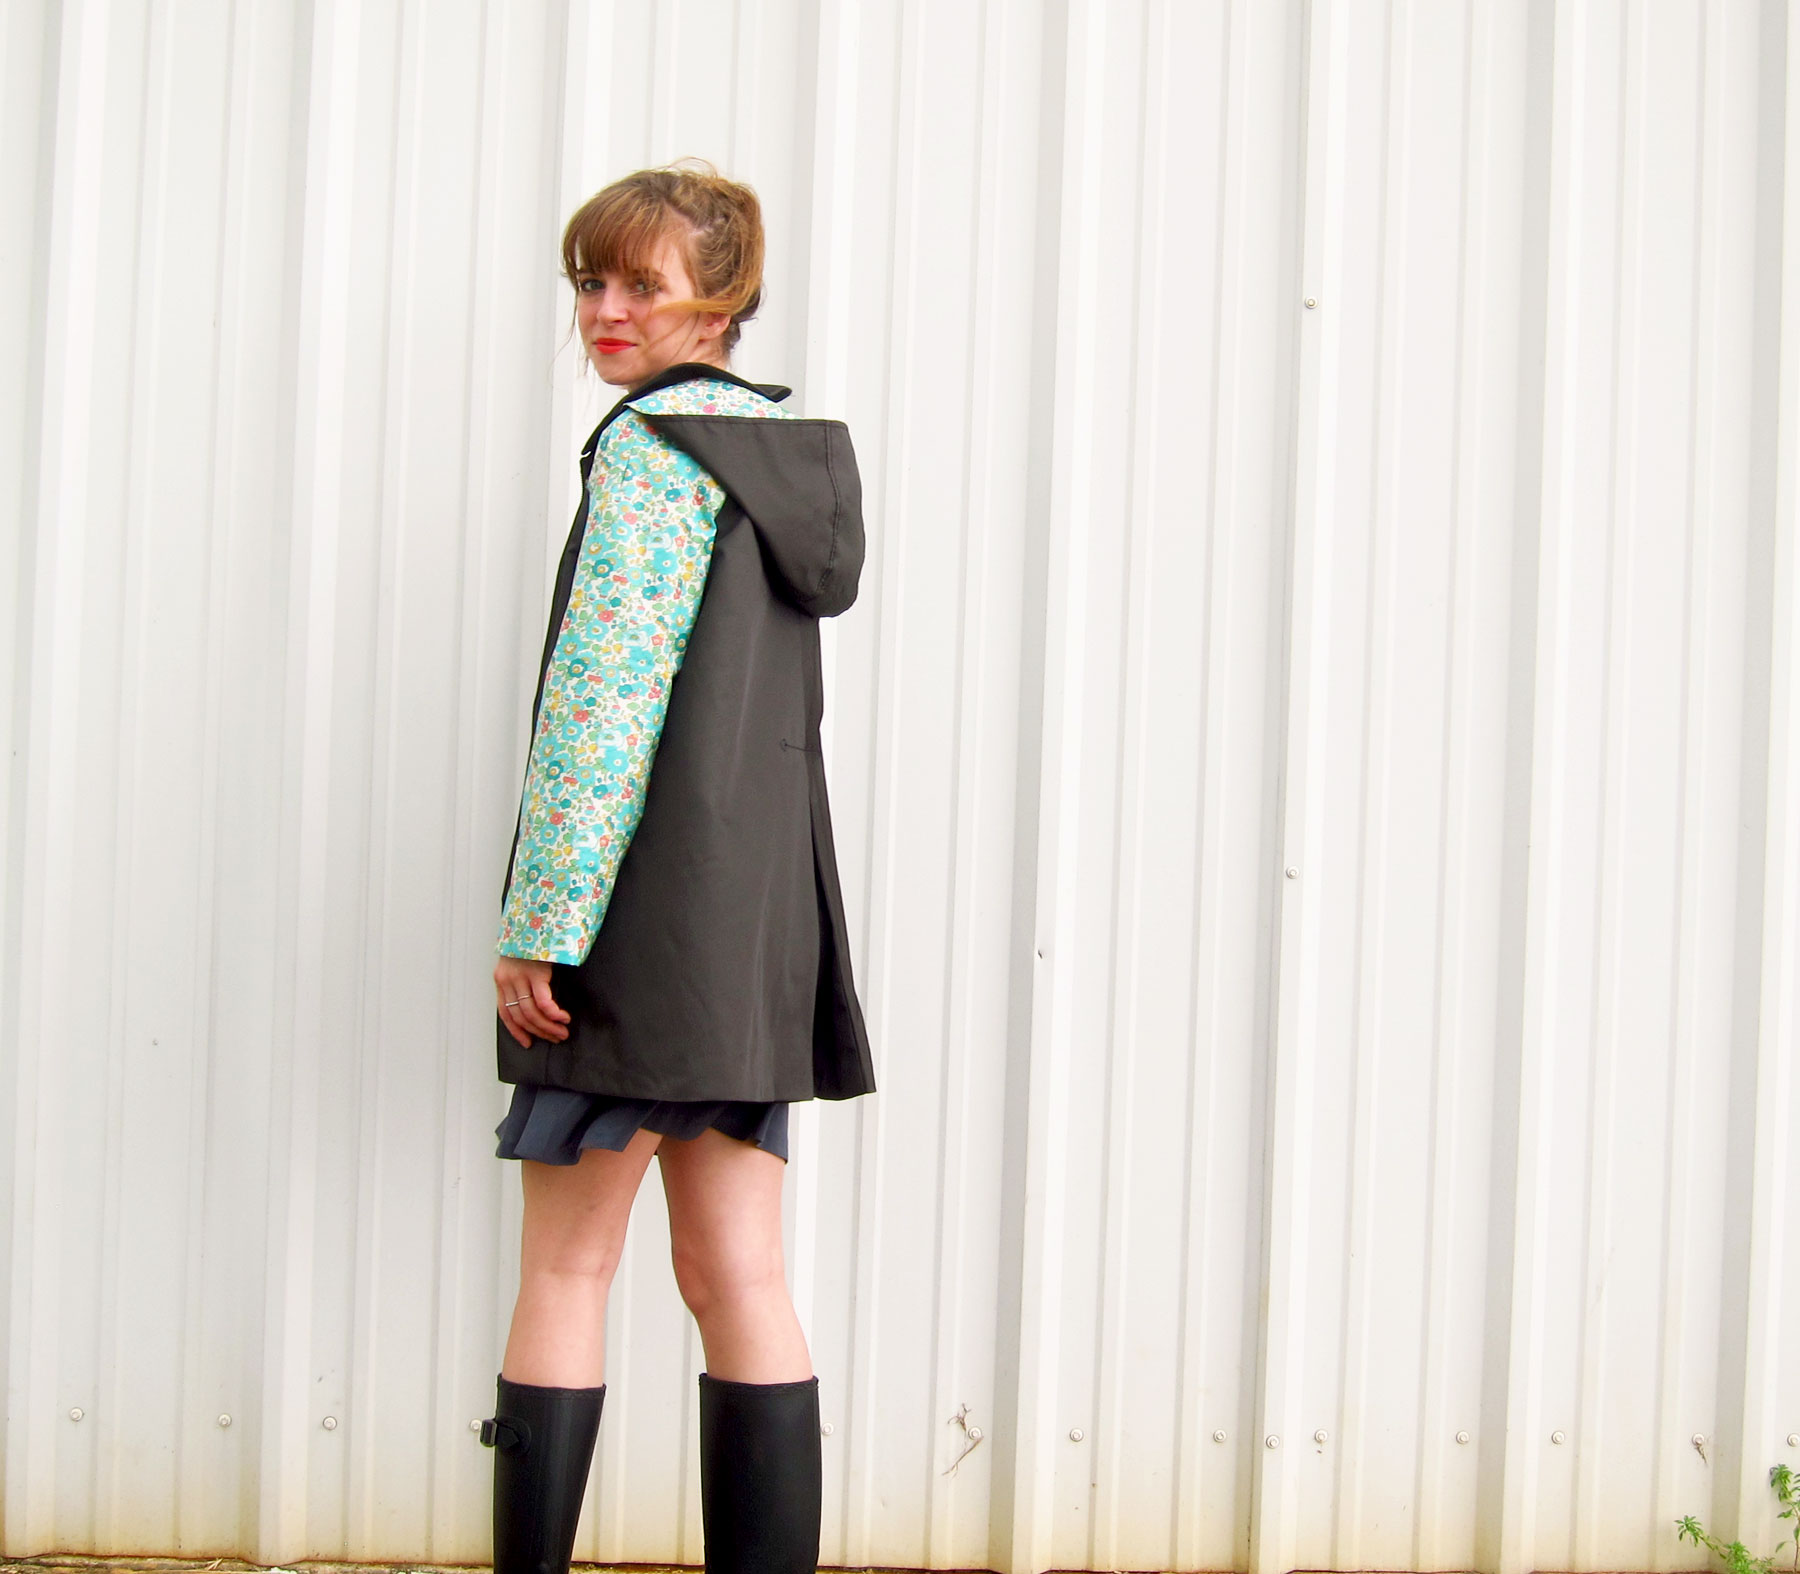
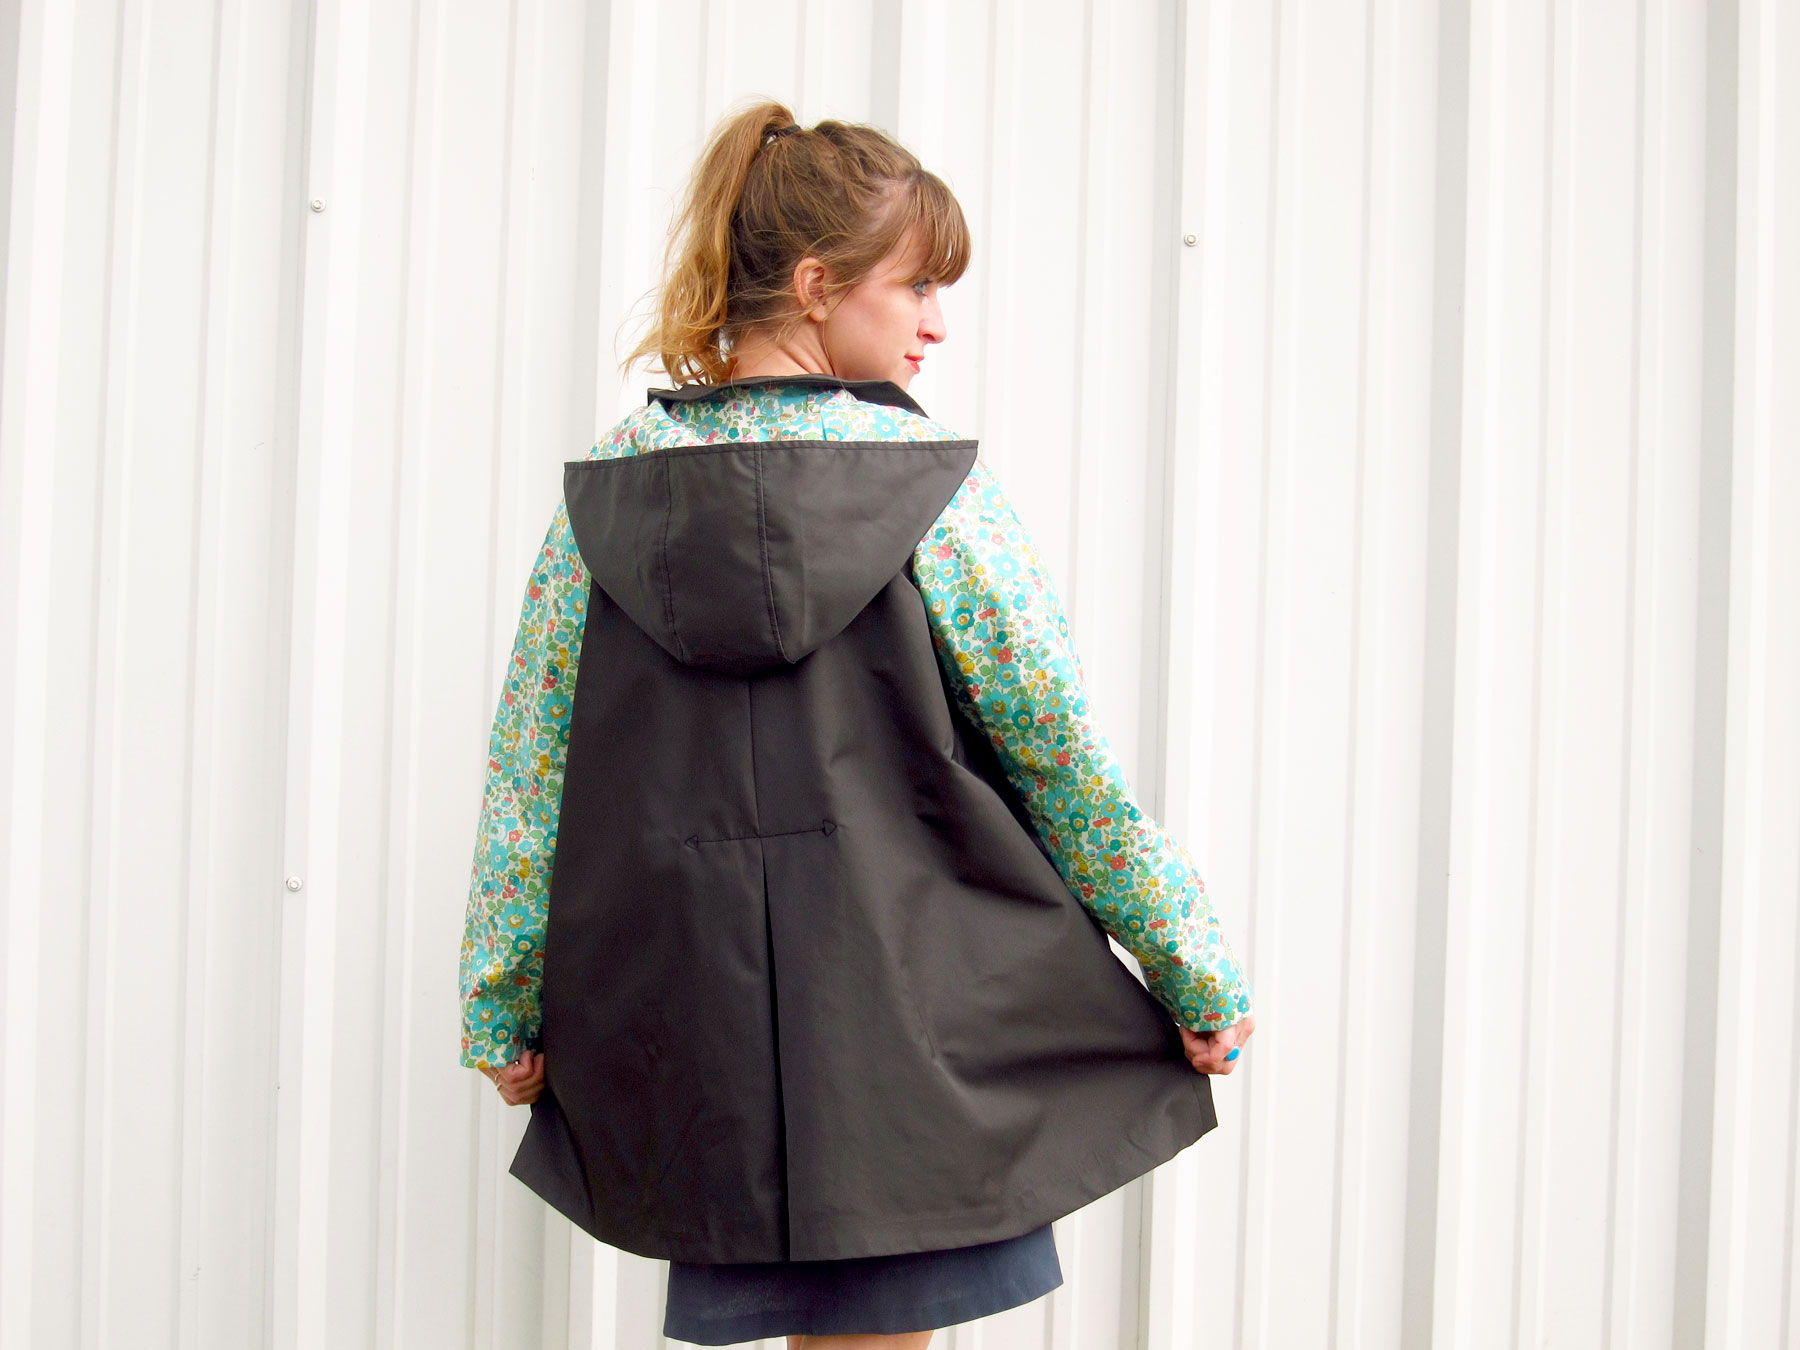
The base of the pattern is from a drape I made in school that I elaborated on. The initial drape was much shorter, did not have a hood or pockets, and did not have the extra front seam. I added length because as a raincoat I felt it needed to be at least past my hips. The hood was a no brainer, and I knew I wanted a nice deep, roomy hood so I drafted a three piece hood (to make room for the bun you know). I kept the peter pan collar along with the hood because I think it adds a sweetness to it. I also added the deep pleat in the back for a classic, swingy look. As well as the side front seam as a fun detail to mimic the topstitching in the hood and to put the pockets forward.
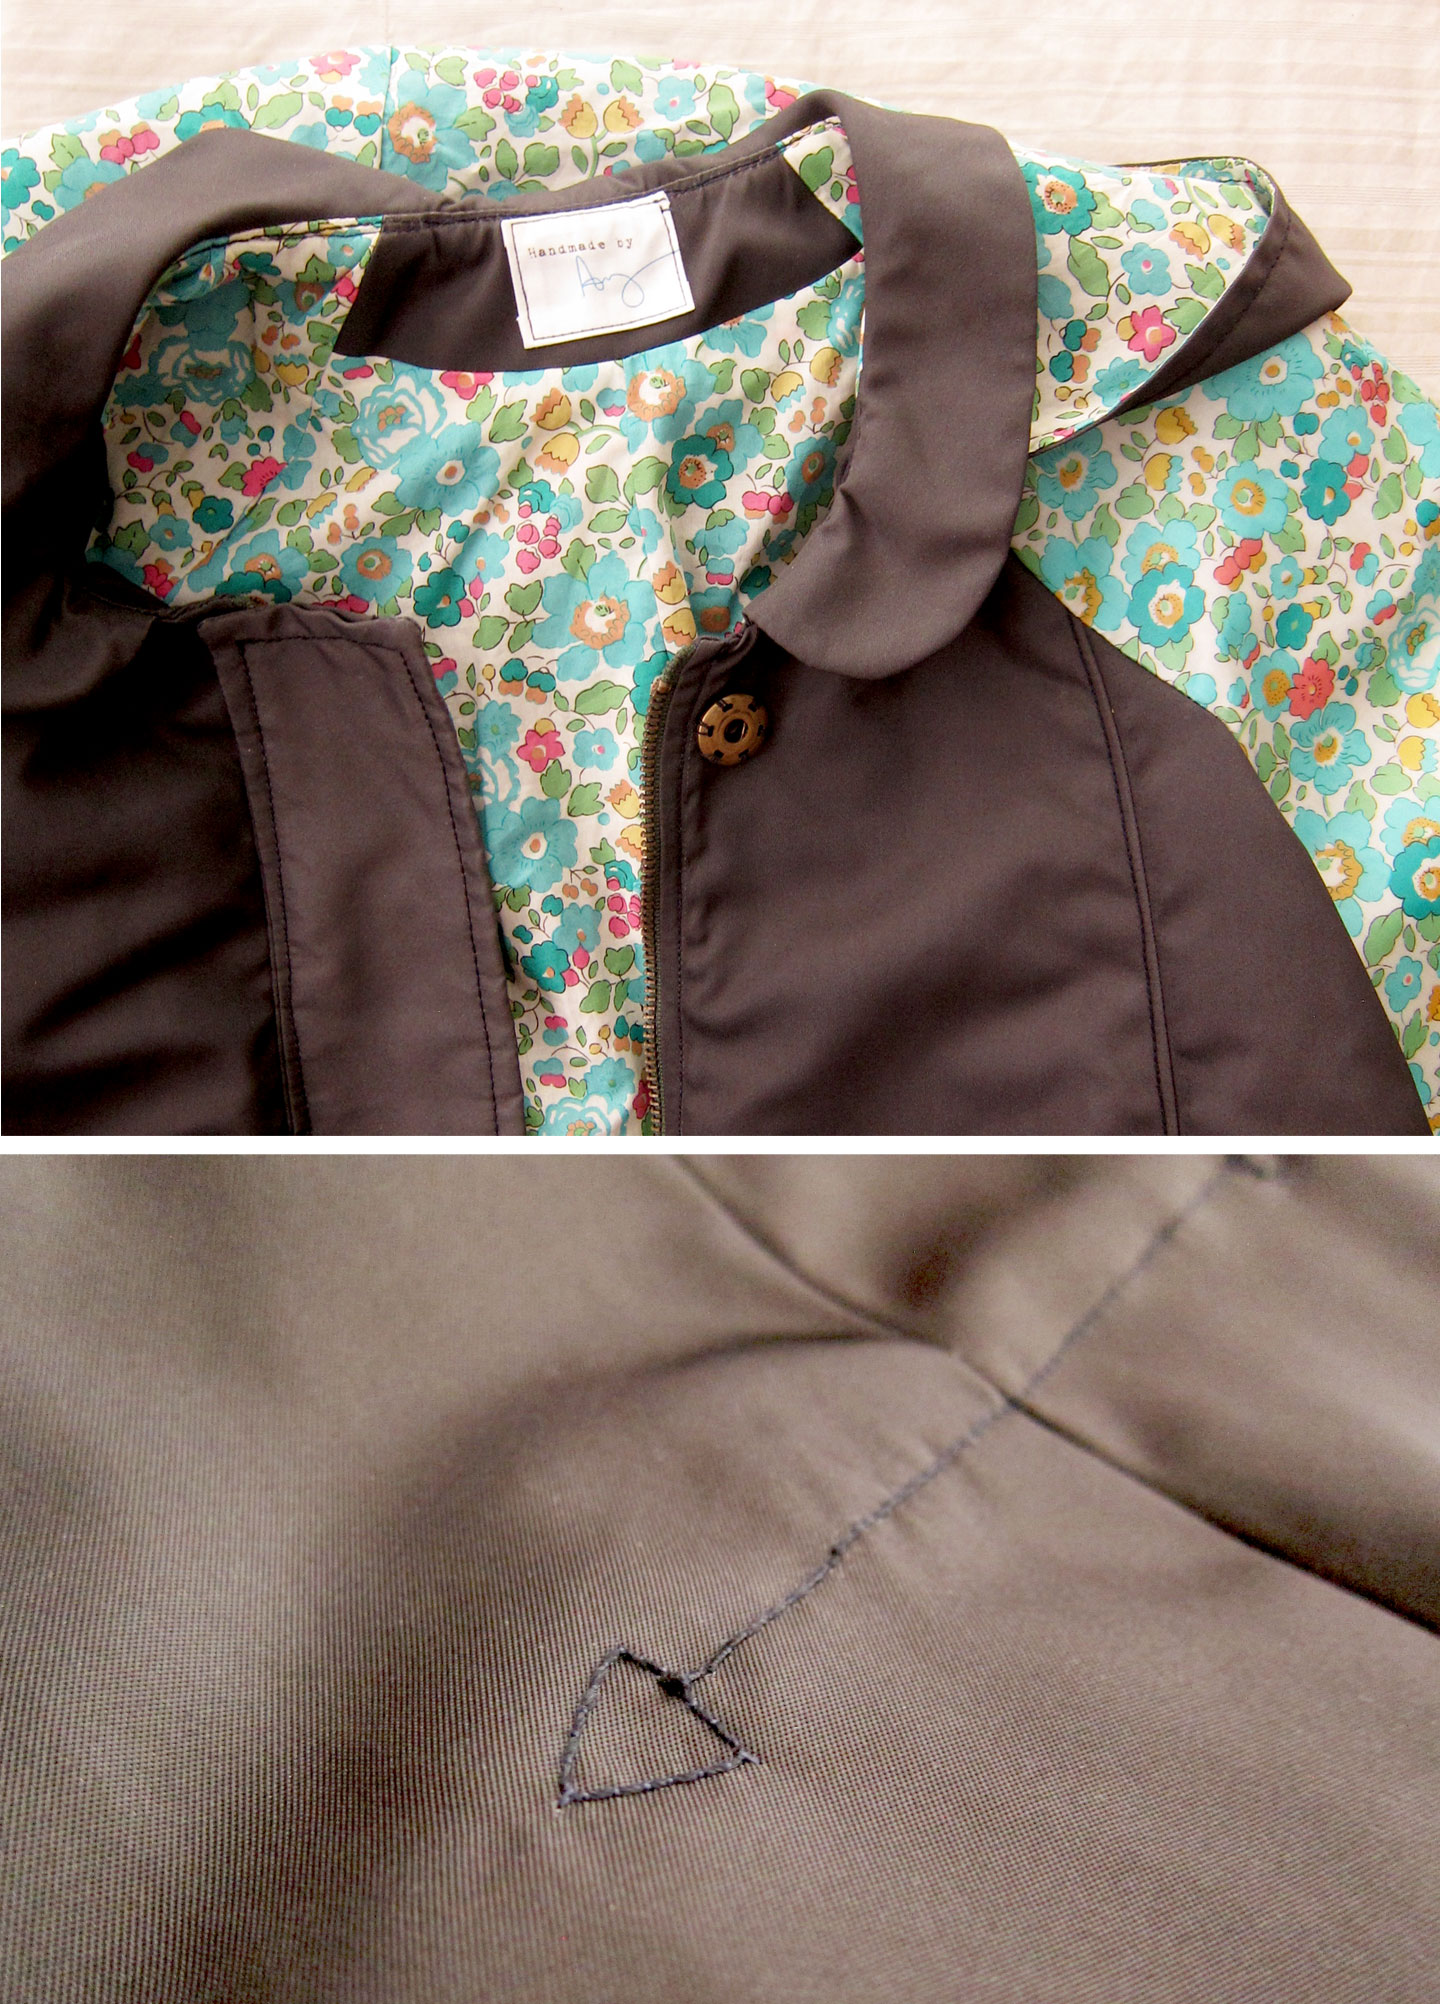
For fabric, I really liked the idea of playing with fun florals along side dark utilitarian green/grey. I scoured the depths of the internet to find this laminated Liberty of London print to use on the raglan sleeves. Sadly, I don’t remember the shop but I do know it was an Etsy find and cost a pretty penny. I got corresponding Liberty print in lawn for the linings. The green fabric is from NY Elegant fabrics that I snagged while I was still living there. Originally I was going to do buttons but I like the easy access of snaps and the security of a zipper so I chose both. The zipper is covered with the front flap on which the snaps are connected. I cannot even say how much I love these fabrics together, it really is my dream raincoat.
The only thing I’m moderately unhappy with is the top stitching in the front. My machine really struggled with this heavy slick fabric, even when using a teflon foot. The stitches ran too close together and the fabric puckers a bit where topstitched. This fabric, though heavy duty, is very light weight. It sort of floats and doesn’t have the heaviness to coax the ripples to fall out. I’m hoping with wear it will relax.
Pattern: Self -drafted
Fabric: Laminated Liberty of London, Liberty Tana Lawn, Waterproof Green Nylon
Notions: 22″ Zip, Sew on snaps
Difficulty: Advanced
Finishes: Clean finished with full lining
Sew it again? No, I’m hoping this is my forever raincoat, and I won’t need another 🙂 Maybe as a regular coat thought!
I’m so so happy with this coat and I’m so very excited to finally be able to share it with y’all. One day, if I’m ever making patterns to sell, this will definitely be on the list!
Have you ever made a raincoat?? What are you waiting for?!

Omg thus is gorgeous, loving the mix of Liberty and ‘the dark side’ I would buy this if I saw it in a shop. Your drafting skills are so good, shame about the top stitching but hopefully they will relax.
Thank you so much Lynsey, I also love the contrast of the fabrics. Fingers crossed for the front!
This is such a cute raincoat! I’ve never made one myself, I find it’s such a struggle to find cute performance fabric.
Finding fabric was the biggest struggle.. luckily it worked out wonderfully!
It looks so good!!! The swing style is PERFECT for a rain coat – so it doesn’t trap all your body heat under there. I look forward to you releasing the pattern. 😉
thanks so much Elise! You’ll be the first to know!