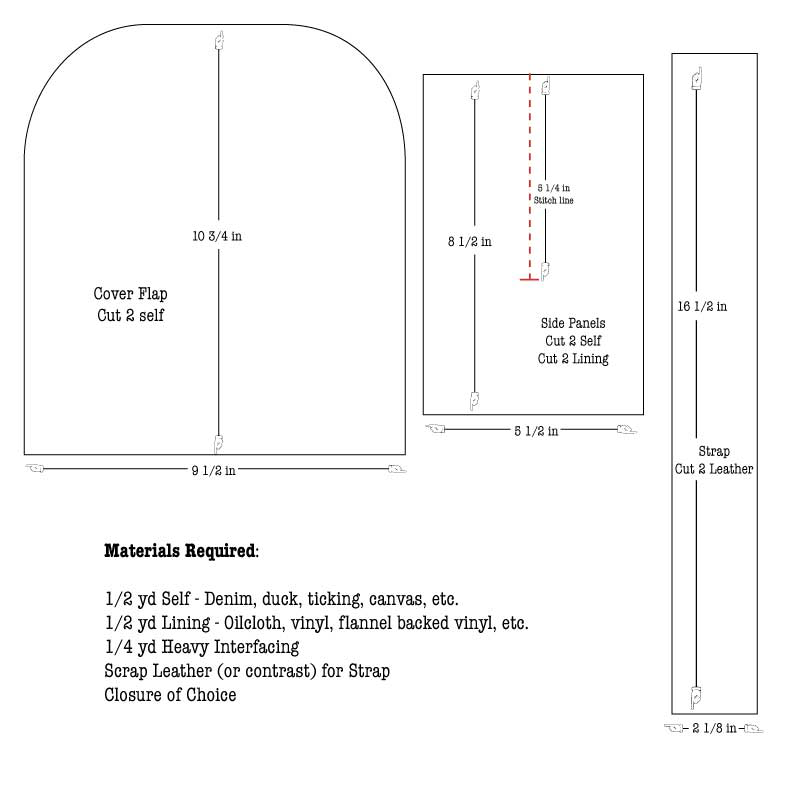
1. Cut out pieces. Note: all measurements include 1/2″ seam allowance unless otherwise noted in instructions. Make sure to mark notches for fold lines on body piece. Rounded corners for cover flap were done freehand.
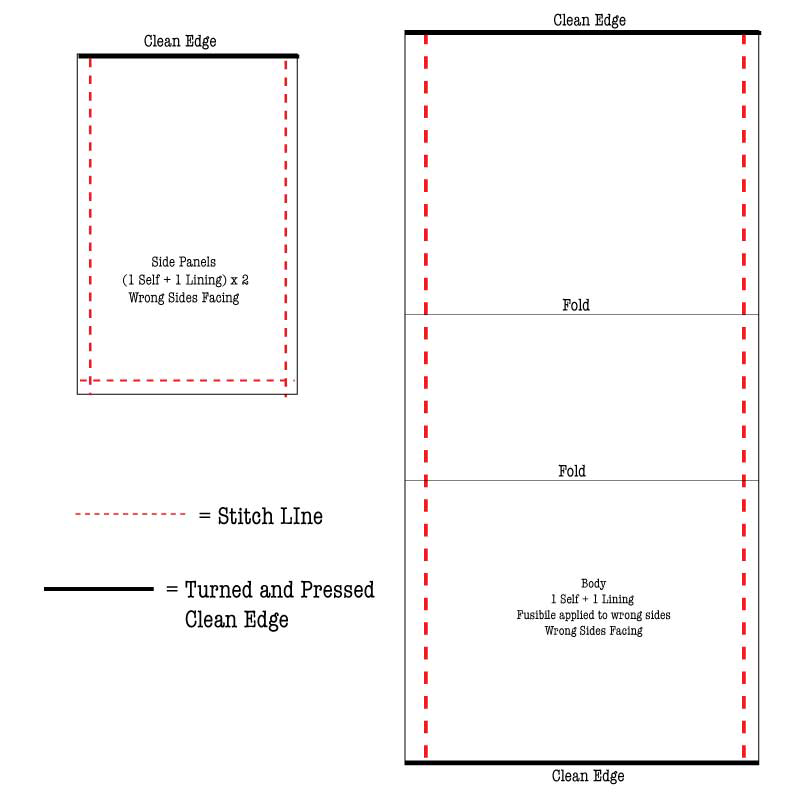
2. Attach Interfacing. I used a heavy buckram for my interfacing pieces which had to be sewn on, but iron-on interfacing would work as well. Note: Interfacing pieces have no seam allowance (you’ll see why in a bit). Attach smaller piece of interfacing to lining body on the wrong side, centered just inside your fold notches with seam allowance of lining showing (see picture below). Attach larger piece of interfacing to self fabric body on the wrong side, centered inside of the seam allowance.
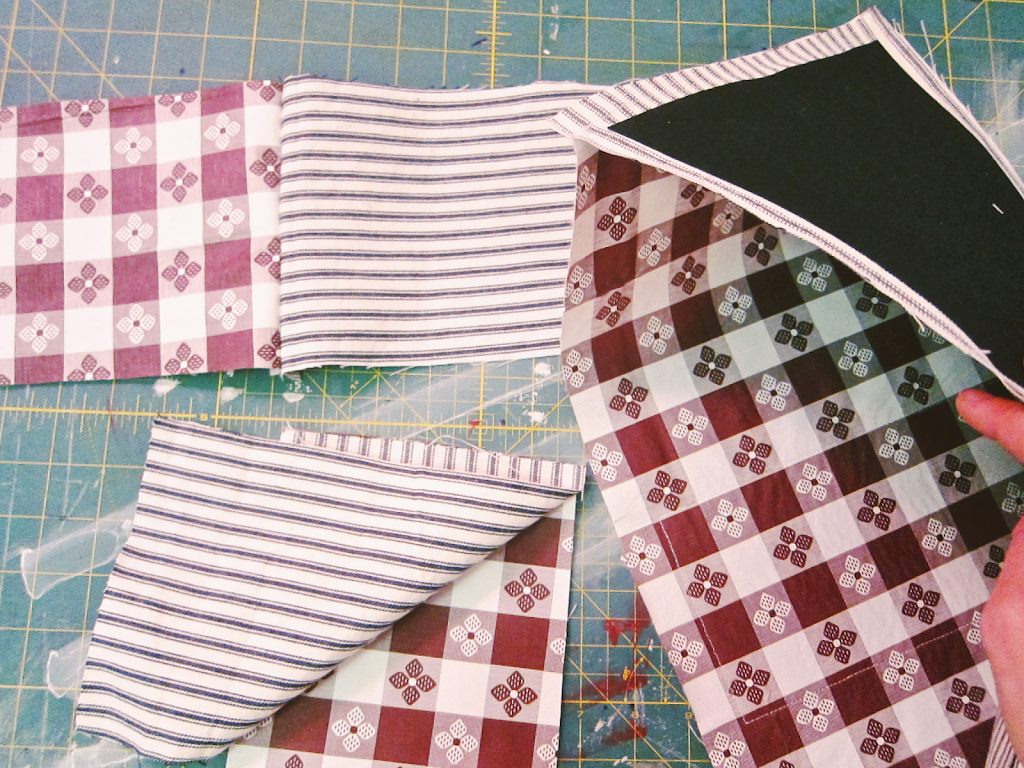
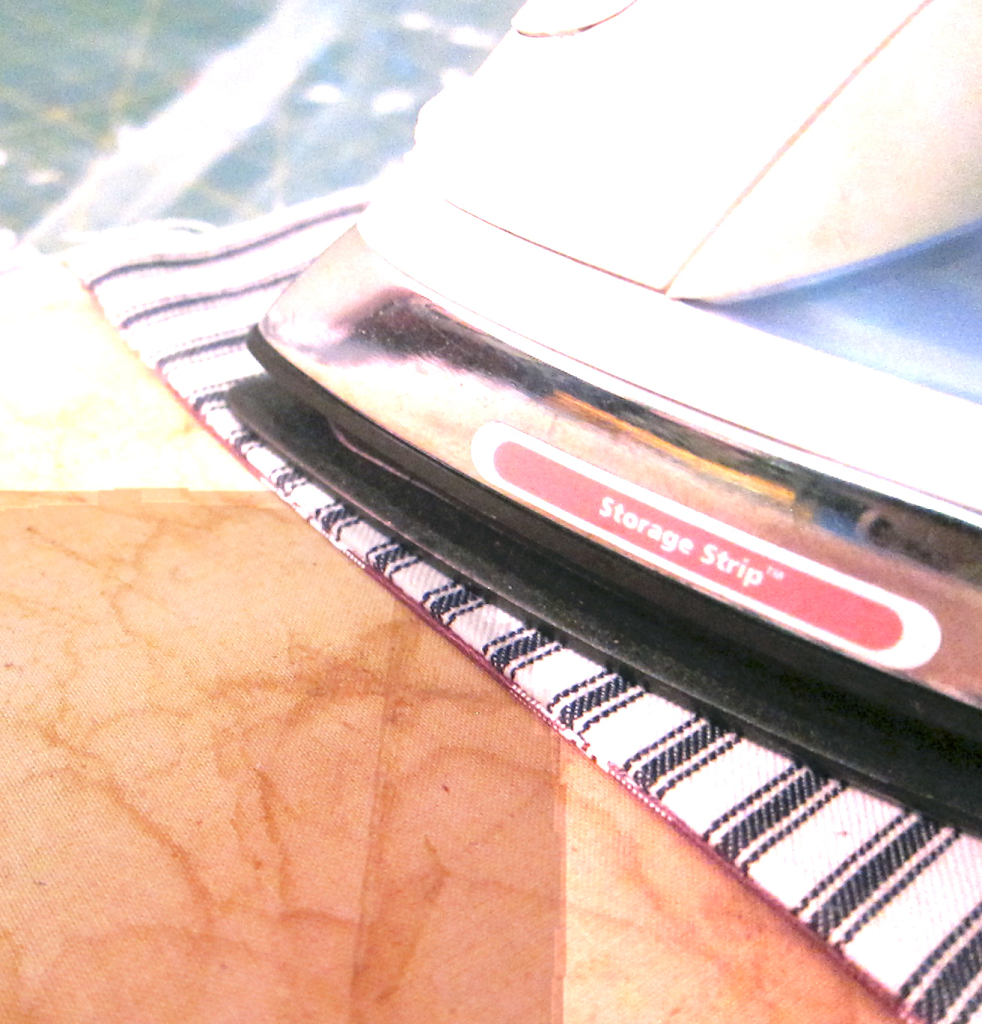
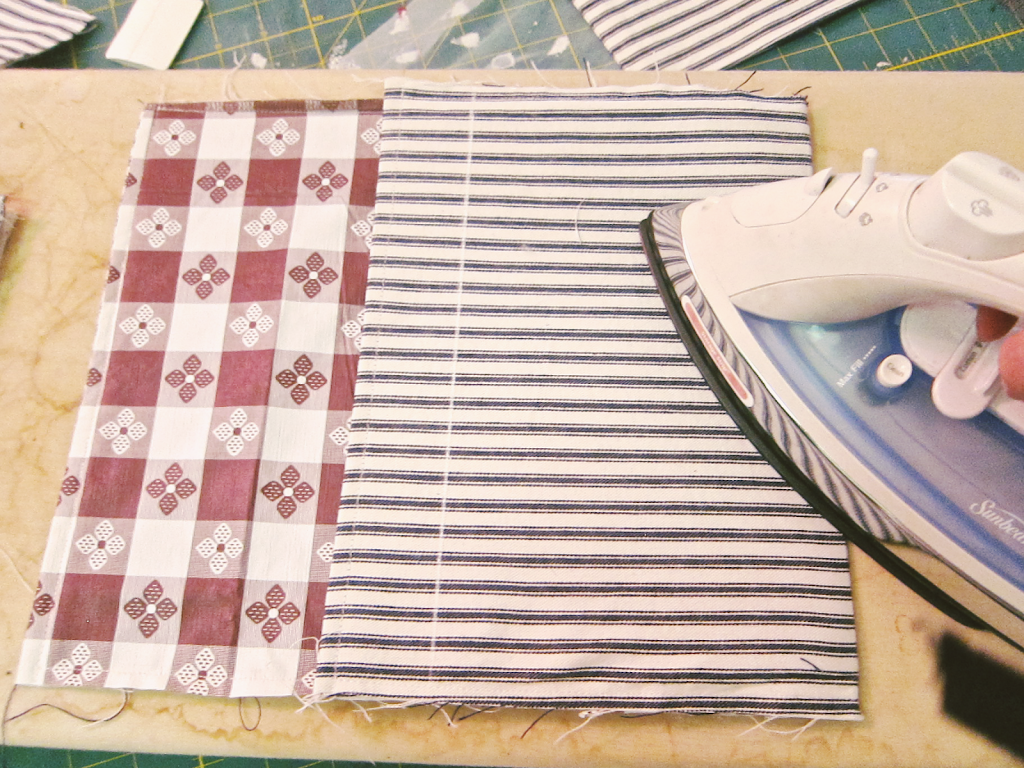
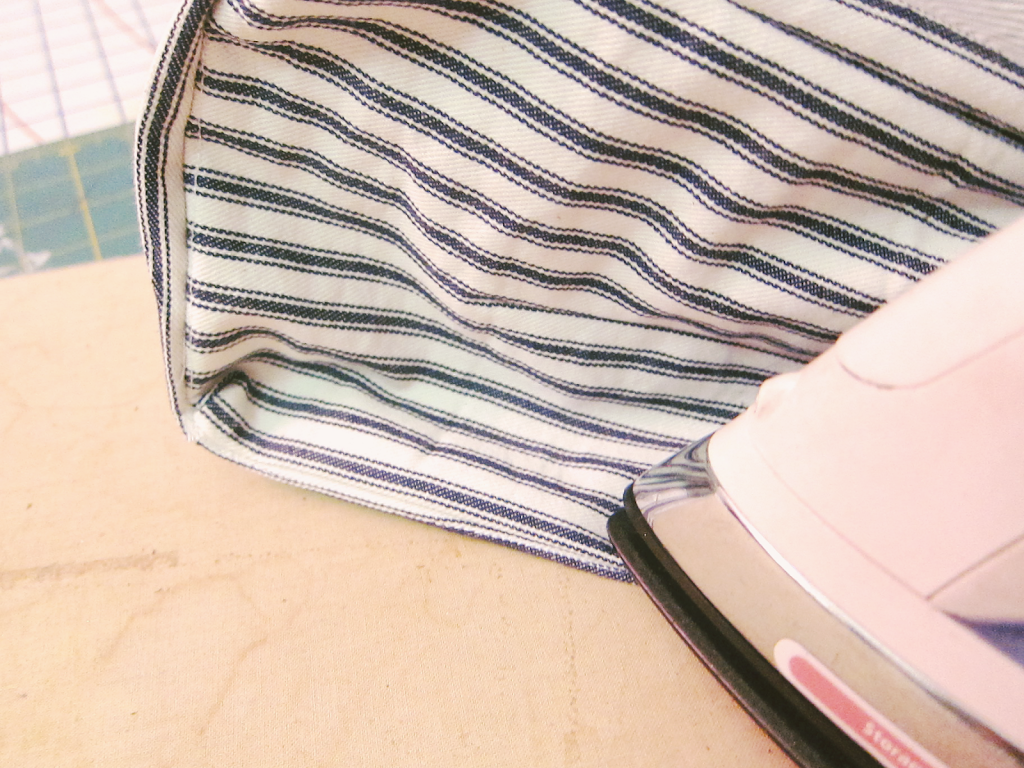
4. Flip and Iron. Flip side panel and body pieces so wrong sides are facing and press edge seams you just sewed. NOTE: Make sure to press with iron on self side if you are using vinyl, oilcloth, or laminate fabric. See image below.
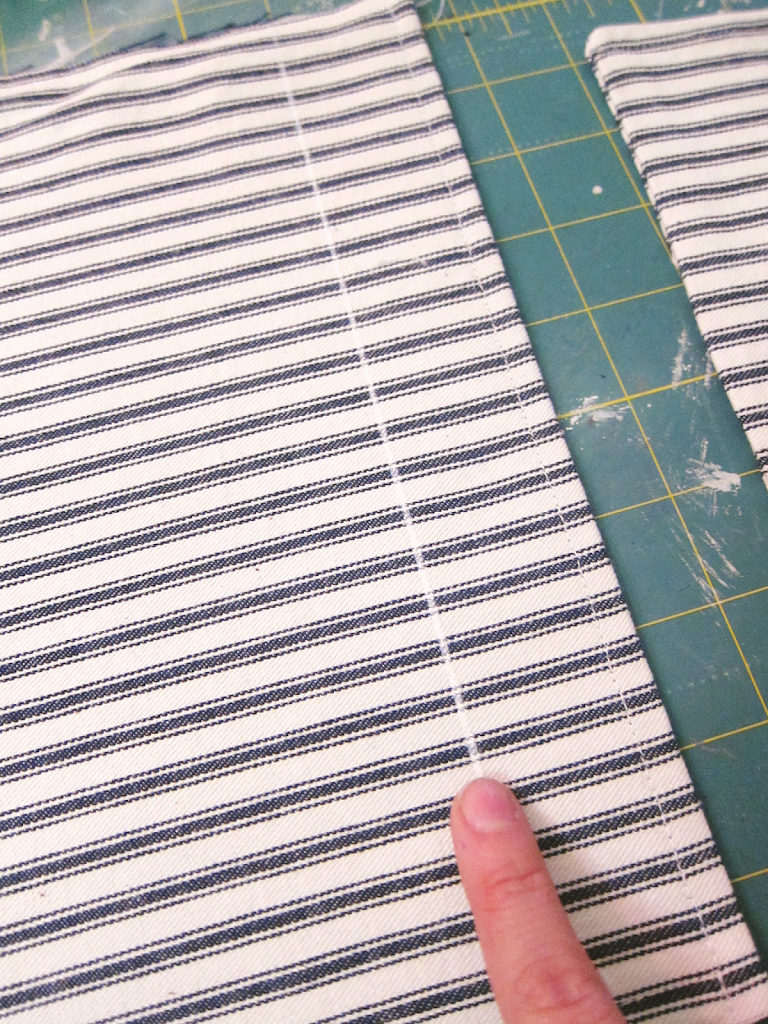
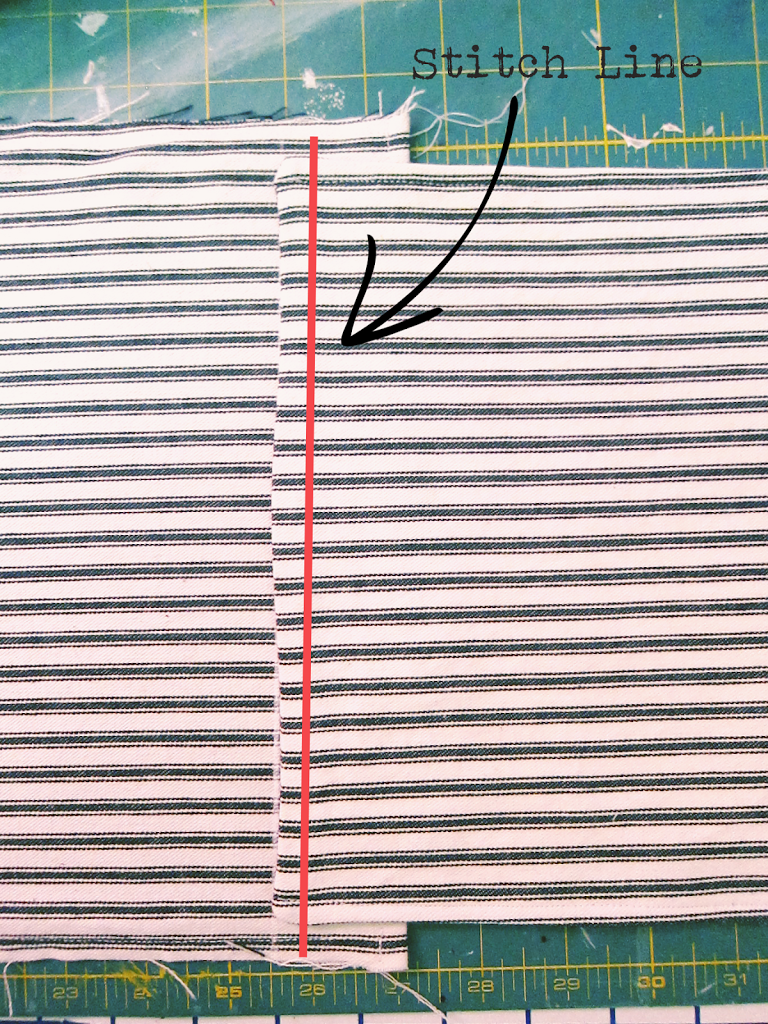
6. Edge stitch fold in center of side panels. Fold side panels “hot dog style” so self fabric faces itself. From cleaned top edge, edge stitch 1/8″ in from your fold line, 5 1/4″ down (see first diagram for stitch line). Image below shows the finished result of this step. This is more of an aesthetic step than a structural one, so if you prefer you can skip it.
7. Press down fold lines of body. Following your notches for the fold line on body pieces (see first diagram), press your fold into the body pieces from the outside (self). See image below.
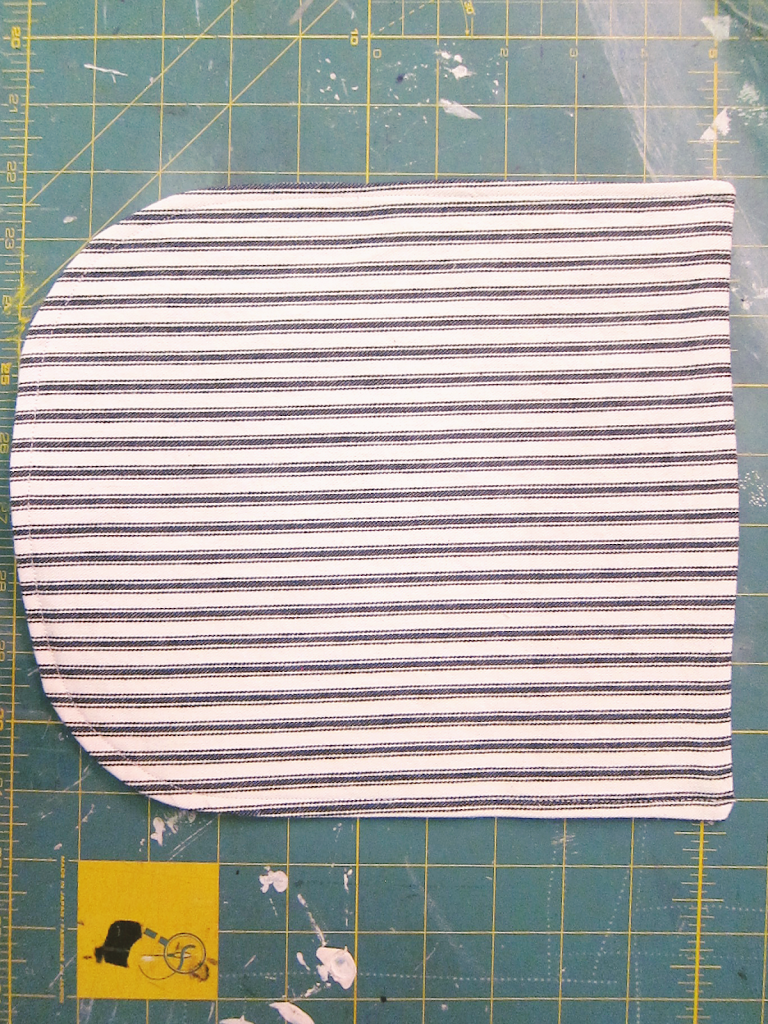
8. Sew flap pieces. With RIGHT SIDES FACING, sew around curved side of flap pieces with a 1/4″ seam allowance (this will make for easier turning). Clip notches in seam allowance at curved edges, making sure not to clip through your seam. Turn flap right side out, press. Turn raw straight edge in 1/2″ and press. Top stitch around all edges, 1/4″. Image below shows completion of this step.
9. Mark flap sewing guide on body. Experiment how much of an overlap you want when bag is closed (keep in mind it will be full of your delicious lunch feast!). With chalk or fabric pen, give yourself a guideline from one of the cleaned edges of the body piece. I ended up going with 3″ from edge unlike the mark shown in image below.
10. Stitch flap to body. Line up straight edge of flap to Following the same line you stitched along the straight edge of your flap, stitch flap to body. Again, I ended up stitching mine 3″ from the edge of the body, unlike the 1″ shown below.
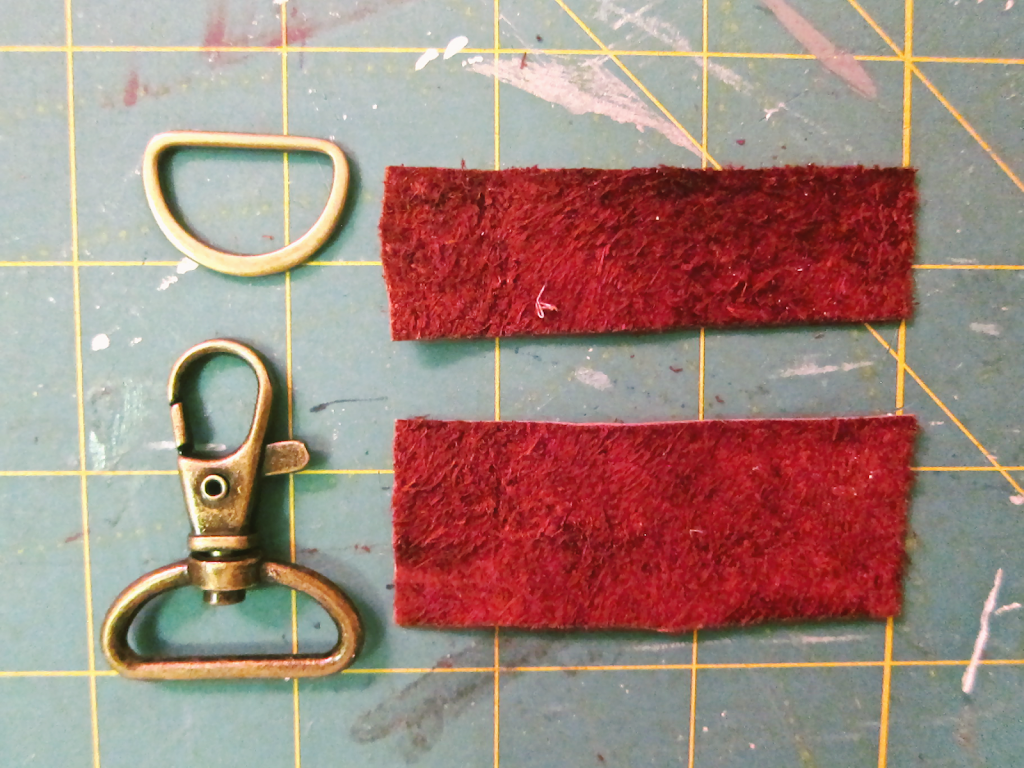
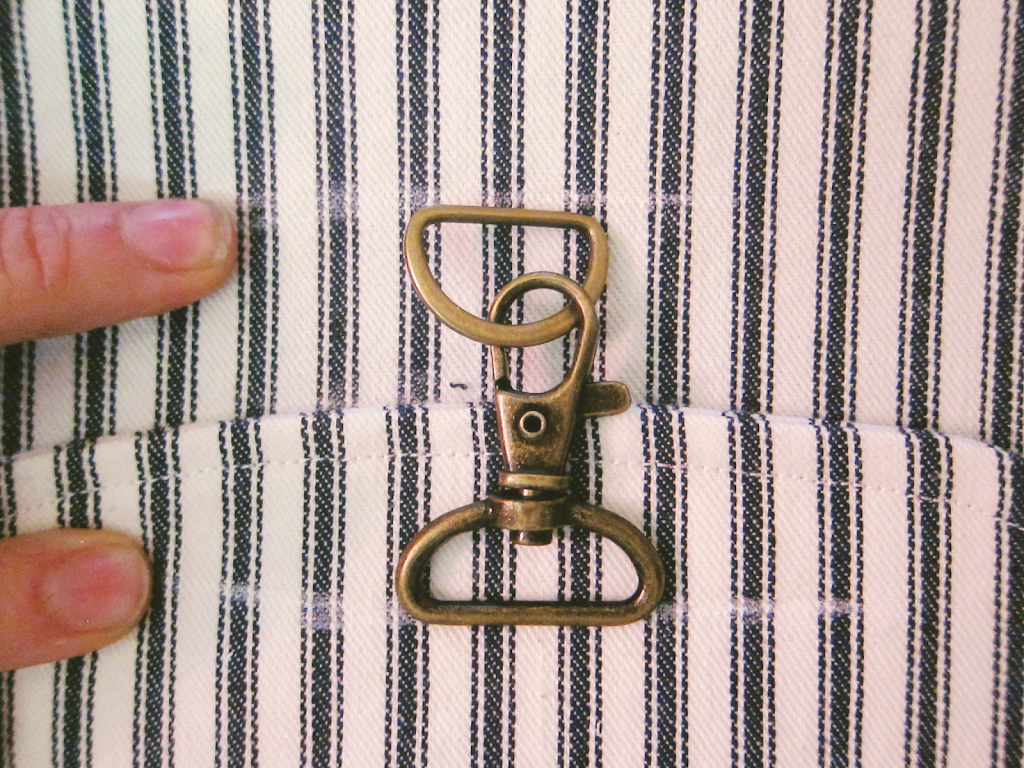
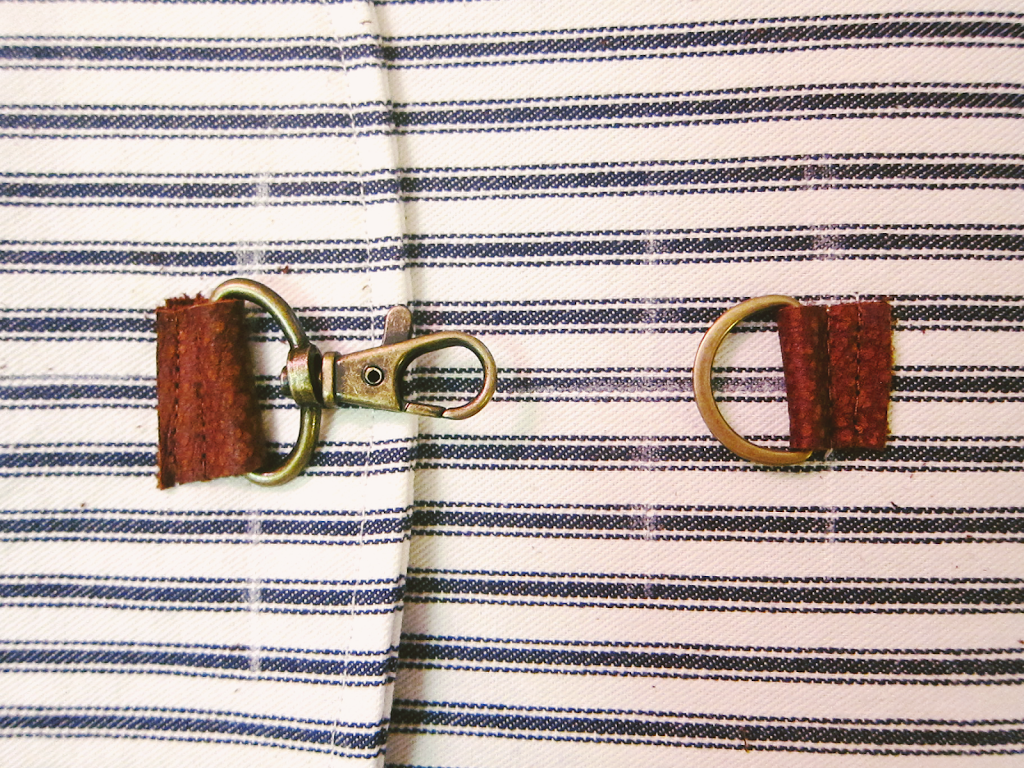
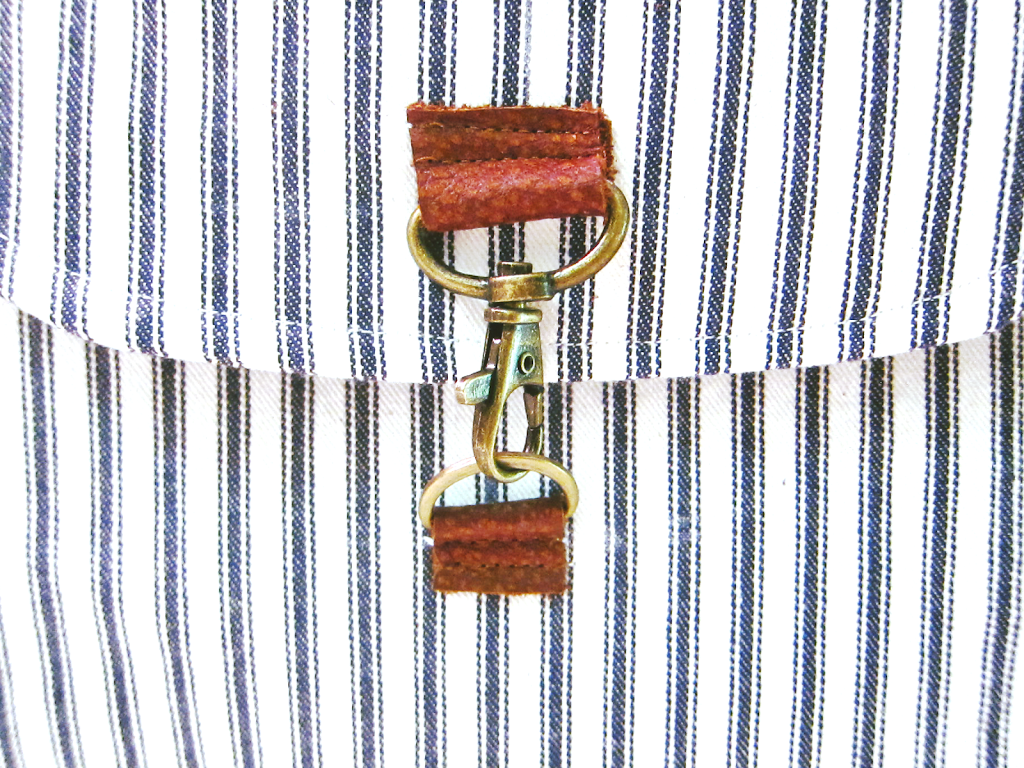
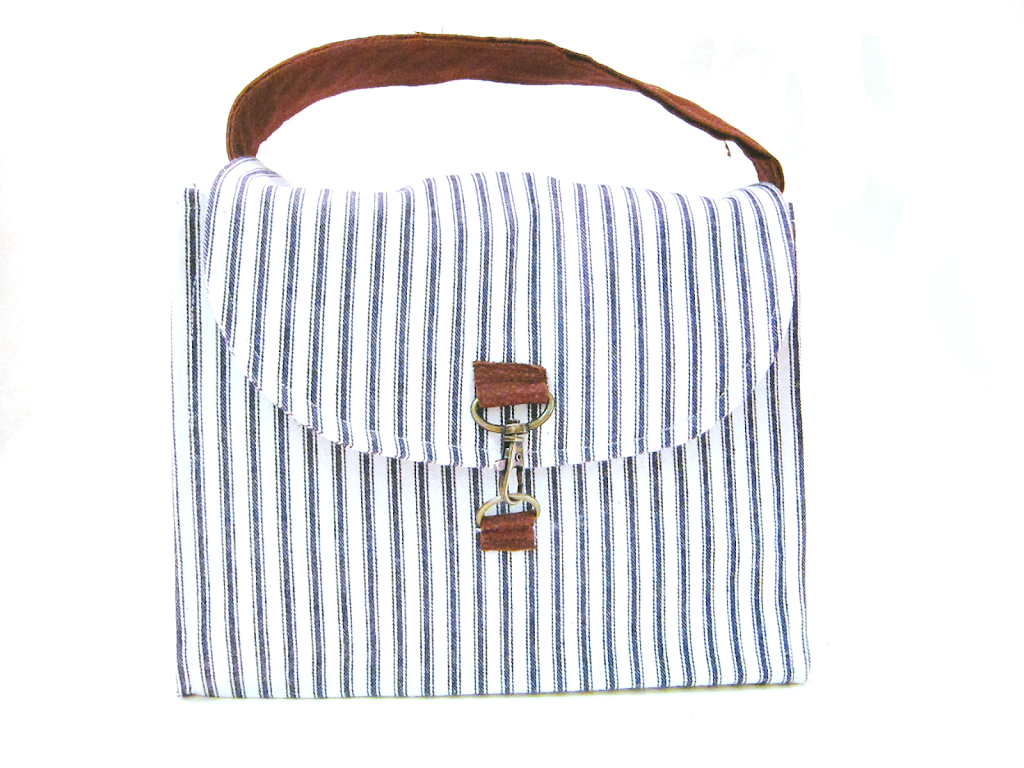
11. Attach closures. This step will vary based on the type of closure you buy. Mine are pictured below, I attached them with small scraps of leather using a one-sided presser foot.
I experimented with placement and marked with chalk where I wanted my closures to go. NOTE: you are connecting the curved flap edge to the middle of the front body piece (on the opposite side that we just sewed the straight edge of the flap)
Finished result of this step pictured below. I’d love to see what other closures you experiment with!
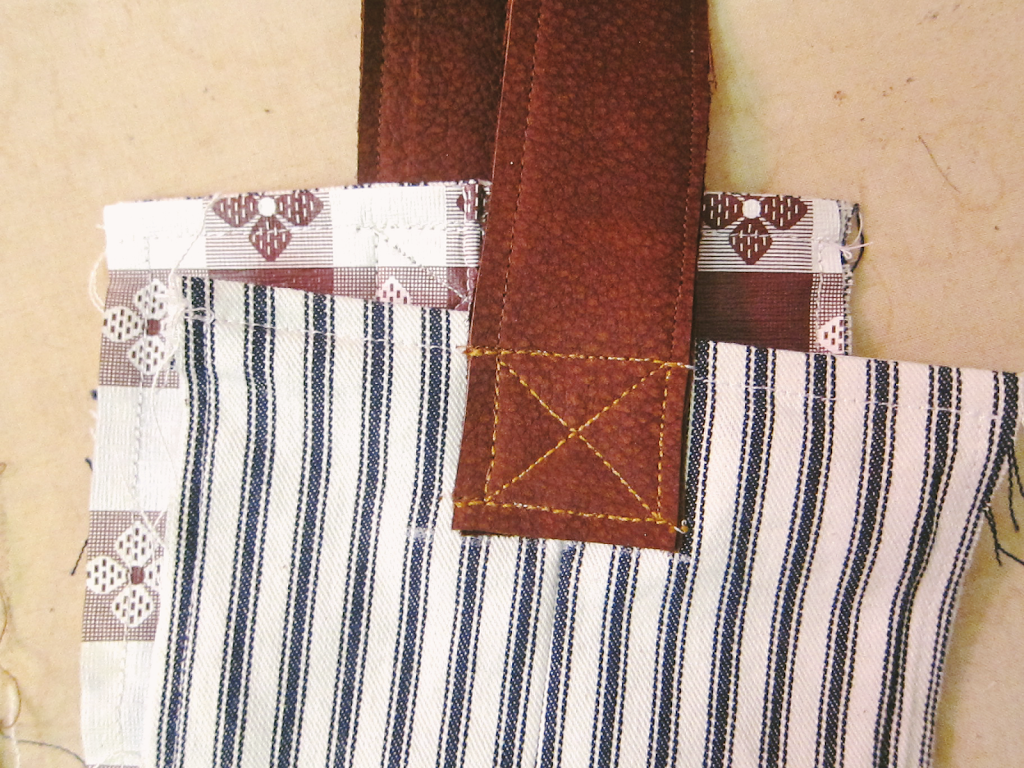
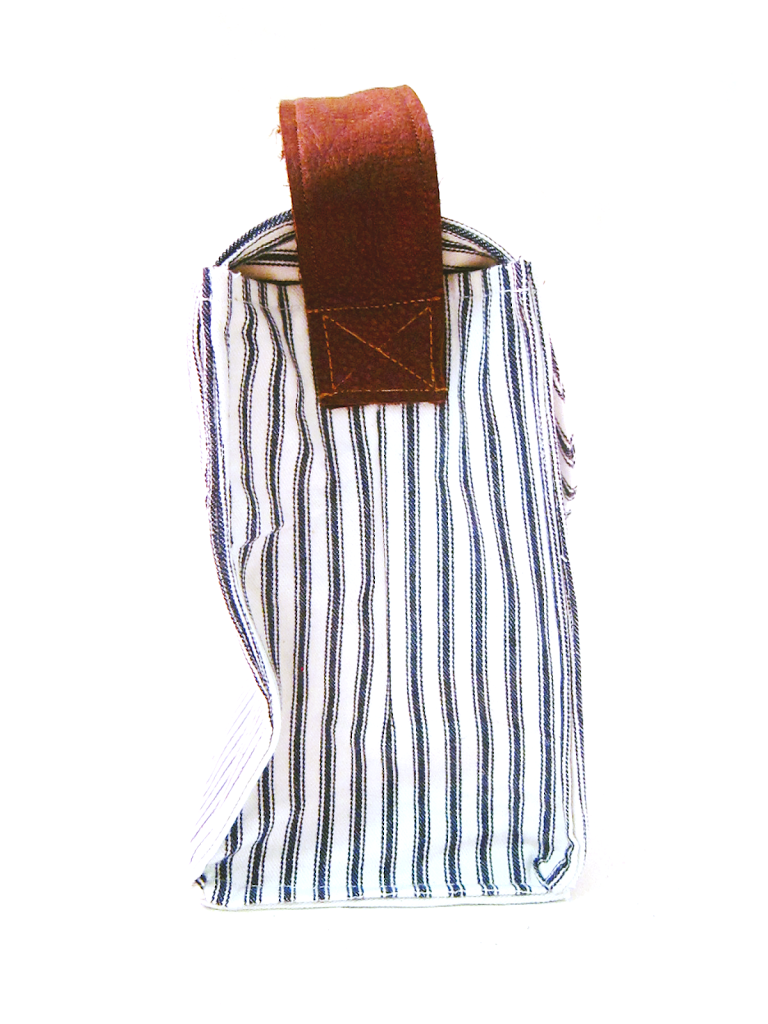
12. Sew and Attach straps. Since I used leather for my straps, I just sewed my two strap pieces together with wrong sides facing and a 1/4″ edge stitch. NOTE: If you are using self fabric or a contrast fabric that would fray, you will have to stitch your pieces with right sides facing, leaving one end open to turn the strap right side out, press, and close open edge (much like we did with the flap pieces). Once my strap is sewn together, I gave myself a mark 1 1/2″ from cleaned edge of side pieces, and centered the edge my strap on the self side of the side panels (by eye). See image below.
Stitch one end of the strap to the right side of each side panel. You can get creative with your stitching here, see image below for my technique and contrasting thread. NOTE: Make sure when you lay your side panels with lining sides facing your strap folds flat on itself and isn’t twisted. See image below.
13. Stitch sides to body. Okay, now for the tricky part (but good news – you’re almost finished!). We will be attaching the side panels to the body using a french seam technique. With RIGHT SIDES FACING, stitch raw edges of side panels to raw edges of body using a 1/4″ seam allowance, the fold notches of the body will meet the corners of the side panels. I find it easiest to sew down both longer sides first, ending at corners, then fold across the bottom edge last. Don’t worry if it looks a little cockamamy at first. You can see mine below.
14. Turn and Press. Clip seam allowance at corners, making sure not to clip through your stitch. Flip your bag right side out and press edges from the outside. If everything seams like a big bulky mess right now your are on the right track! Make sure to really push the fabric away from the seams to get a nice clean edge. See image below.
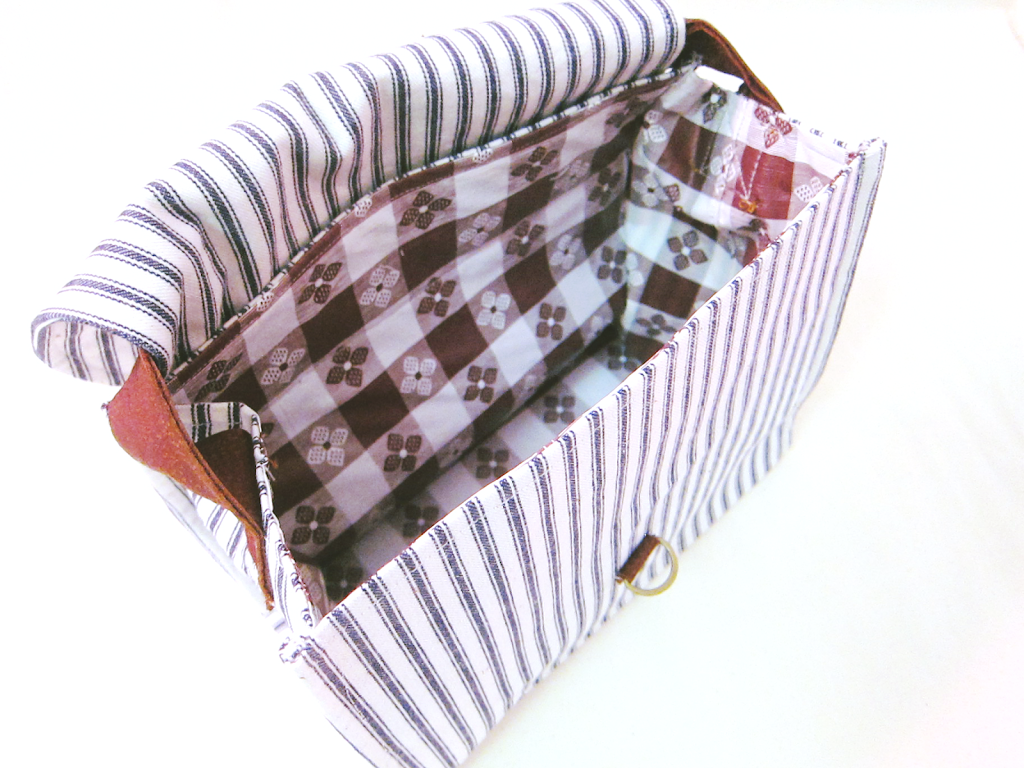
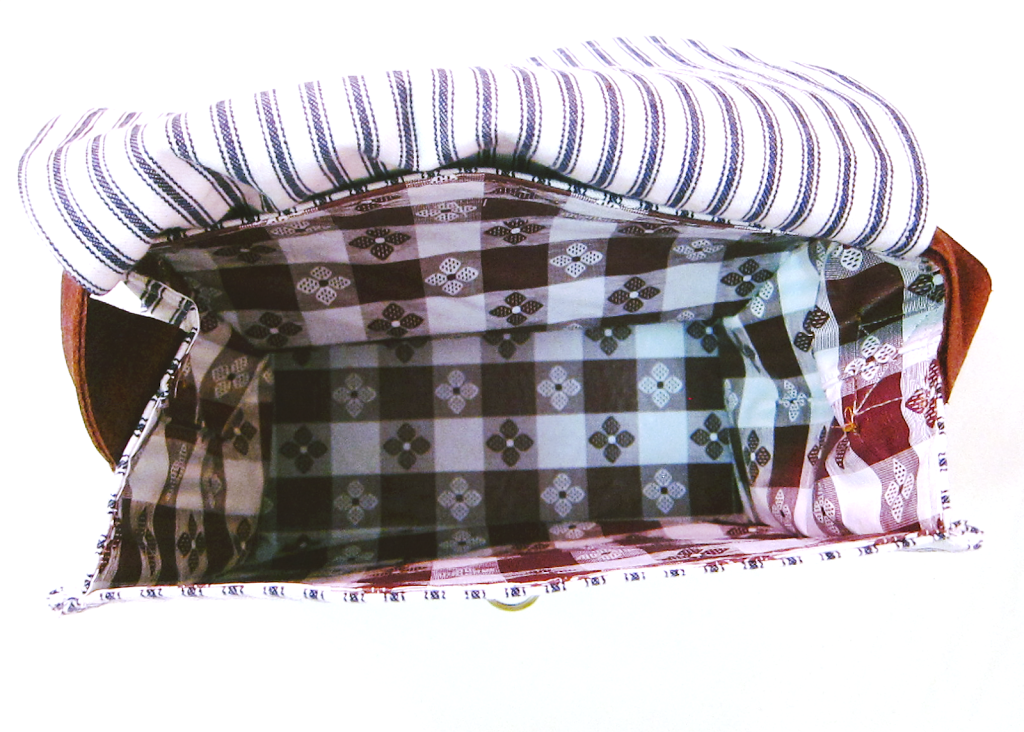
15. Final edge stitch. This is part 2 of the french seam technique. Top stitch around edges you just pressed with a 1/4″ topstitch. Again, it may be helpful to do both longer sides first, and doing the bottom side separate, but I managed to get mine all in one shot. See image below.










[…] Aprende a hacerla aquí. […]