
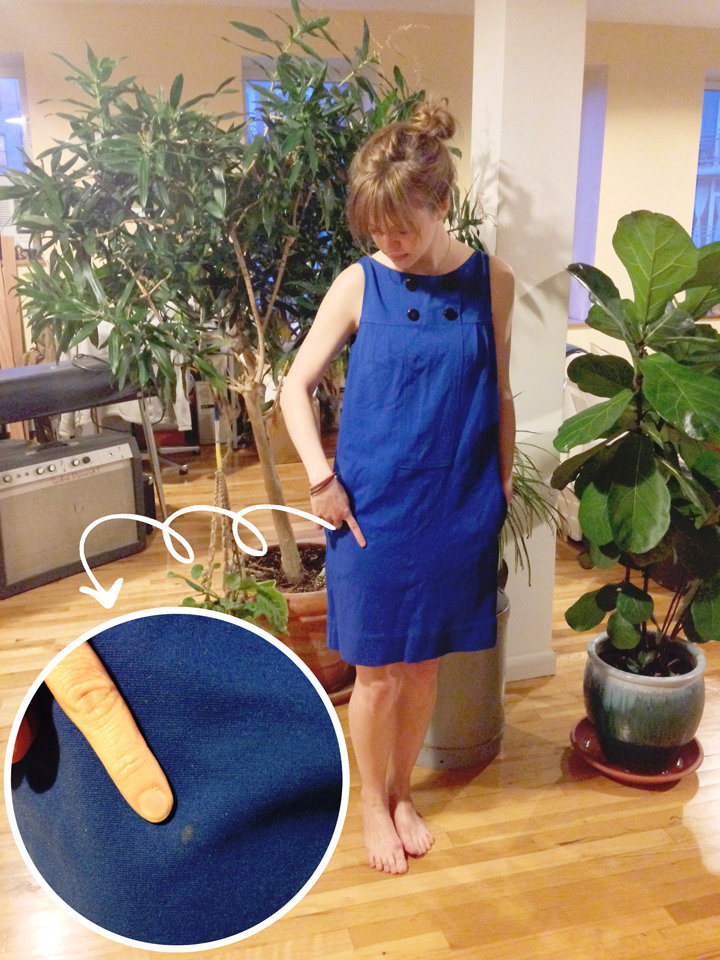
Yes, I tried everything I could to simply remove the stain… but it was relentless. Any normal person probably would have just dealt with it, it’s probably not noticeable to the average onlooker. But for me this pesky, relentlessly tiny stain just had to go. Since I kinda wanted to hem the dress anyway.. I came up with the perfect solution.
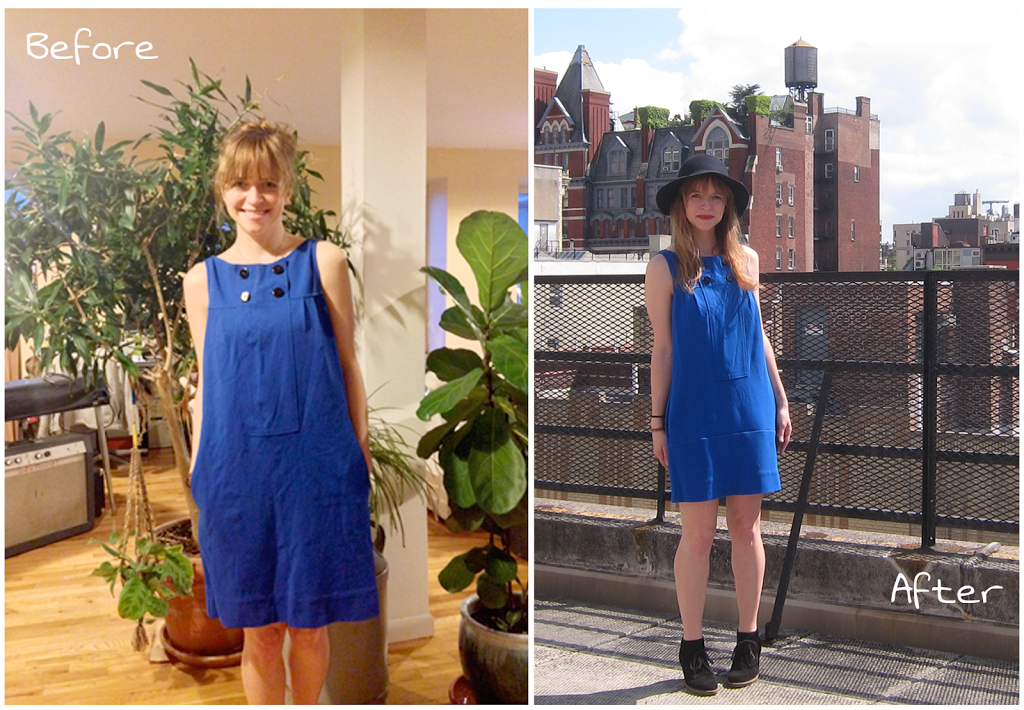
I simply added a seam at the hipline, getting rid of the pesky relentlessly tiny stain, pulling up the hemline, and maintaining the design aesthetic of the dress. I feel the seam falls at just the right place that it almost adds to the mod feel of the dress, and even looks intentional – Like Diane herself planned it that way!
Granted, this won’t work for everyone in every situation. I just happened to have a perfectly placed stain. But, if your garment could stand to loose some length, and your stain/rip/hole is in a convenient spot to do so… adding a seam could be just the perfect solution for you! It is also ideal if your garment is mostly straight (as opposed to a-line or circle). Read on to see how I did it!
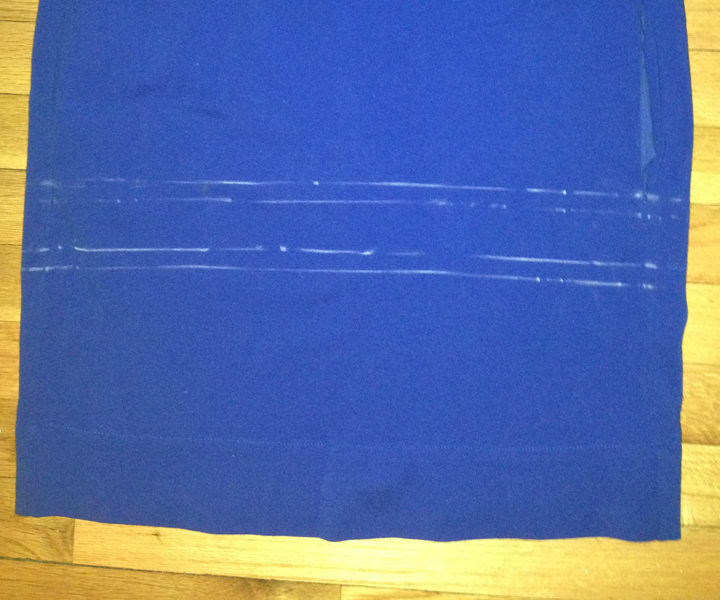
1. Mark your first stitch line just above the stain.
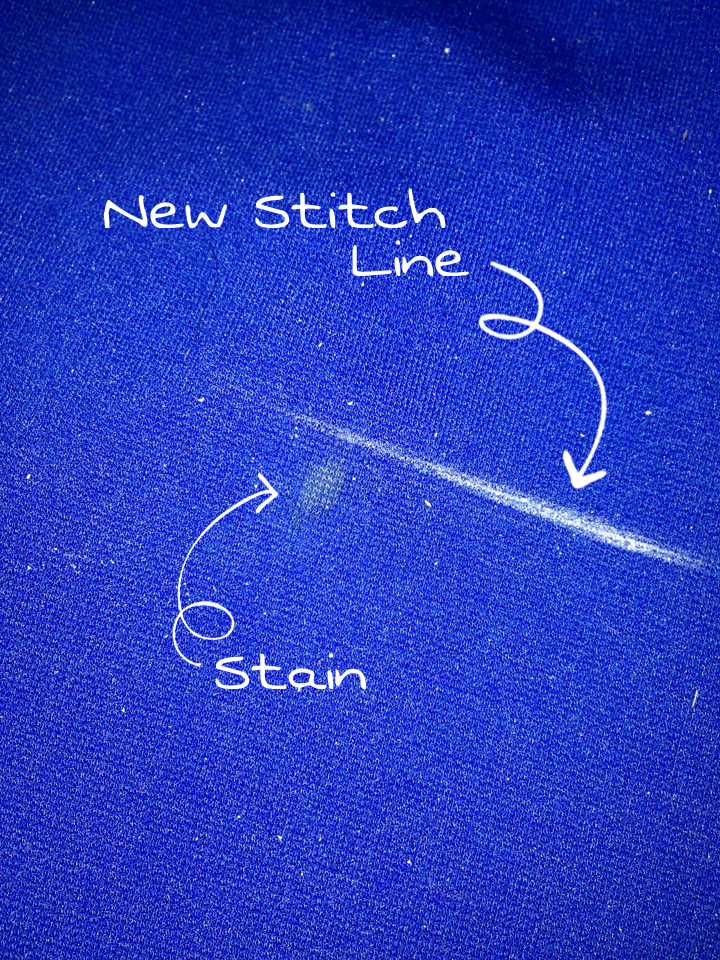
2. Continue your first stitch line all the way around the dress.
Measure up from the original hem to the first stitch line you made above the stain. Continue around the dress, placing a mark at this same distance from the original hem.
3. Decide how much you want to hem the dress.
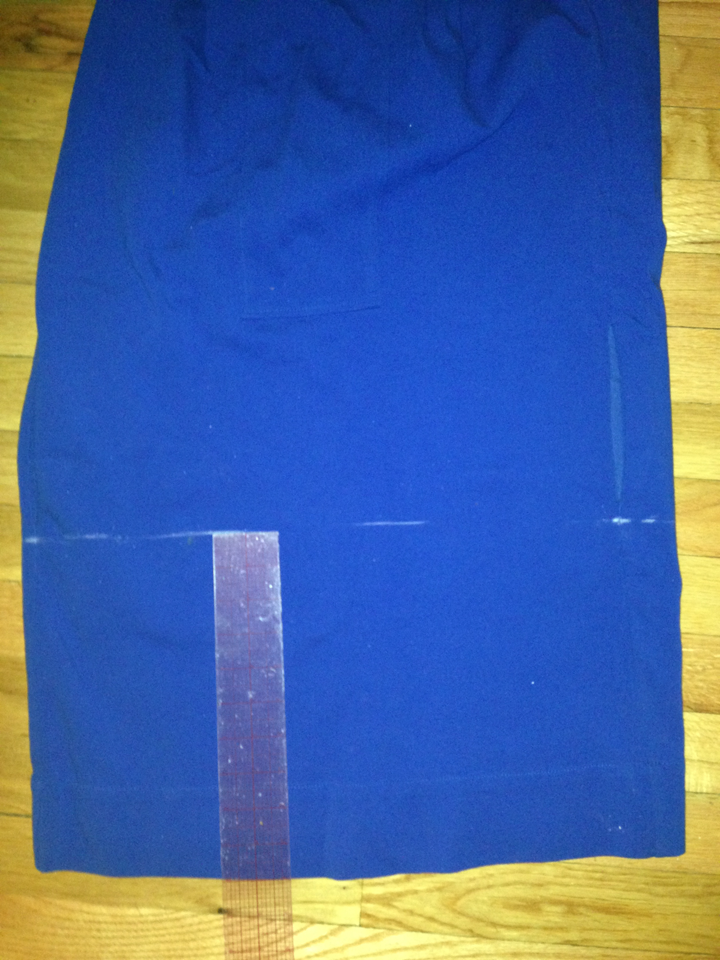
I decided to hem the dress 2.5″. Following your first stitch line all the way around the dress, place mark at the amount you want to hem the dress. See below for outcome.

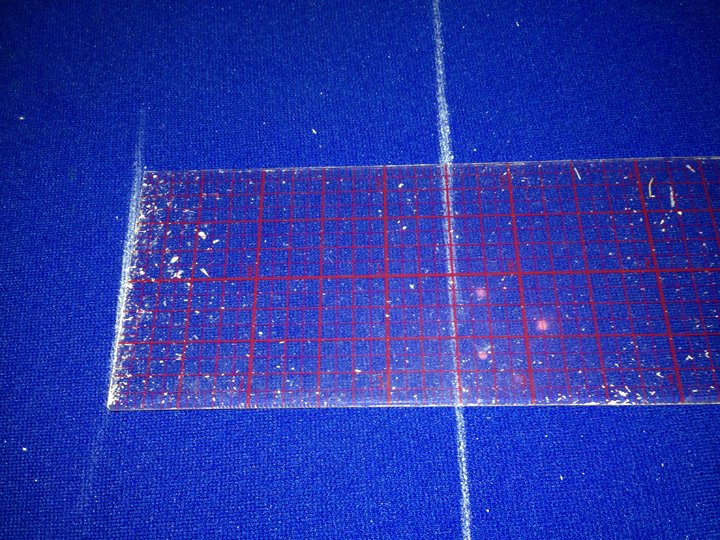
The top line is your first stitch line, the bottom line is the second stitch line. The measurement of the space between should equal the amount you want to hem the dress.
4. Mark your seam allowances.
I chose a 1/2″ seam allowance. Marking INWARDS from each stitch line, mark your seam allowance all the way around the dress. (in the picture above the two INNER lines are my seam allowances.
5. Cut out excess fabric.

Cutting through a SINGLE LAYER of the dress at a time (as opposed to both front and back of dress while its layer flat), cut on your inner SEAM ALLOWANCE lines, removing the excess fabric in the middle.
6. Sew pieces together, finish seams, press and flaunt!
With right sides together, match the cut edges and use the seam guide on your machine to sew the pieces together with appropriate seam allowance. Be sure to match side seams. Press seam open, finish cut edges as desired, and flaunt your new digs!


You can see how the new hemline suits my shape better, and now that pesky relentlessly tiny stain is gone! You can imitate this technique on tops and skirts as well!

Happy Stain Removing!

Leave a Reply