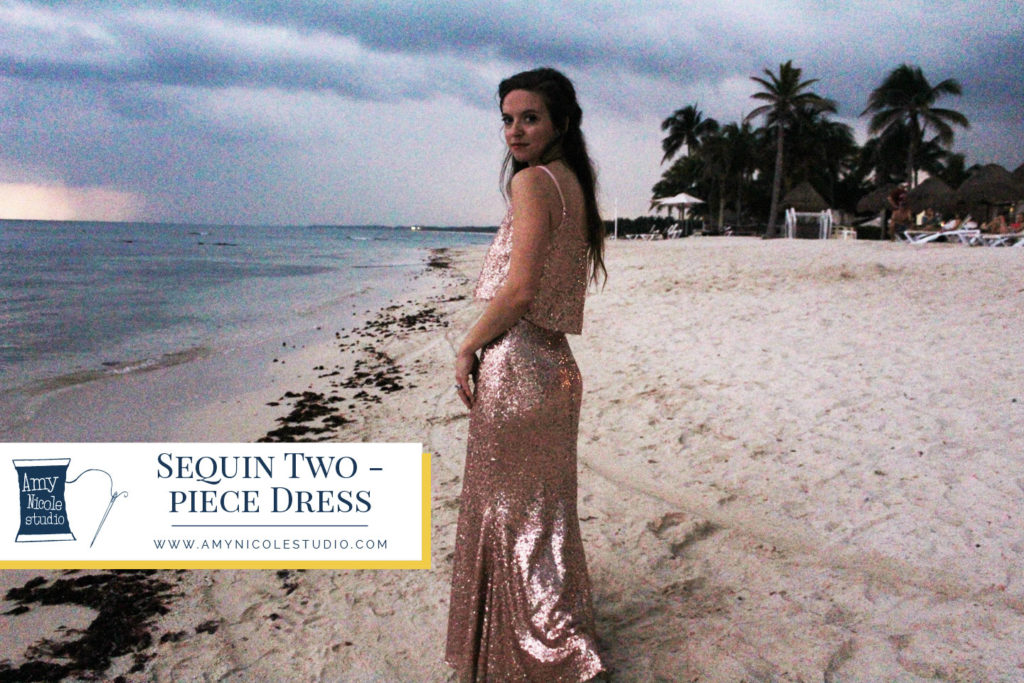
It’s the first post of 2018!!! I know towards the end of last year when I was busy with lots of holiday travel and releasing my first pattern my regular project posts really fell to a lull. SO… in order to make it up to you I wanted to start this year off with a bang!
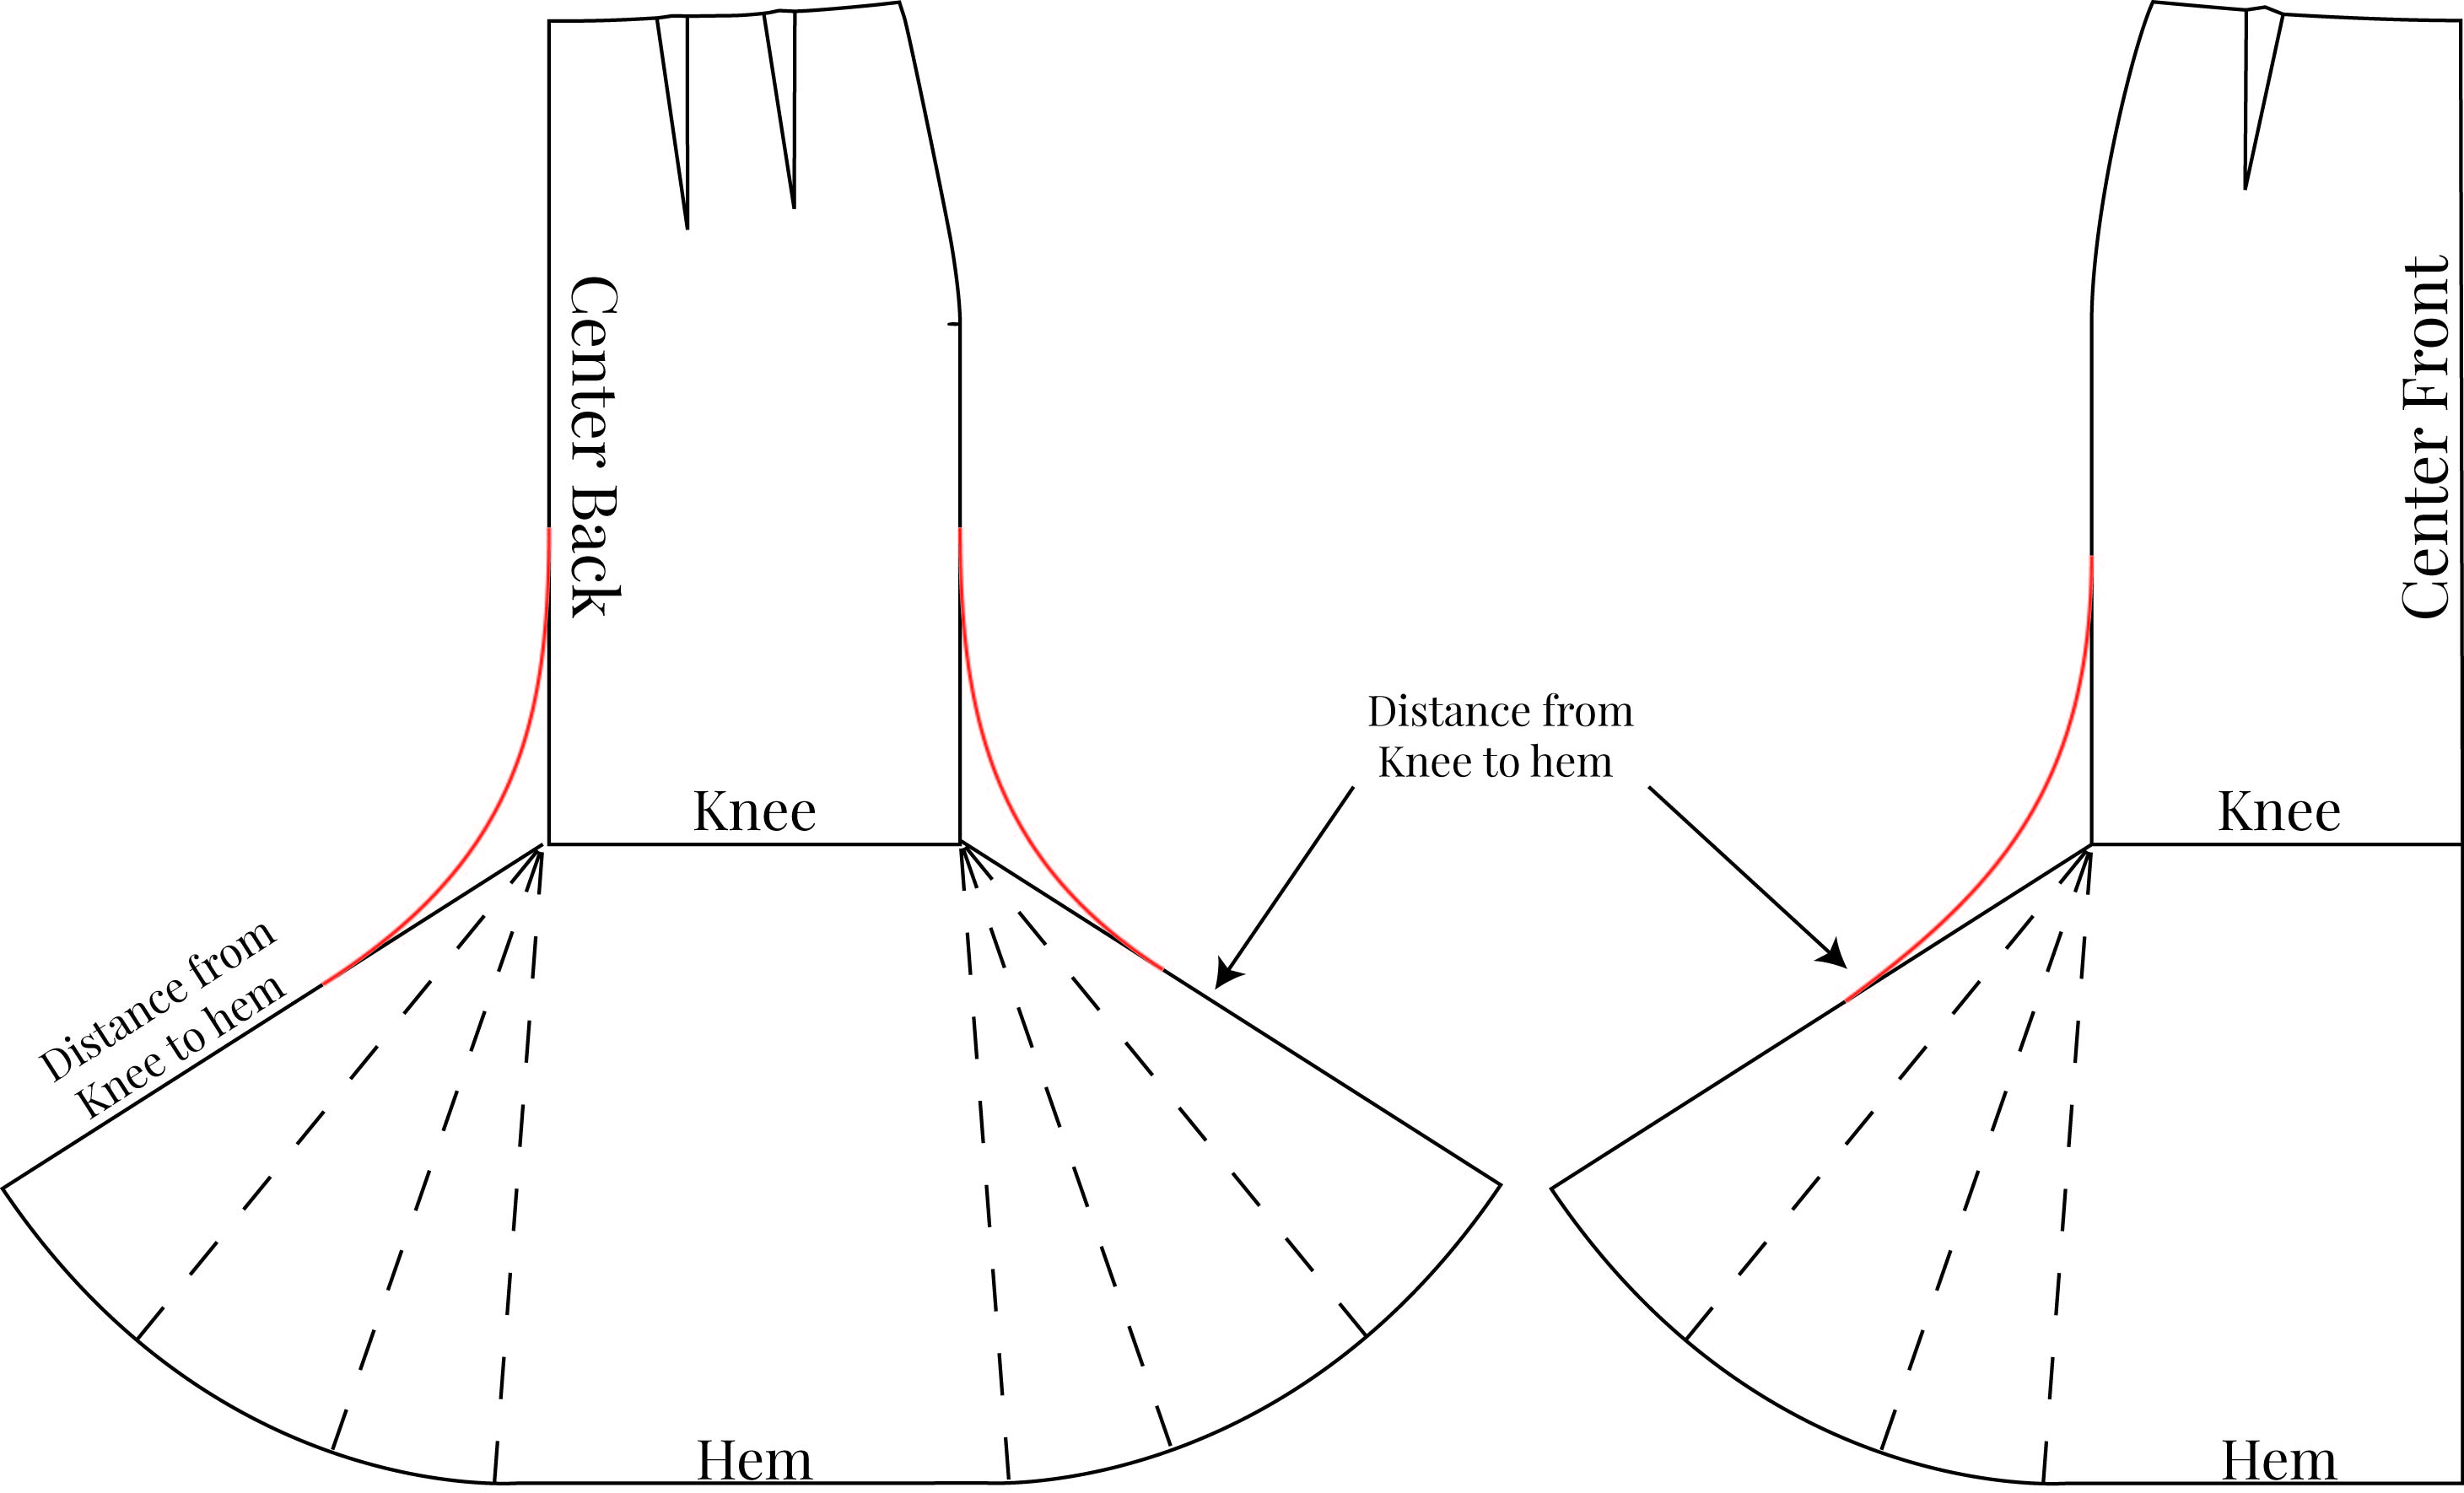
You’ve seen me post about this on instagram a couple of times but it definitely deserves its own blog post because… sequins! I’m also including a quick diagram of how I drafted the skirt.
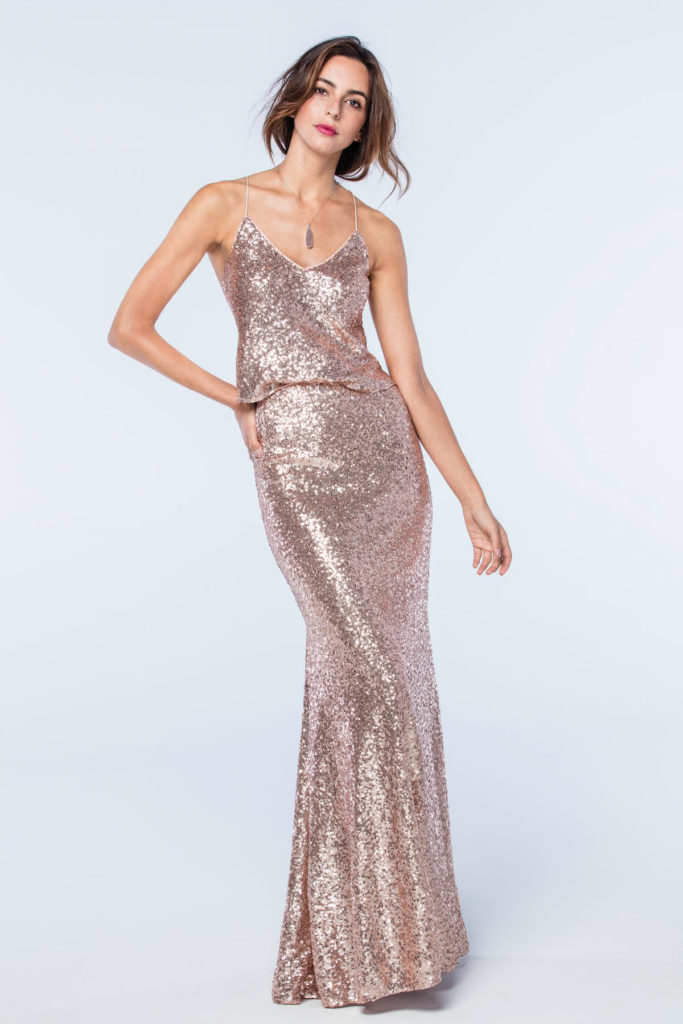
When my best friend Jessica sent me the link to this two piece dress she wanted me to wear in her wedding (above) my immediate reaction was OMG I LOVE IT!! … then I saw the price tag (yikes). It was a destination wedding so my budget was already tight. But more than that I could see how simple the lines and construction of the dress actually were. Its the fabric that really makes it.
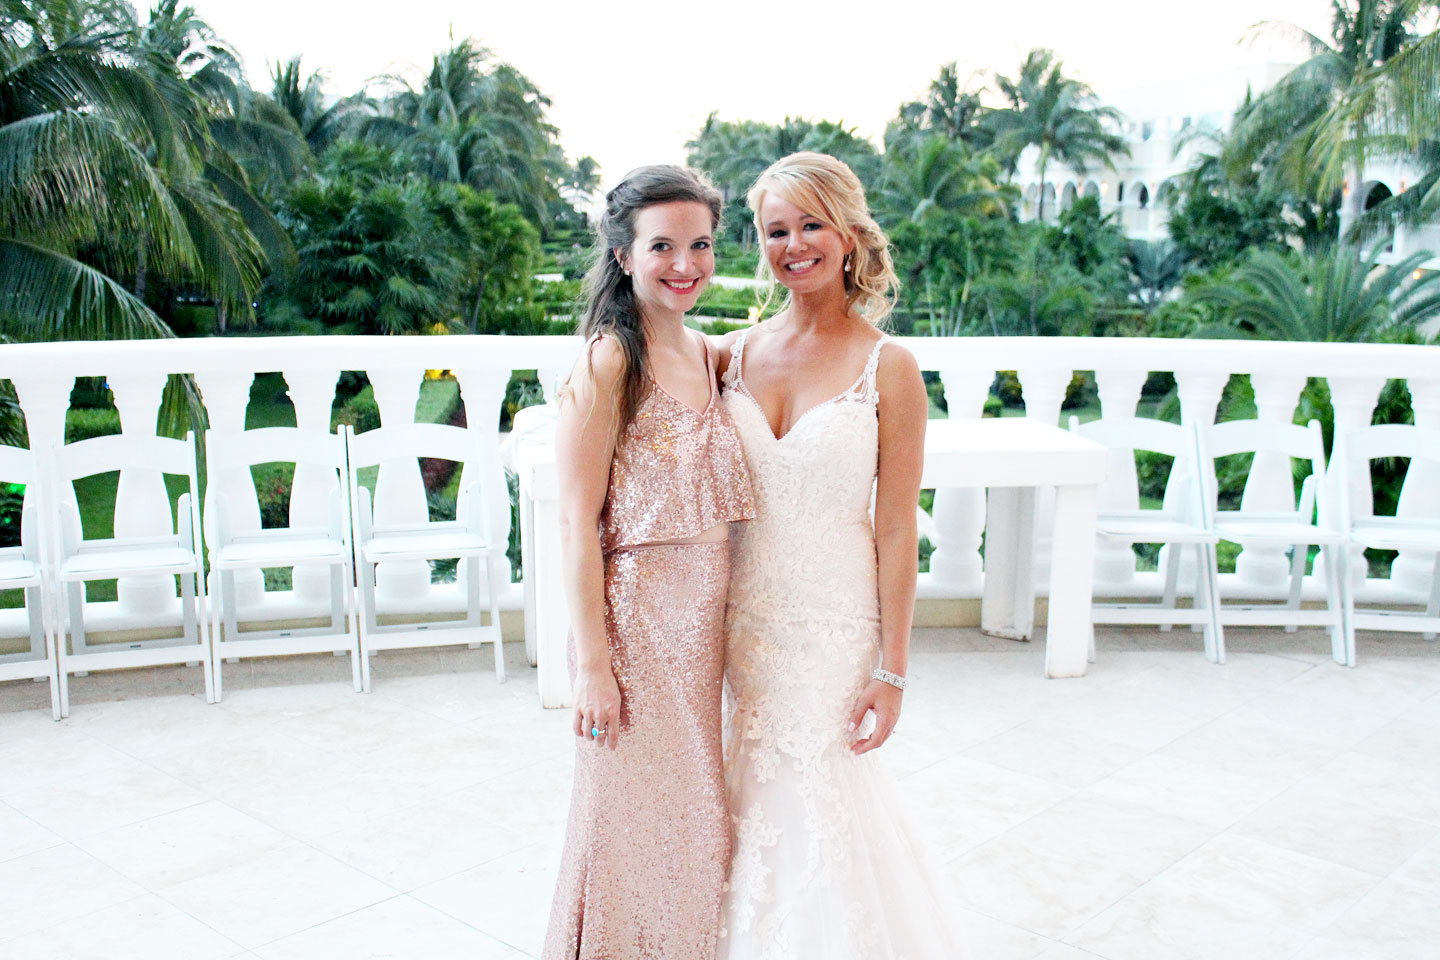


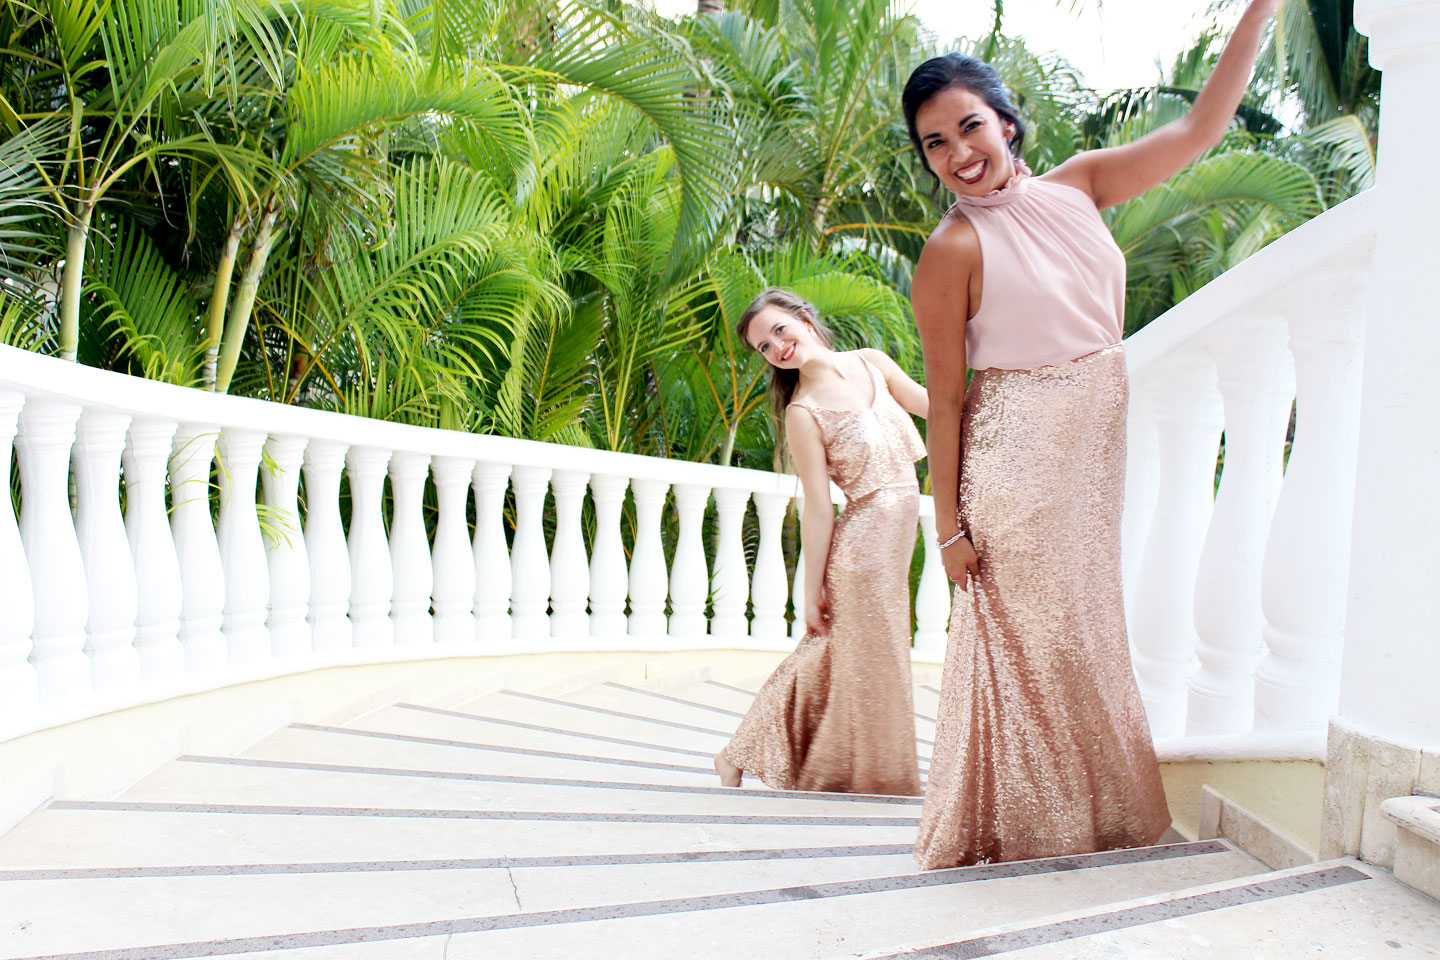
So… I ordered every singe “rose gold sequin” fabric swatch I could find on the internet, took them all with me to the boutique to do my try-on. Miraculously found a perfect match (there would be other girls wearing the same sequins so I couldn’t stand out all mismatched). And Jessica graciously agreed to let me make my own dress. Our friend Rita was wearing the same skirt as me so I made hers as well! Which really worked out because she is SUPER petite and would have had to chop off a lot of the flare at the bottom of hers had she purchased it RTW. We loved our skirts so much that most of these photos is just us dancing around like crazy people on our beautiful beach.


For the top I used the Ogden Cami pattern by True Bias and just cropped it. I knew the fit would be perfect and I chose to crop it because I felt it created a better silhouette than the regular length top in the photo.


The bottoms were a different story. I searched a round for a pattern with the same shape but couldnt find one. I did, however find a lot of “DIY” draft your own tutorials for similar skirts. AND when I was in the dressing room of that little boutique you can bet I brought my tape measure and took some measurements of the original so drafting my own would be a cinch. Also, the skirt shape really is a simple one that has a super flattering effect. I would totally make another if the occasion ever called for it.

To draft the mermaid skirt, I started with a skirt sloper I knew fit me well. This skirt has no waistband, so everything on top stayed the same. Then from the knee to the hem I rotated my ruler out on the side seam and center back seam, marking the hem as you go (as show in the thin dotted lines), maintaining the distance from the knee to the hem. How far you swing out will determine how much body you have a the bottom of the skirt, be mindful that the width of your fabric may come into play here. After that, I blended from the “thigh” to the “calf” of the skirt to ensure smooth lines throughout (as shown in red). I also ended up curving inward at the center back seam right under my butt before flaring out to enhance the tushy a bit.
For fabric I used the matching rose gold sequin I found here. And I got a stretch tricot lining in a blush pink. The sequin was much easier to work with than I expected. I didn’t bother serging it or anything because the original skirt was left raw and I didn’t for-see a ton of laundering going on.

I really hope that life gives you a reason to make a full sequins outfit because let me tell you I had the MOST fun prancing around in this all day… and I’m not even much of a sequin girl!
Heres to more outfits that make me want to dance in 2018!
Shout out to Rita’s husband AJ who was our very enthusiastic photographer all weekend.
Happy Sewing!
~Amy


Leave a Reply