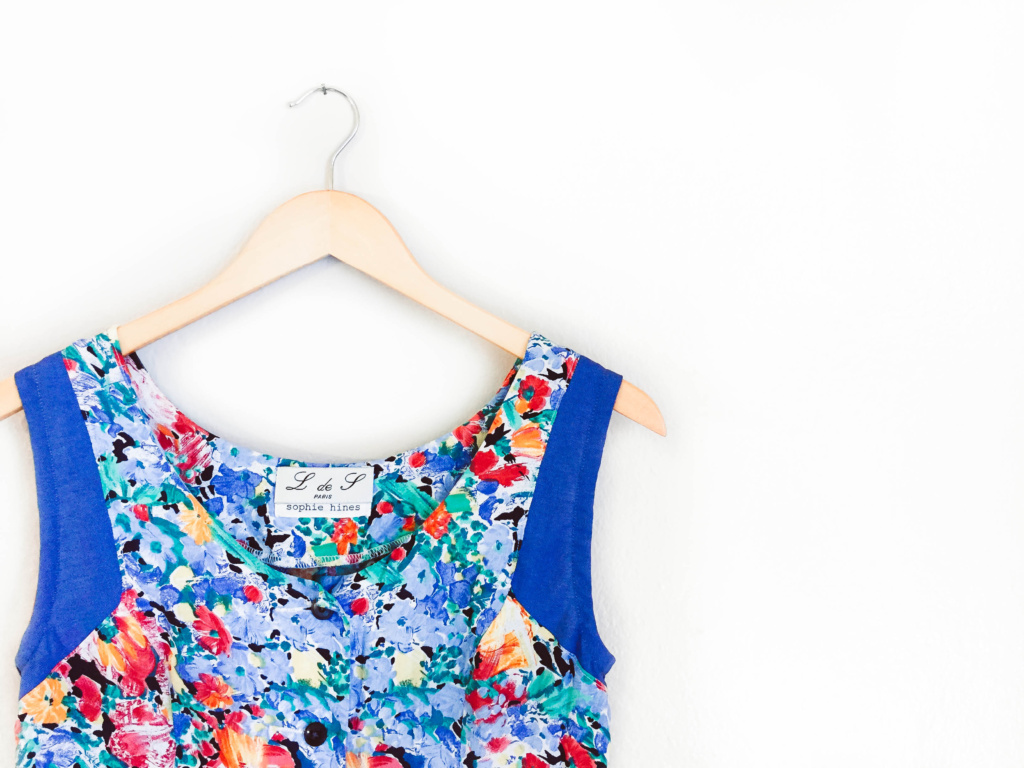
Guys I’m so excited to introduce the oh-so-talented Sophie Hines of Sophie Hines lingerie and the ever so popular Euler Bralette Pattern (I’m seriously dying to make one of those). She was my restyler for the Restyling Exchange 2017 and today she is going to take you behind the scenes and share her prices for restyling my beautiful vintage dress. Next week I will be sharing my take on receiving this lovely dress (and mostly just sharing pictures of me happily dancing around in it). I was going do do a combo post but Sophie’s was so well written and it would have been CRAZY long so lets hear from Sophie first. Keep reading for all the goodness!
Oh boy, it is getting HOT out here in Denver! Yikes. Turns out, that may be perfect timing for Amy of Amy Nicole Studio!
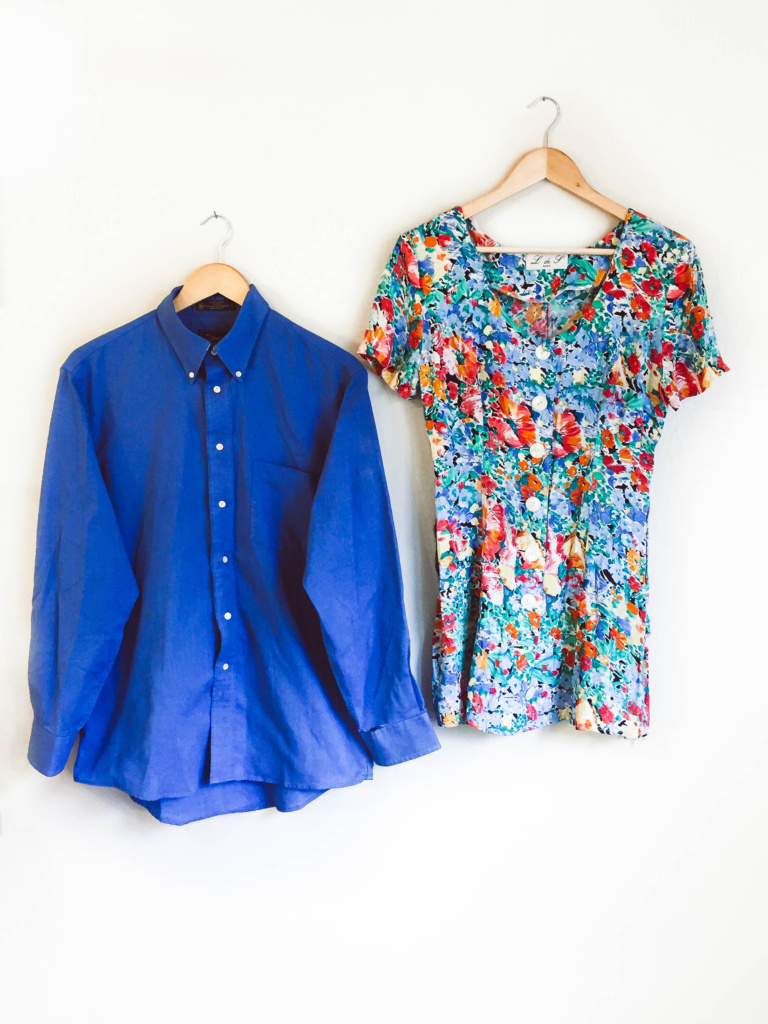
Amy sent me these two vintage garments for my project in the Restyling Exchange this summer. The first was this deep blue chambray button down, and the second was a bright floral patterned rayon top. Amy told me the top was just about the right length to be a dress on her, so I decided to make it into a floral sundress with chambray accents!
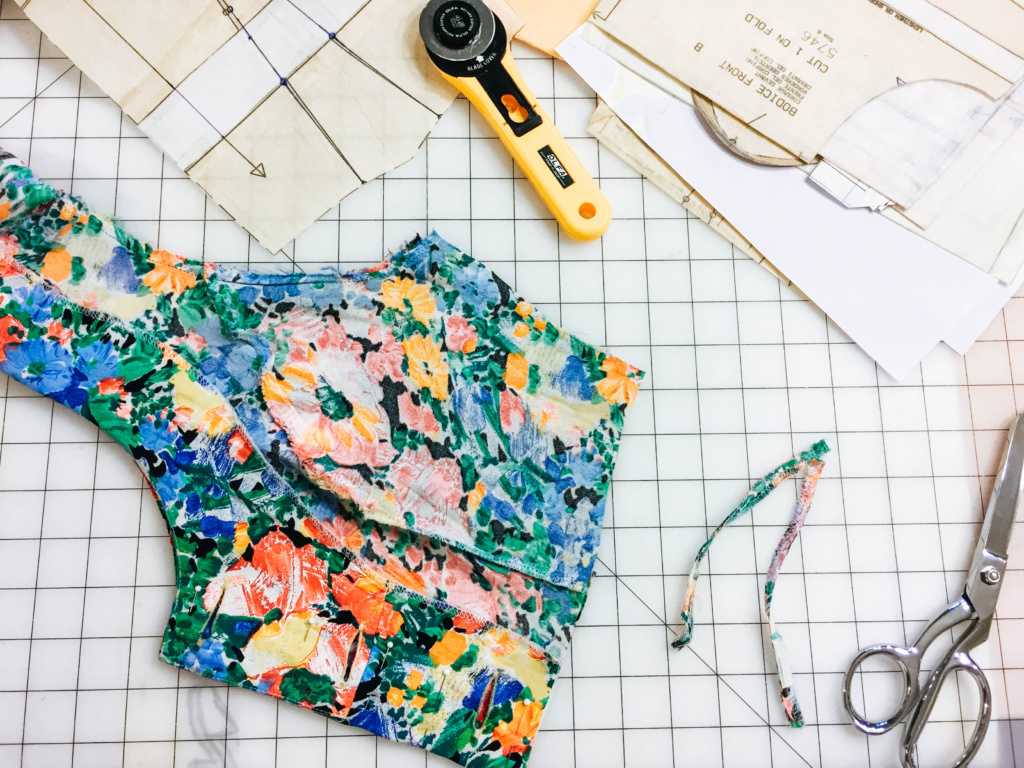
My plan for the renovation of the garment turned out to be pretty extensive. First I took the entire dress apart, then I re cut the bust and shoulders. The original bodice had been designed to include some major shoulder pads – they’d been previously taken out, which now left too much room in the upper bust area.
After I’d cut the pieces down, I traced them to create a pattern so I could insert the sleeve accents as cleanly as possible into the rayon fabric. (Woven rayon fabrics are notoriously fussy)
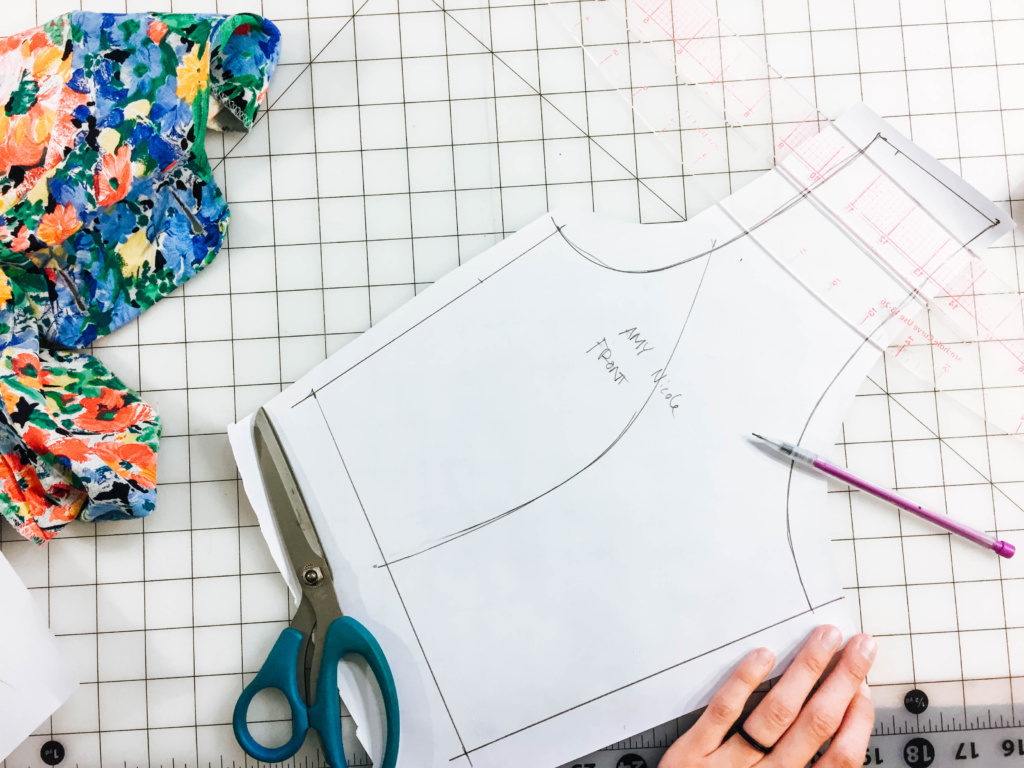
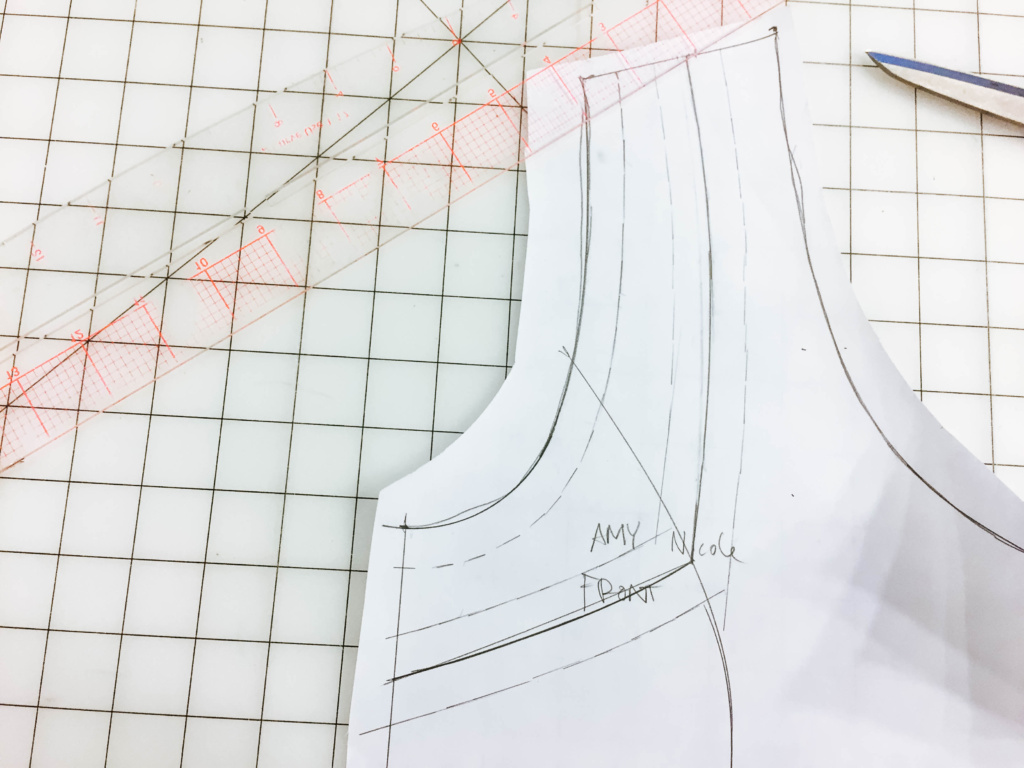
After the pattern was created, I cut the accents out of the chambray shirt, and removed the sleeve portions from the bodice. I inserted the new accent pieces, sewed up the bodice, and finished the arm holes with some cute contrasting bias tape that I had made, left over from another project. 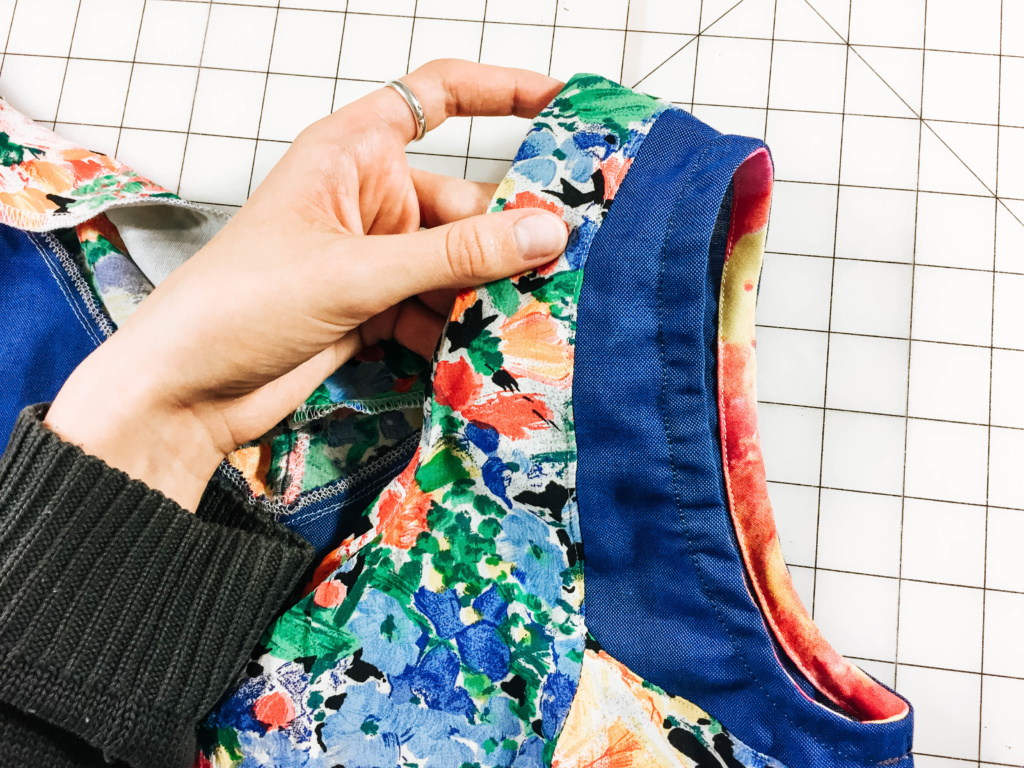
On to the skirt!! The original top had had those waist – cinching ties that everything from the eighties and nineties had. They were quite wide, so I opened them up and added the strips into the side seams of the skirt to add a few inches of swoosh.
My next addition to the sundress was obviously pockets, because who has time to not have pockets?
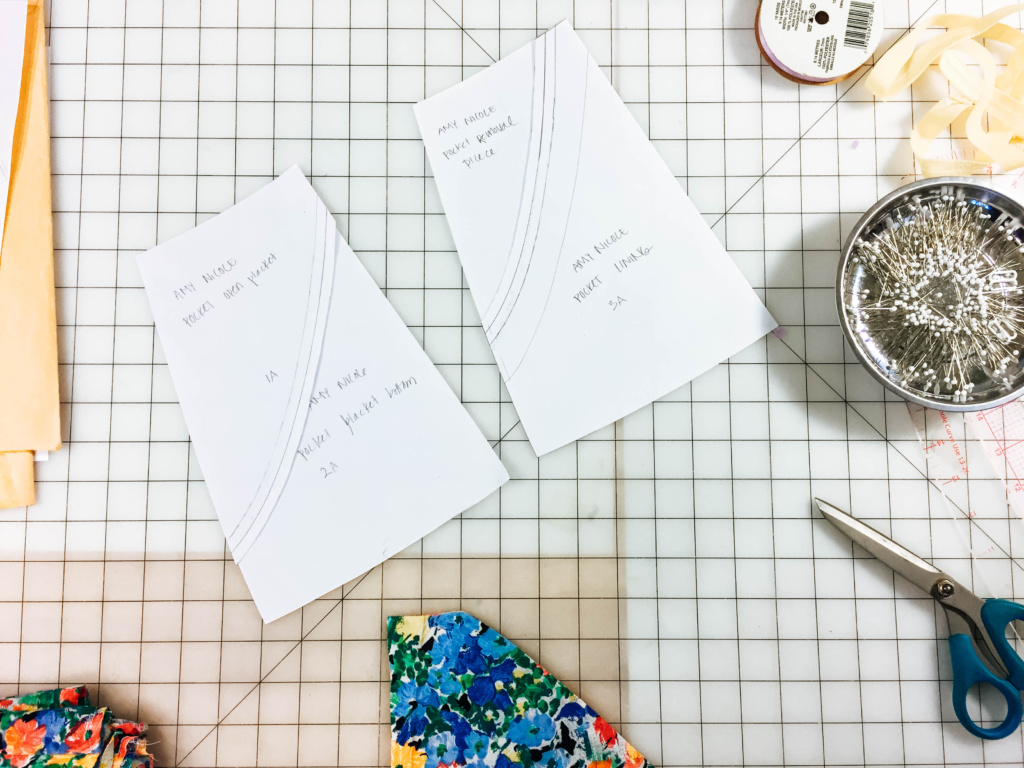
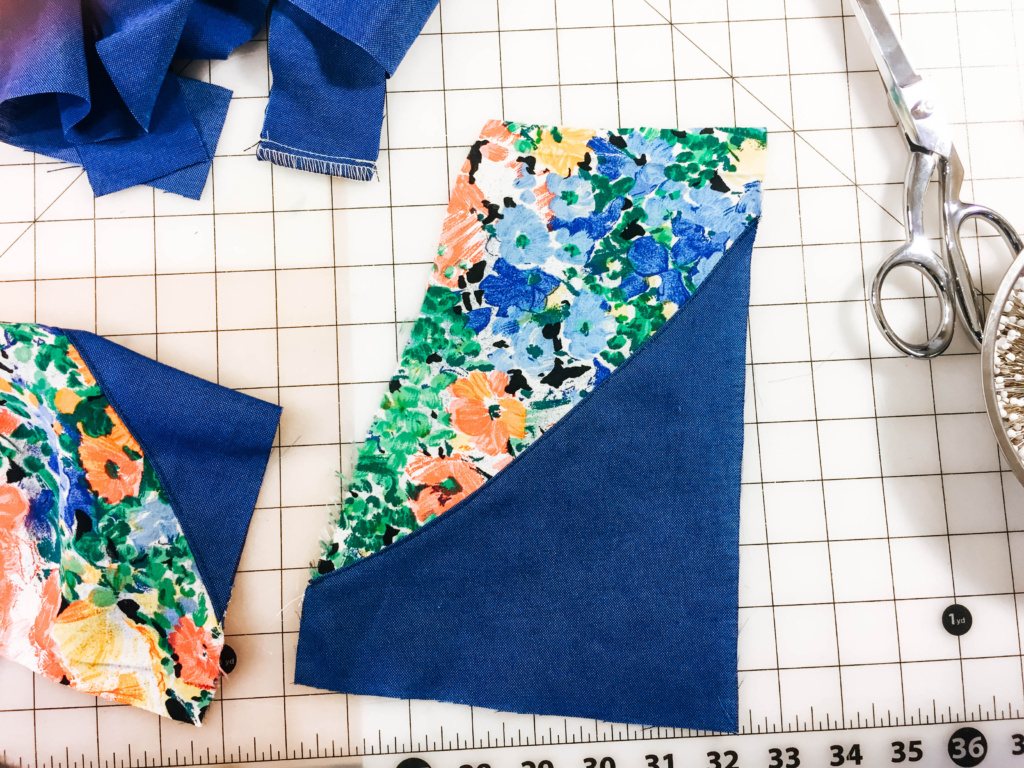
The pockets had four pattern pieces. One was the piece that I used to remove excess material from the side of the skirt where the pocket was going to go, one piece for the front of the pocket bag, and two pieces for the floral pocket facing and the back of the pocket bag. I used the sleeves to make the facings for the pockets, so they wouldn’t stand out too much.
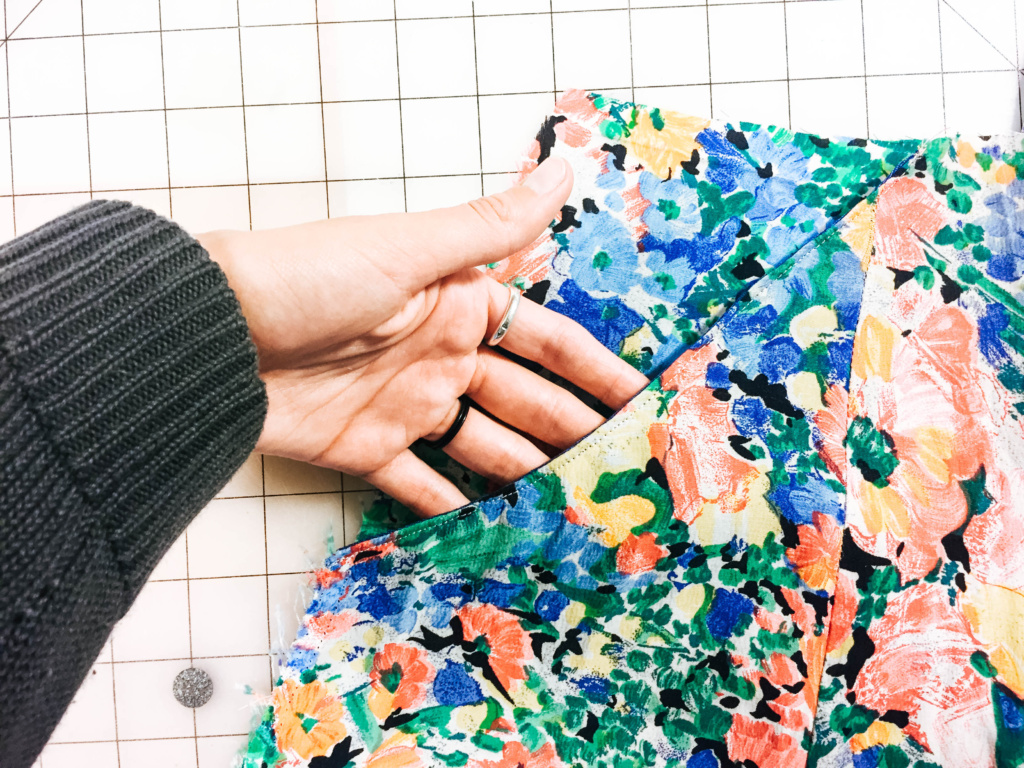
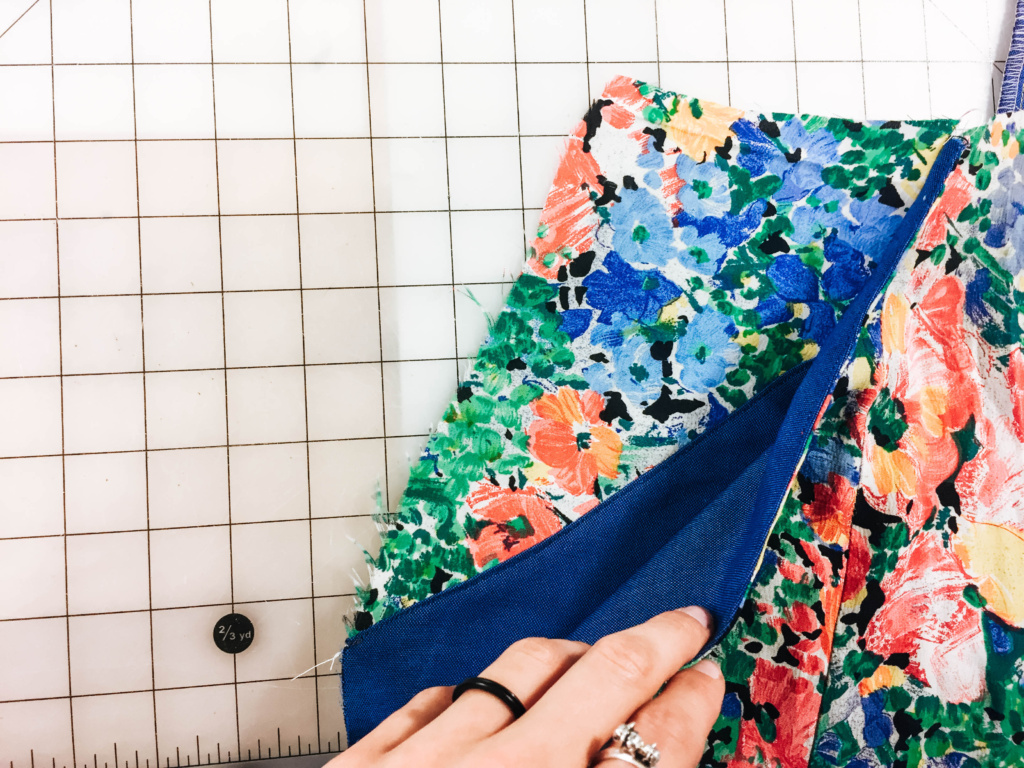
To put the dress back together, I added a chambray waistband to add a couple of inches to the dress. I also used what was left of the sleeves to add a panel at the back of the skirt, to add another inch and a half to the back. This gave it a bit of a hi-low hemline, and also added a bit of insurance for being active + not showing your bum! Always a pro in my book.
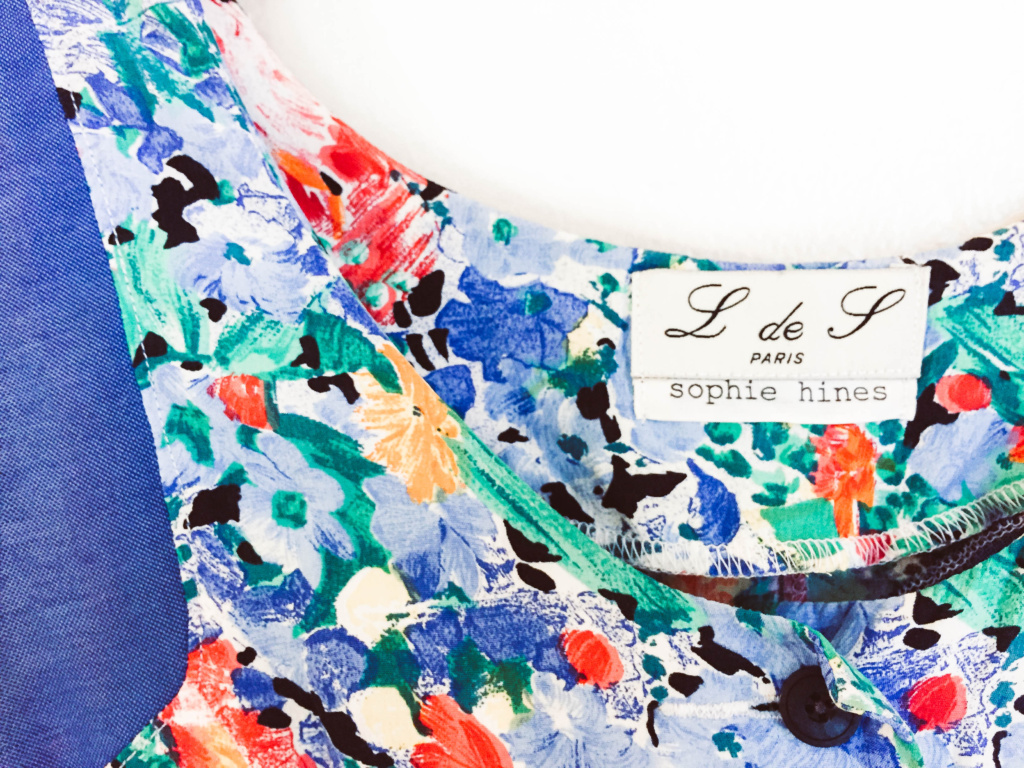
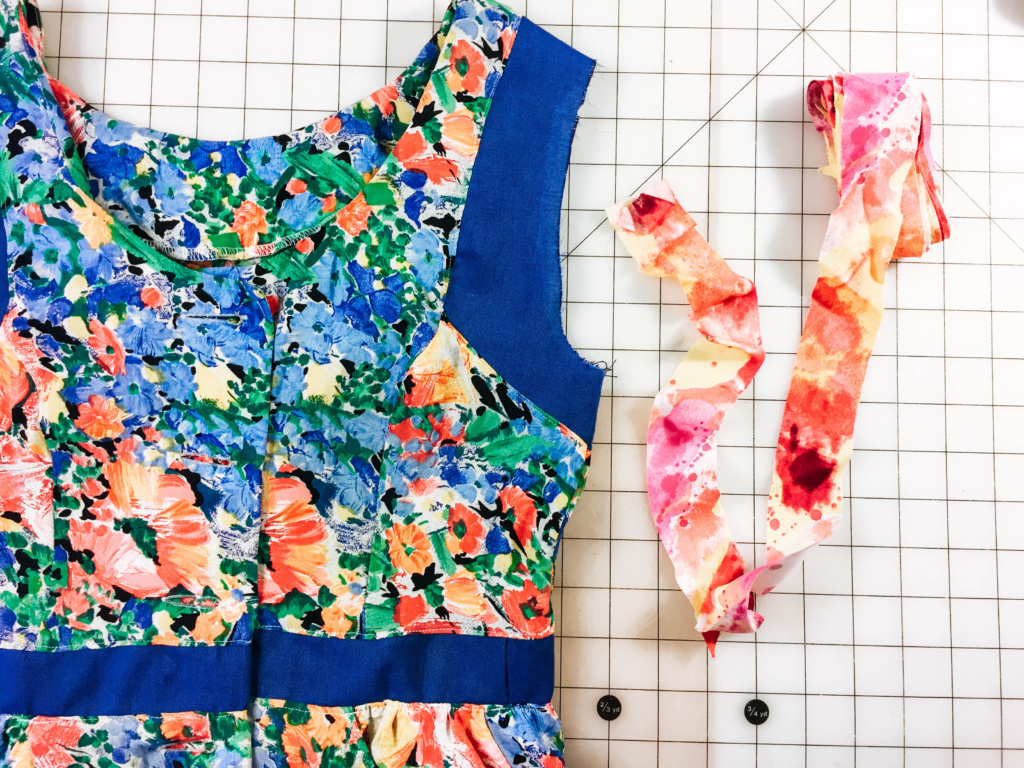 Finally, I added new buttons, altered the buttonholes to fit the new smaller size, finished the hem and replaced the original vintage tag! I also added my own tag, cause I might be a little boastful.
Voila!!
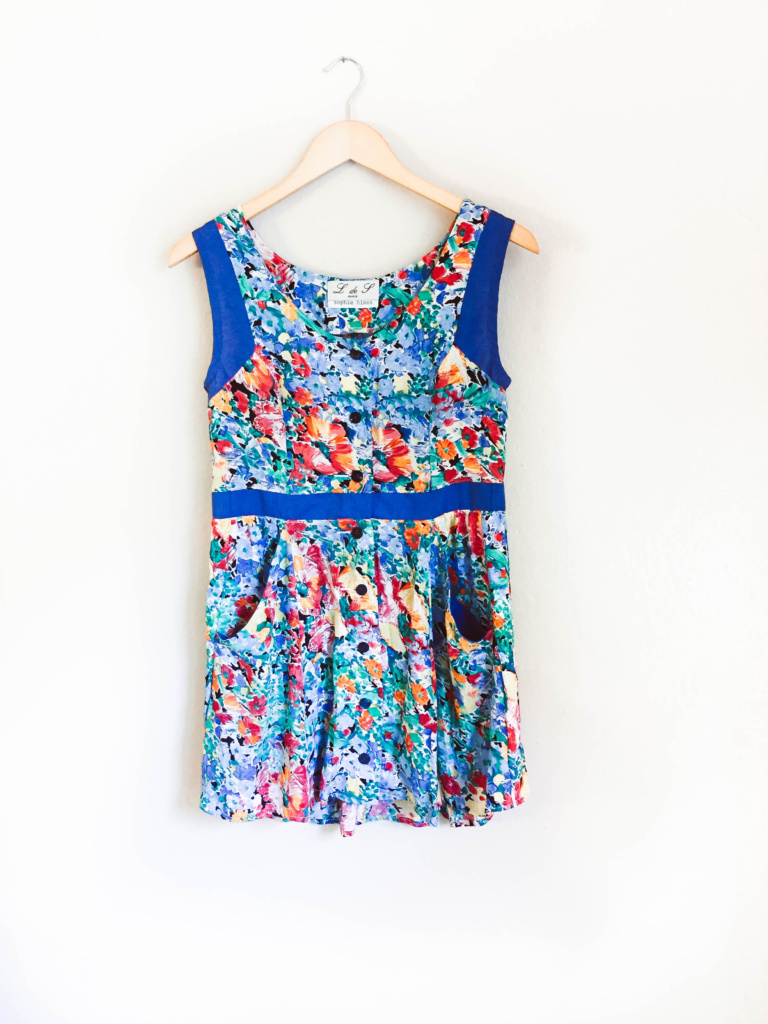
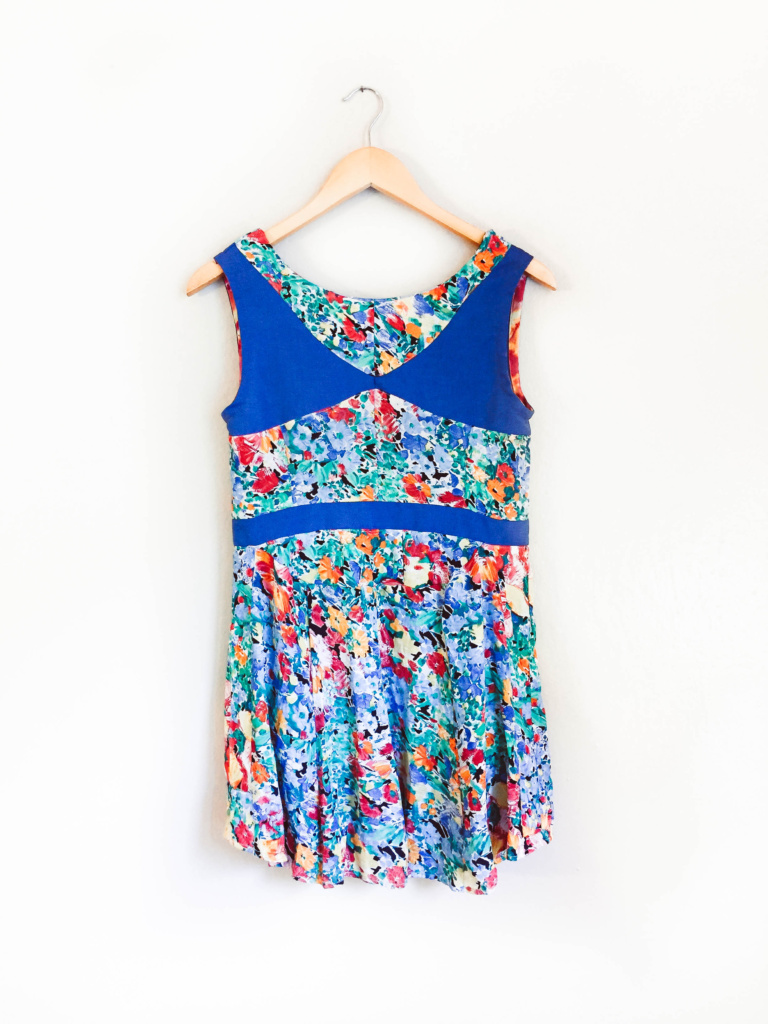
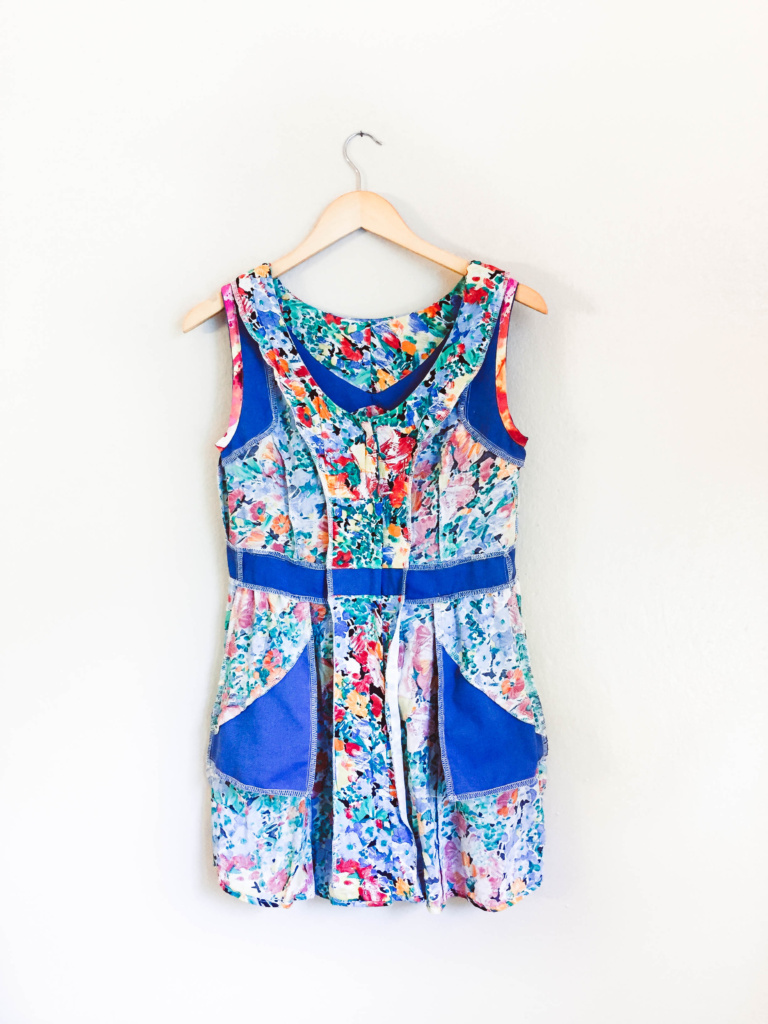
And an inside construction shot for anyone who may be interested! Haha
Because the rayon material had been starting to decay a little on the more stressed seams of the top, I used a straight stitch, serged the edges, then topstitched each seam. I definitely went a little batty at the end after putting in three seams, taking them out, altering, putting them back, again and again!!! Yikes!!
I had so much fun working on this project for Amy – it’s really refreshing to force yourself out of your comfort zone and go – to style and make something new and exciting!! I’m definitely looking forward to next year’s project!
Happy Sewing!
“This post was imported into WordPress in one click using Wordable.”
Leave a Reply