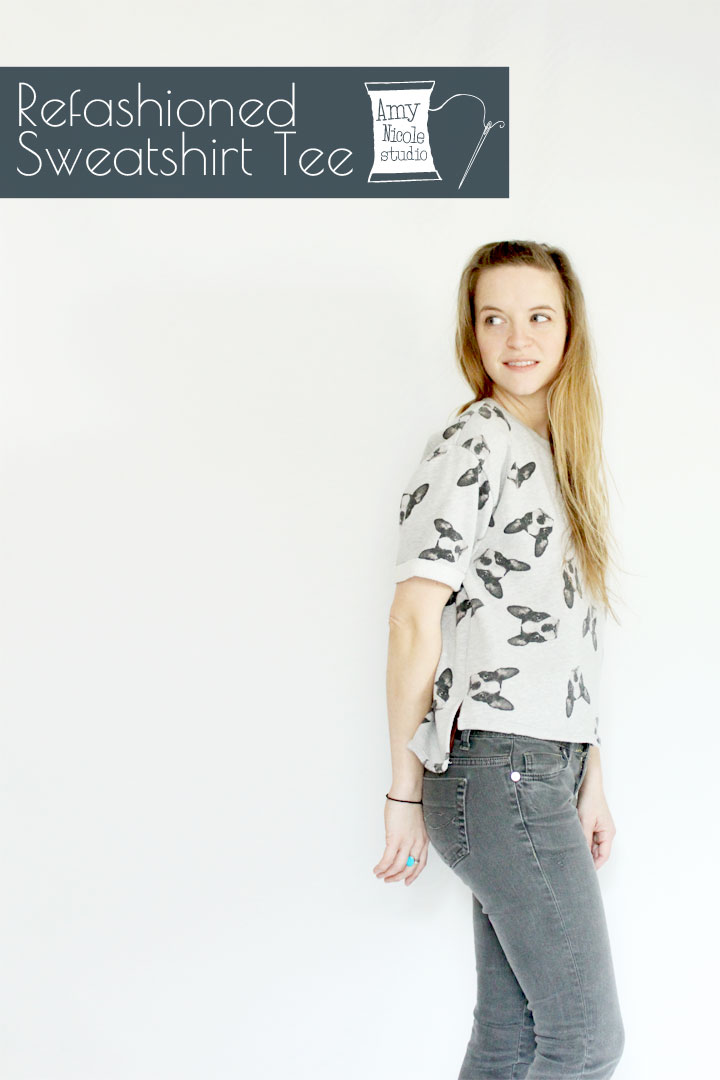
This is a great project for all those too-big-for-you sweatshirts you’ve been hoarding. Whether they are from your high school ex or your 80’s memorabilia collection, sometimes you love the design or the sentiment behind a sweatshirt but they are just too frumpy for out-in-public wear. This tutorial will help you turn an oversized sweatshirt into a trendy sweatshirt tee with cuffed sleeves and a high-lo hem.
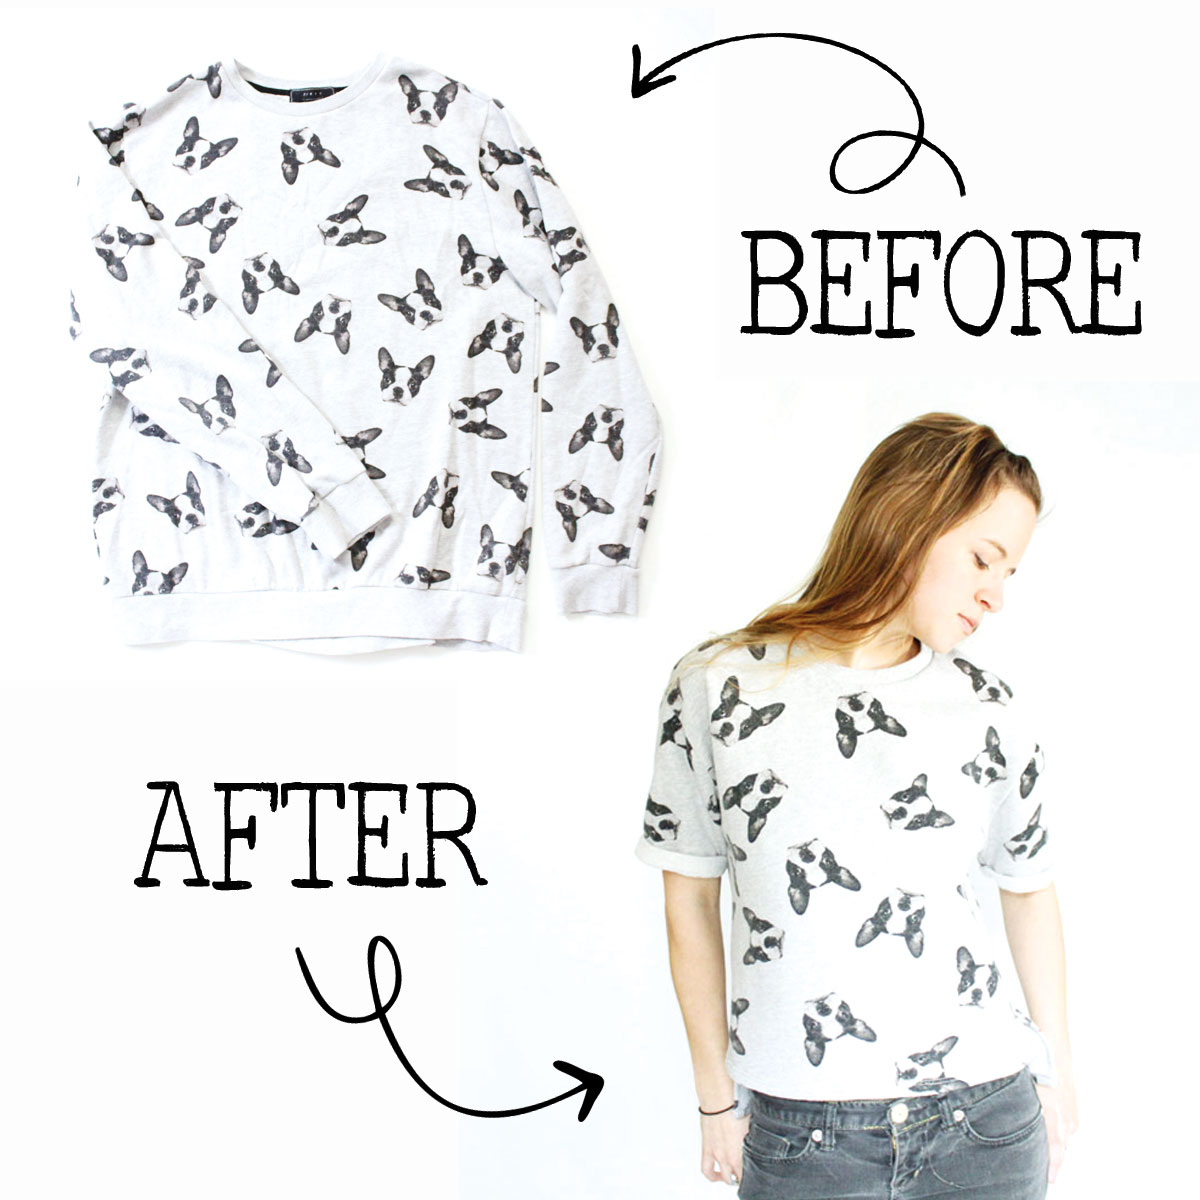
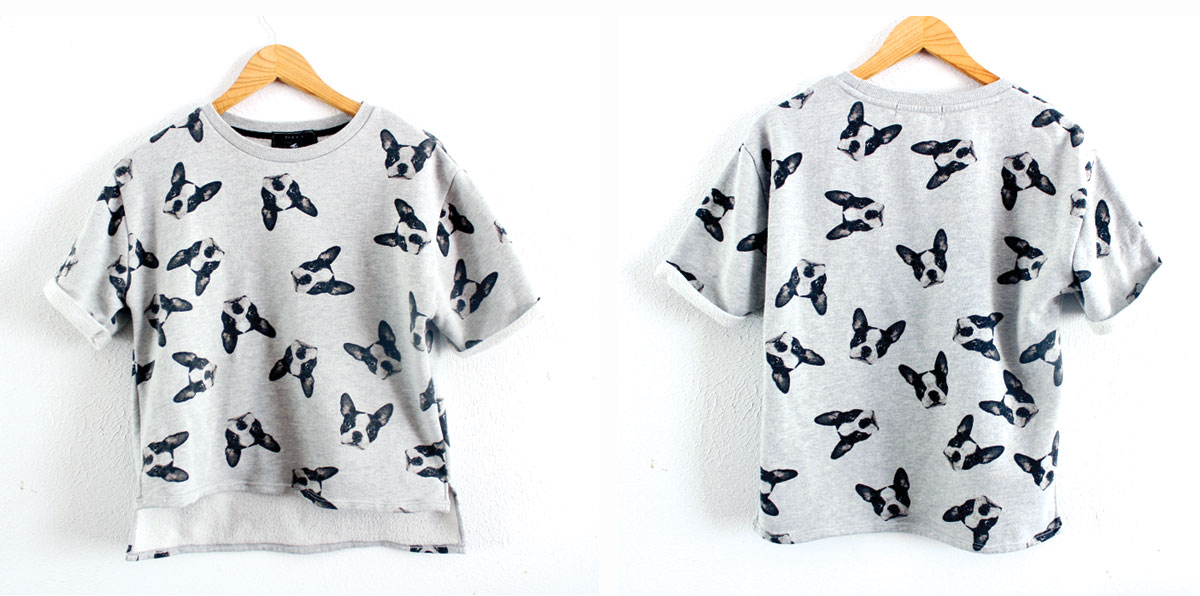
Before we dive into the steps (skip down a bit to get straight to it), I just want to talk about how amazing this sweatshirt is and the changes I decided to make. (Maybe I’m biased, because as I write this my own adorable boston terrier is curled up snoozing on my lap.) I was gifted this shirt by my cousin Chelsea. I have no idea where she got it, its a mens H&M sweatshirt. But I’m guessing she was cleaning out her closet and luckily thought of me!
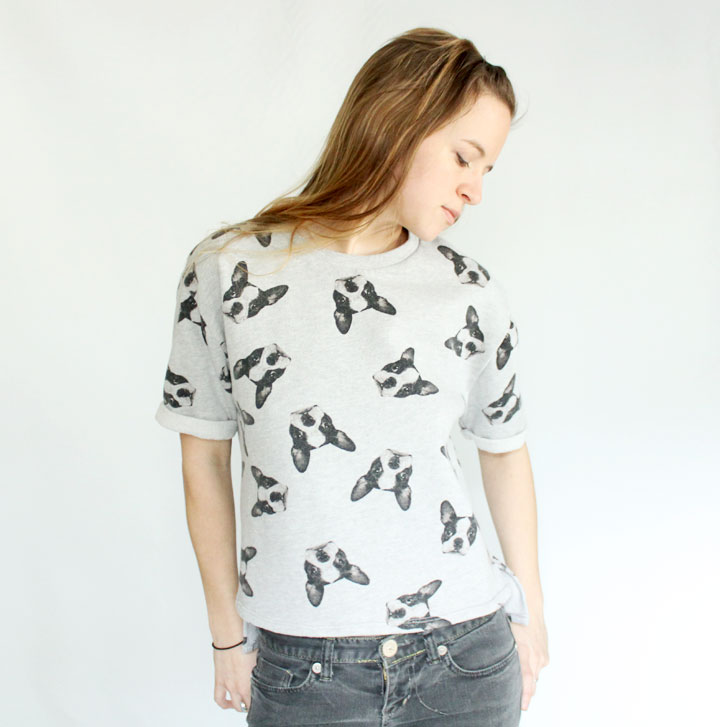
If y’all know me at all you know sweats aren’t really my style. I love the cozy-ness of sweatshirt fleece, but ill-fitting athletic wear just isn’t something that pops up in my wardrobe very often. Immediately I knew that this shirt was either destined to only be worn around the house on super chilly days, or it was going to get a major makeover. And how could I not choose the makeover with this print!?

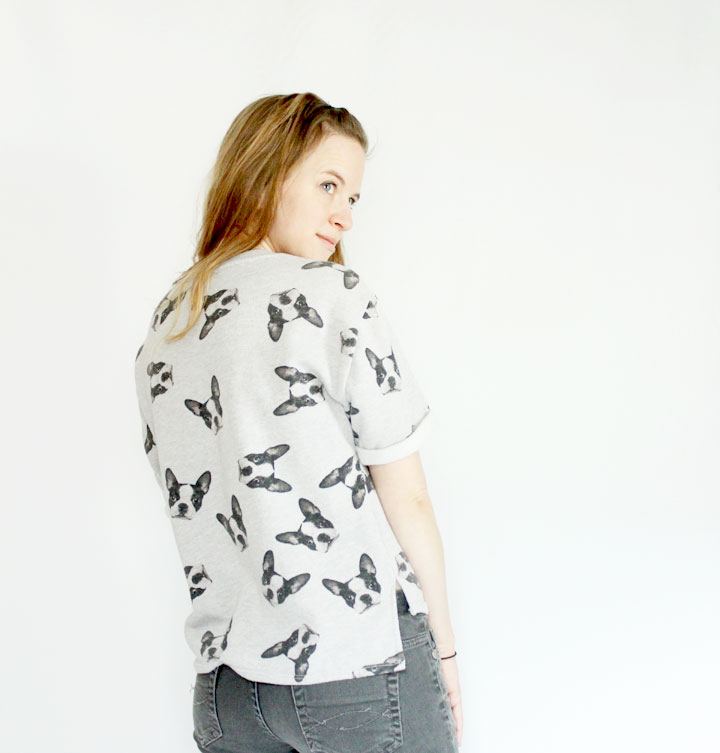
I’m not a fan of hem bands or any loose fitting shirt that hugs you at the bottom so the band definitely had to go. I think removing the band instantly makes a sweatshirt more fashion-forward. I’ve been really loving the hi-lo split hem trend on sweaters and tops lately so I decided I wanted to aim for that sort of look. The sweatshirt obviously needed to be taken in as well.
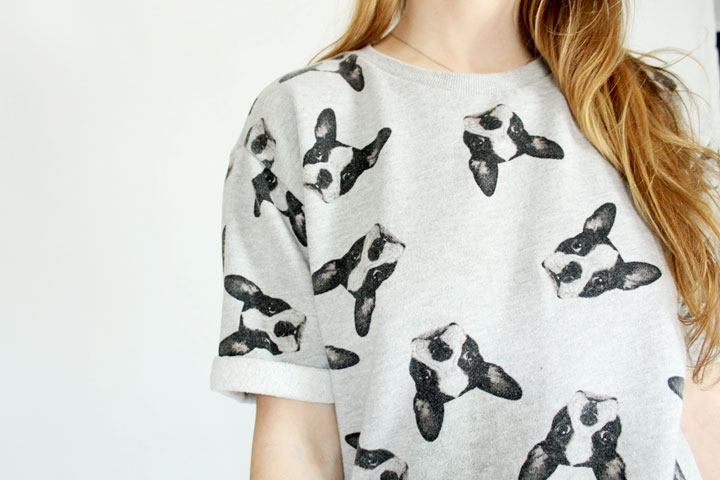
I debated keeping the long sleeves and just slimming them down and adding something fun like elbow patches, in the end I decided short sleeves would get worn way more often. (I mean this IS Texas after all.) I wanted to do something fun as opposed to a simple hemmed sleeve, so I went with a cuff to give it a more retro vibe. I love the way it turned out.

Without further ado – let’s get to that tutorial!
MATERIALS
- Sewing Machine + thread
- Serger (optional)
- Fabric Scissors
- Fabric Chalk
- Oversized Sweatshirt
- Double needle for sewing machine (optional)
STEP 1 – TRY ON AND MARK
Try on the shirt and make a mark on the front where you want the hem to end (I chose about an inch below the waistband of my jeans). Mark the back of the shirt where you want the hem (I did right at the top of my bum). Mark on one sleeve your desired length. Pinch the shirt at the sides till the fit is how you like it, make a mark at the pinch point on one side of the shirt. (You may need to get a friend/roommate/spouse to help you with this).
Remove the shirt and continue your markings. For the hem, you will want to draw a straight line across the front and back of the shirt, level with the marks you made ending at the side seams. (If you planned correctly your marks should not match up at the side seams. Decide how much of a hem you want (I just did 1/2″) and measure down from your first marks to draw your cut line.
For the sleeves, copy the mark you made on one sleeve to the other. Lay each sleeve as flat as possible. Draw a straight line at the hem mark you made, perpendicular to the top fold of the sleeve. Decide how wide you want your cuff to be (I chose 1″). Measure down from your first mark 1″ and draw a second mark, measure down another 1″ and this will be your cut line (see next step for photo).
For the side seams, copy the mark you made to the inside of the sweatshirt. Measure the distance that mark is from the side seam and replicate it on the other side. Turn the shirt inside out and lay flat. Using your eye, draw in your new desired side seam, going up into the under arm and down the sleeve. Making it as even as possible on both sides.
STEP 2 – CUT

For the hem line. First cut off the band so that your shirt will lay nice and flat. Fold the shirt at center front and center back with the side seams matching. Cut along your marked hem cutline.

For the sleeves, Lay as flat and cut along the bottom most line. (your cutline)
STEP 3 – SIDE SEAMS

With the shirt inside out, decide how long you want your side seam split to be (mine was 3″). Make a mark 3″ above your hemline (not the edge of the fabric) from the shorter (front) hem. To make your life easier, Cut out the excess side seam at the hem from the split mark down, following your new side seam lines making sure to leave yourself seam allowance (pictured above). Using either your serger or a narrow zig zag stitch on your sewing machine, stitch down each side seam following your side seam markings. Be sure to stop stitching at the split mark you made. If you are not using a serger, be sure to cut out the excess fabric, leaving about 1/4″ seam allowance.

NOTE: when using your serger, you will have to fold the short end of the hem out of the way as you serge down the long (back) side, then go back and serge the other side (as pictured above). You will then need to make a tiny snip into the seam allowance of the front side piece just under where the seam splits (as pictured below). This will ensure your seam allowances lay nice and flat for the next bit.

At the split, fold the seam allowances to the inside and top stitch down 1/4″-1/8″ away from the edge.(As pictured above)
STEP 4 – HEMS

For the shirt hem, finish the raw edges if desired (it is optional as this fabric won’t fray). Fold up at your original hem mark, and either zig-zag stitch or double-needle stitch in place. If you’ve yet to try a double needle on your sewing machine I say go for it! This is a great project to give it a try and it’s truly life changing (and super easy).

For the sleeve cuff, finished the raw edge if desired (again not necessary). Fold the cuff up once at your fold mark then up again at the original sleeve hem mark. At the under arm seam, do a straight stitch along the seam line to hold your cuff in place, try to “stitch in the ditch” right into the underarm seam so your stitches don’t show. I also hand stitched a little tack at the outside of the sleeve just to help keep the cuff from unfolding.
STEP 5 – GIVE EVERYTHING A GOOD PRESS
And your done!

Congrats! Now you have a super cute hi-low split hem tee shirt instead of a frumpy old sweatshirt.
I hope you enjoyed this tutorial, if you make something with it please do give me a tag so I can see!
Happy refashioning,

[…] left- Crafty like a Rox: Boys CAN Wear Pink, Projects by Jane: Scrap Brooches, Amy Nicole Studio:Refashioned Sweatshirt Tee, Laukkumatka: Shirt Sewing, Sew Very: Panda Face Zip Pouch, Chronically Siobhan: Cats wearing […]