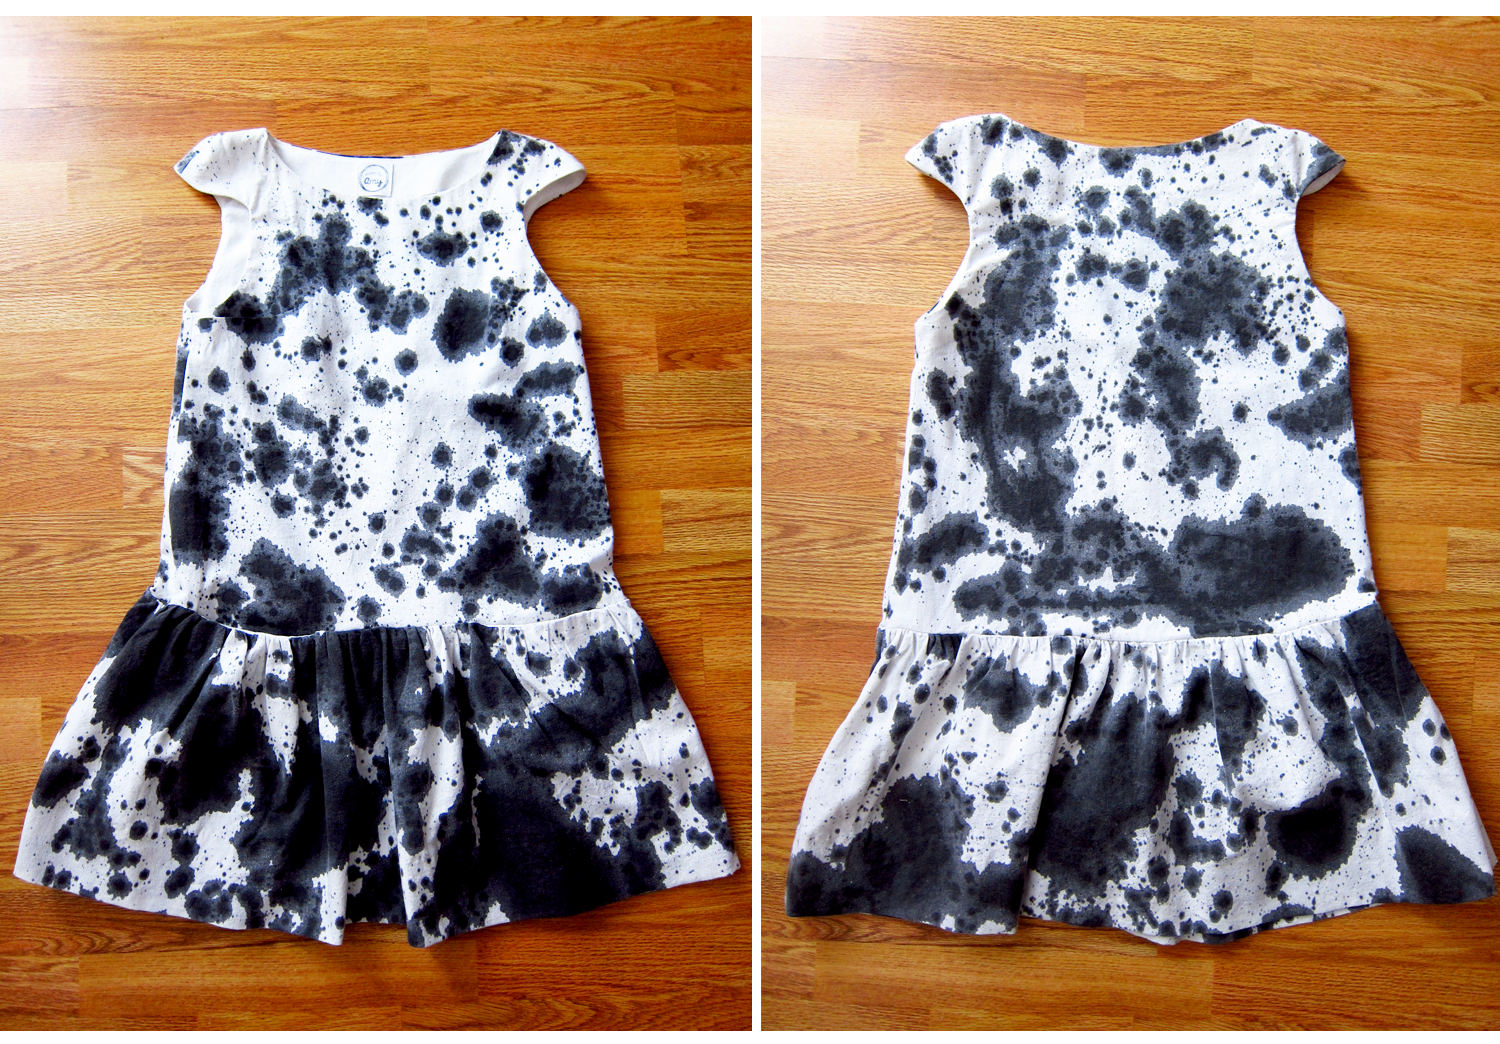
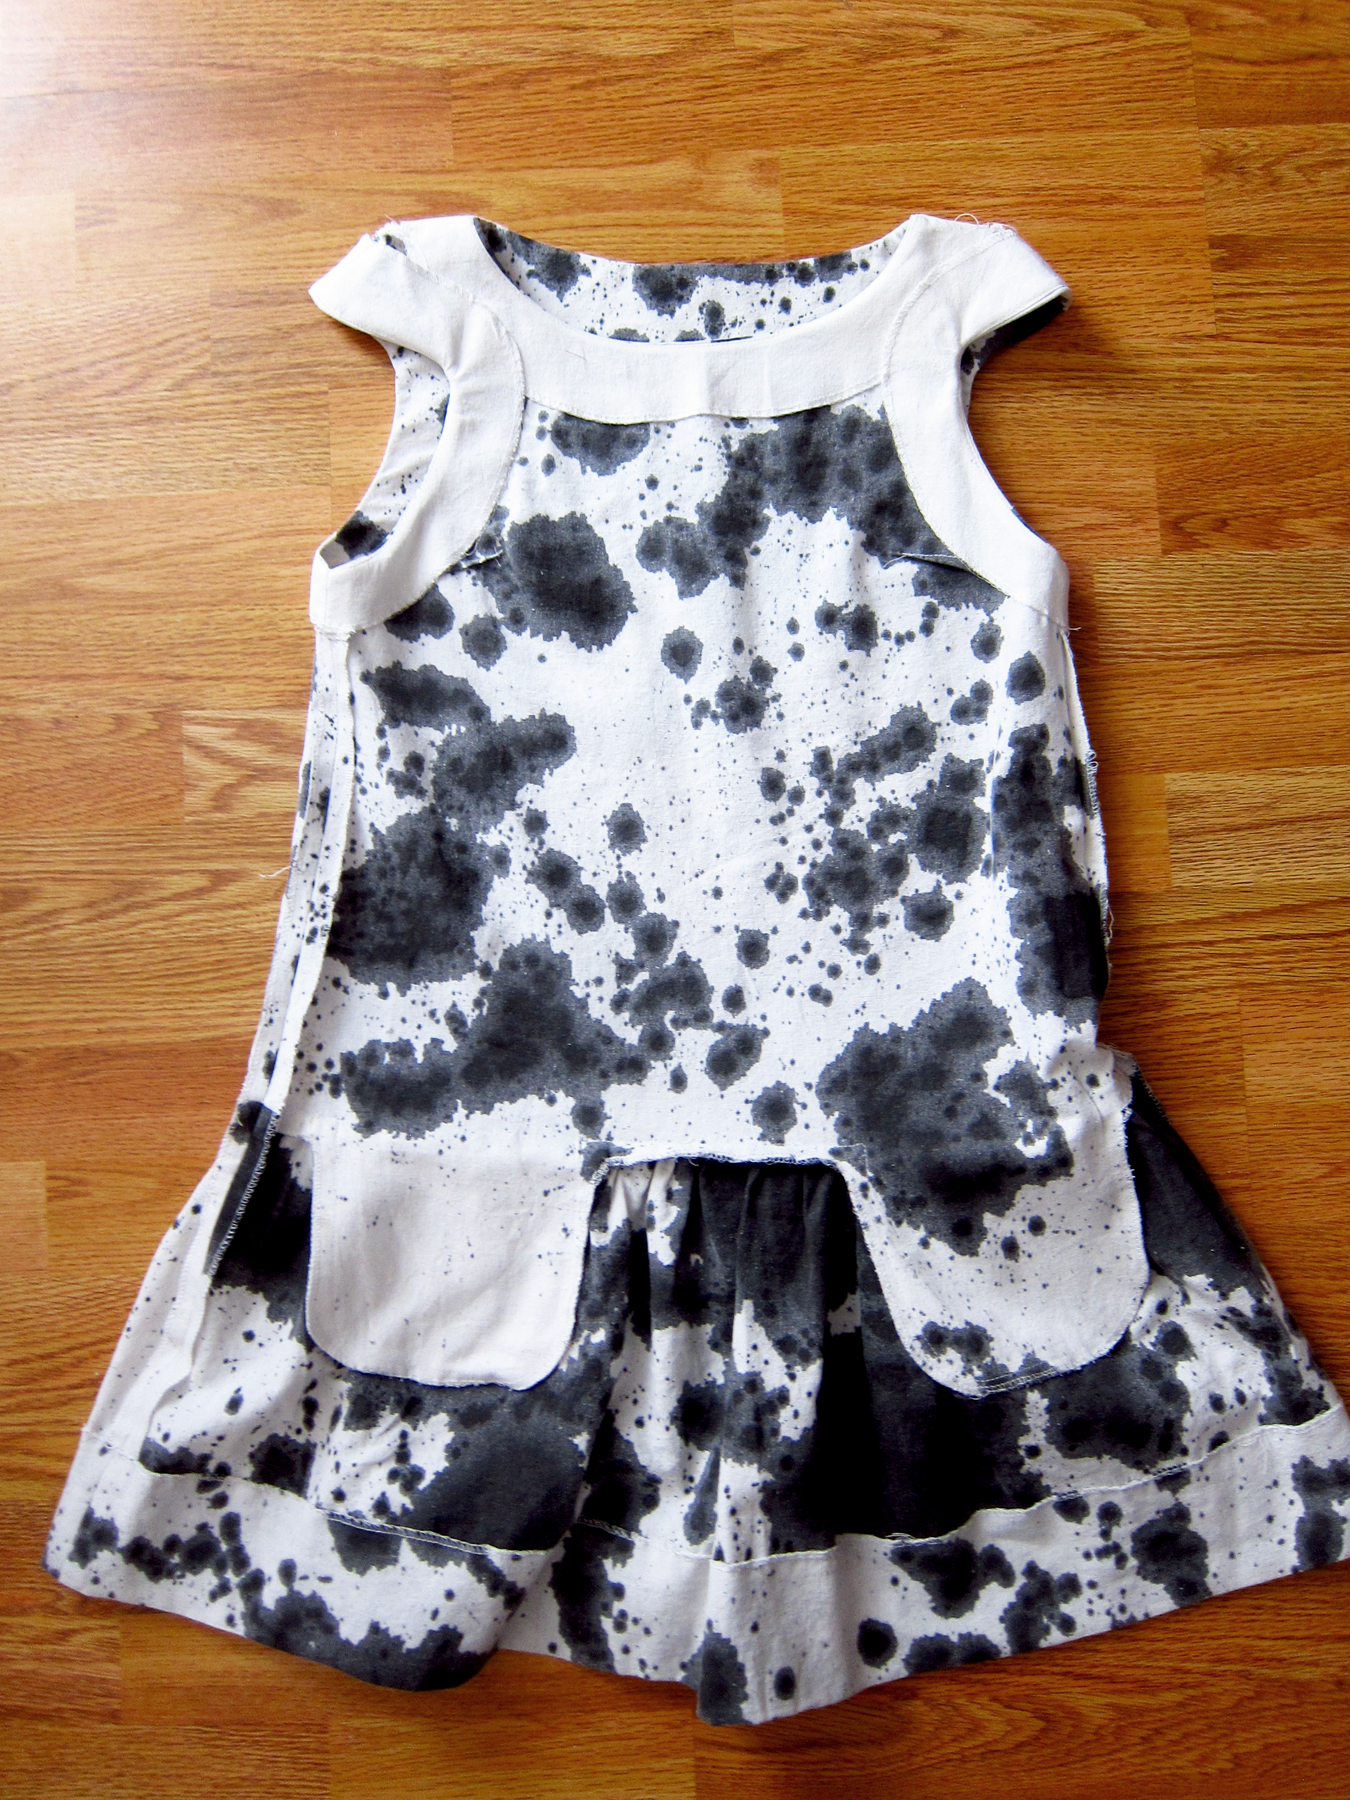
Part 2 of the Malvarosa Dress by Pauline Alice is the version I made for my cousin. This inky print is so much fun, and so easy to accomplish! I think fun prints like this really liven up the simple, boxy silhouette of this dress.
All of the construction and fit details regarding this make can be found in my previous post (Malvoarosa Dress part 1). In an effort not to be repetitive, this post is going to be all about that print!
I could have easily left this dress in the plain white linen. It actually would have been a nice, classic look and the linen (from my stash) is really good quality. But y’all know me – I’m too messy to where white (coincidentally so is my cousin) and I have trouble seeing white fabric for what it is… all I see is a blank canvas! Besides when I was consulting with my cousin on her ideas for the dress she had mentioned a black and white print.
I’d been dye-ing (get it?!) over these inky prints I’ve been seeing in magazines and on the runway and I just had to give it a go myself. I find one of the most interesting things about fashion is the way trends carry over through different collections, individually interpreted by each designer. I also find it so interesting that many of the trends in print recently are highly attainable on the DIY scale. Ombre, paint splatters, painted stripes… I think it says a lot about todays consumer. We are drawn toward fashion that is more organic (in more ways than one!) Prints like these seem very attainable, and each garment feels a little more unique – not like they were bulk printed in a factory (even though they probably still were).
I also think its possible that these trends in print could be fashions response to the DIY movement. Designers are beginning to tap into our growing demand for all things hand-made. Granted, I know the painted prints you see on the runway weren’t actually painted onto the fabric. But it gives us that illusion of being more connected to the art/artist. I find it intriguing to dive a little deeper into todays trends in fashion.

Materials Needed:
- Black paint or Ink – I used this ink. I chose ink over paint because I didn’t want the color to make the fabric stiff in spots. I’m sure black fabric dye would work just as well – you’d have to experiment.
- White fabric – prewashed
- Plastic to cover work area
- A small cup, eye dropper, other “splattering” tools
- Water
- Weights if your working outside (to keep wind from blowing your stuff everywhere)
Step 1: Prepare your workspace. I’m not even kidding you guys.. this stuff gets EVERYWHERE. I put a big plastic tarp under my fabric and worked in the driveway and I was STILL finding ink splatters in random places. Use a large tarp or tape a bunch of trash bags together (unless your outside and just dont care about your sidewalk – we rent so I wasn’t taking any chances!)
Optional: I cut my pieces first before I dyed the fabric. You can really do it either way, but I cut first for two reasons: 1) I was making two dresses and wanted to cut both at the same time (second dress was getting a different dye technique). 2) I wanted to have a little more control over where on the body the splatters were going. With the pieces already cut, I could tell exactly what the final outcome would look like.
Step 2: Test it out. There was a LOT of trial and error involved in this project. I highly recommend having a scrap piece of fabric you can test on. You may even try using a wet scrap to see if it absorbs the ink differently. I had a problem with a little bleeding with my ink and think wet fabric may have helped. You also need to get a feel or the look you are going for. Experiment with your splatter tools. I used a small cup to create bigger splatters, and squirted right out of the bottle for more droplet-like splatters. You will want to try dropping ink from different heights, and even use eyedroppers or spoons to control the volume of ink that falls.
Step 3: Go for it! Honestly, I feel silly writing directions for this, there really is no right or wrong here. Have fun, pretend you are Jackson Pollock, and just see what works and what doesn’t. If it all goes wrong – you can always just dye the whole thing black! I do recommend waiting a few seconds in between splats to see how the ink will bleed and absorb into the fabric before adding more. I’d also use the quit-while-your-ahead method to avoid over doing it. You can always go back and add more later.
Step 4: Dry and Rinse and Wash and Dry. I didn’t want to take a chance of any of the ink bleeding onto the white, so I let my fabric dry before I gave it the necessary rinse. This is another thing you can probably test with your scrap first, as I think the fabric will stay truer to its texture if you rinse immediately after. Rinse in cold water till the water runs clear. Then wash & dry the fabric as you plan on washing the garment.
Thats it! You are ready to sew it up!! This technique also works great to rescue a stained white garment (trust me – I saved a silk top by giving it the splatter treatment!) Just begin by aiming your splatters at the stains, then go crazy.
Note: if you are doing this to a completed garment, make sure to put a plastic bag or something inside so whatever you do on the front doesn’t bleed through to the back!


Leave a Reply