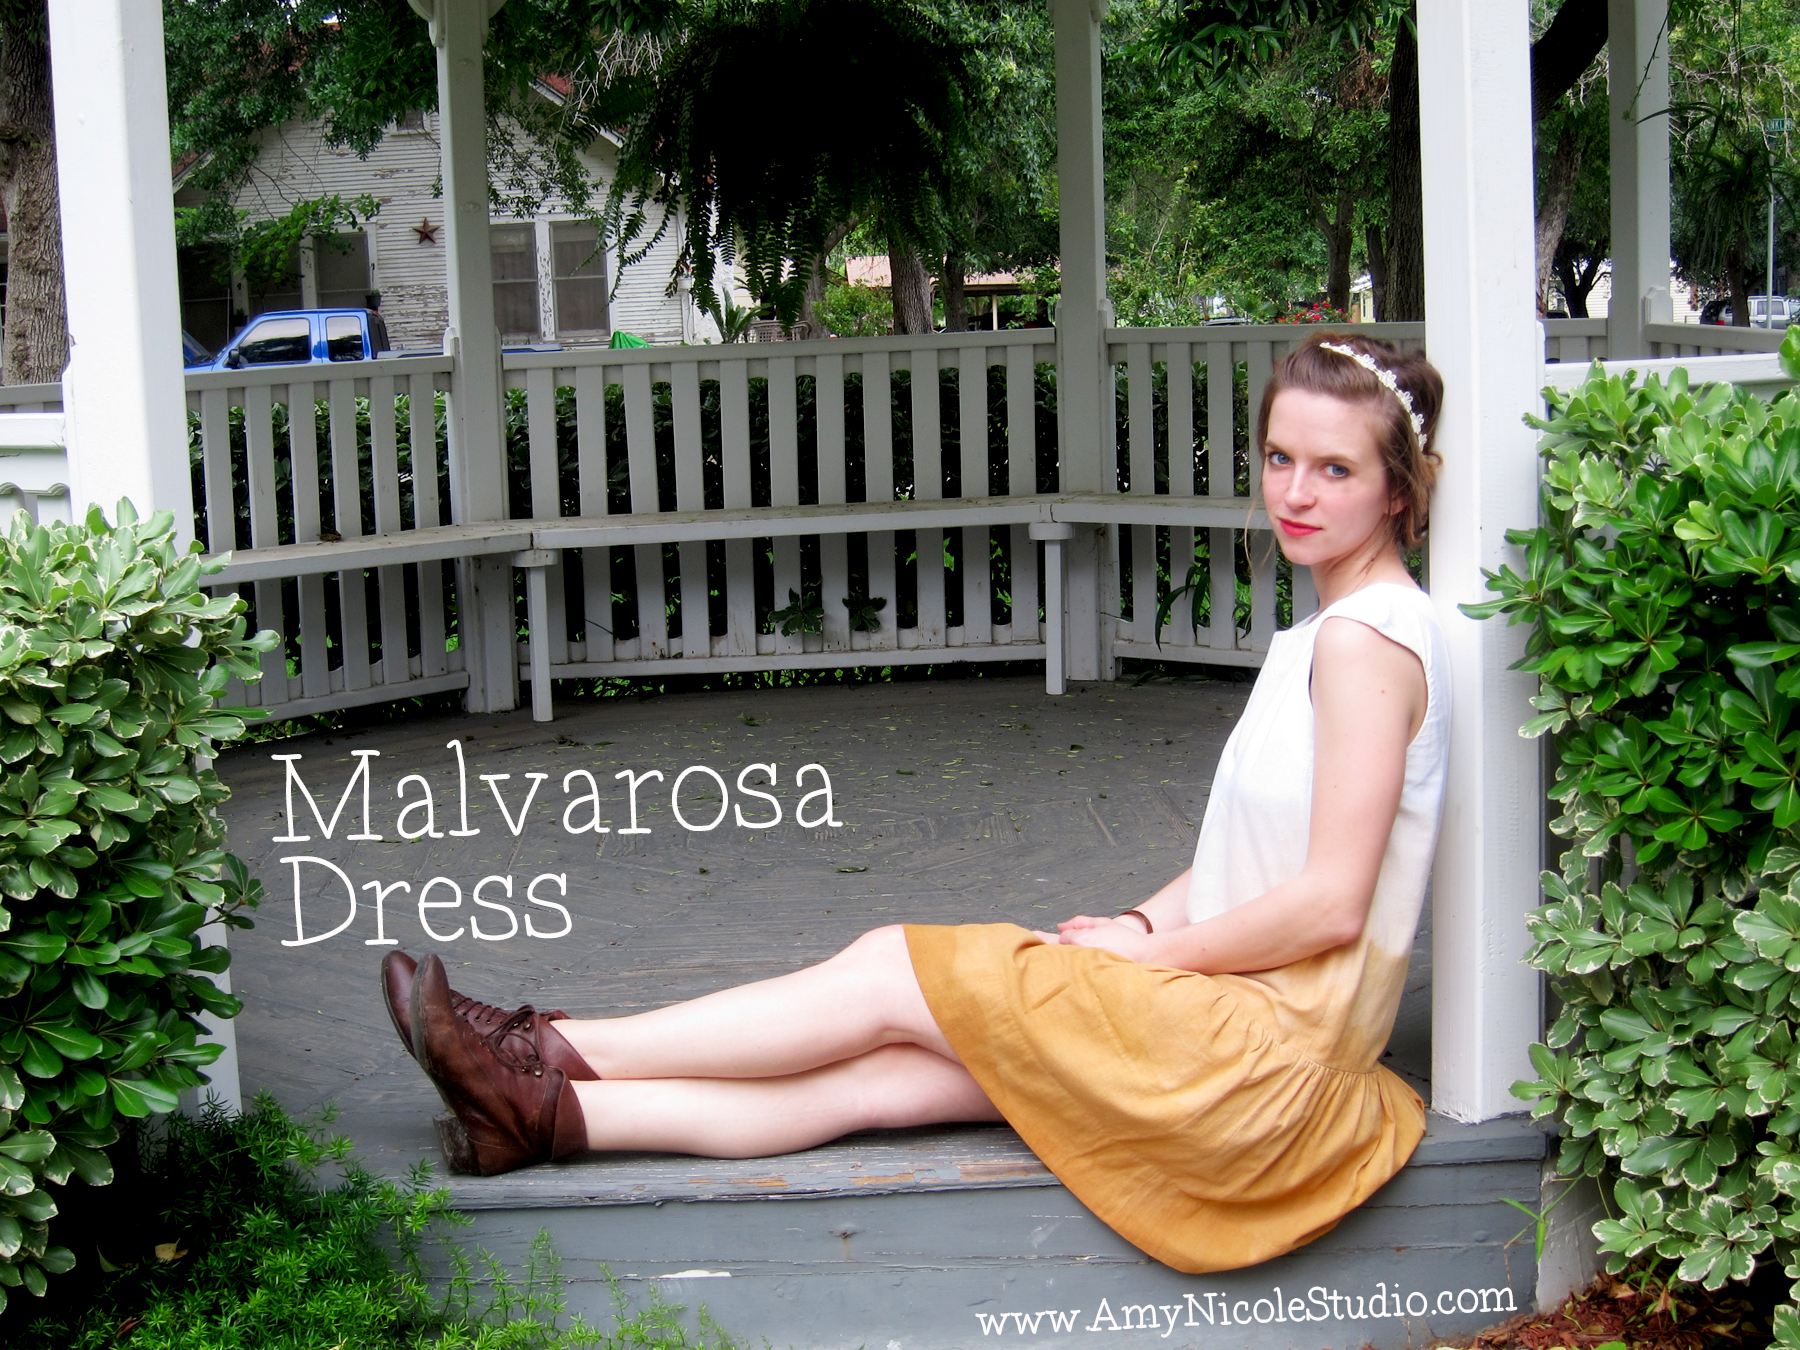
This dress was another 2-for-1 off the sewing table. I made one at the request of my cousin for her Christmas/Birthday, and one for myself (conveniently we’re the same size!) I had a little fun with these dresses as I wanted to make them each different, so I cut them both out of white linen and experimented with a unique DIY dyeing technique for each one. In an effort not to make this a ridiculously long post.. I’m focusing on the version I made for myself in ombre yellow dyed with onion skins.
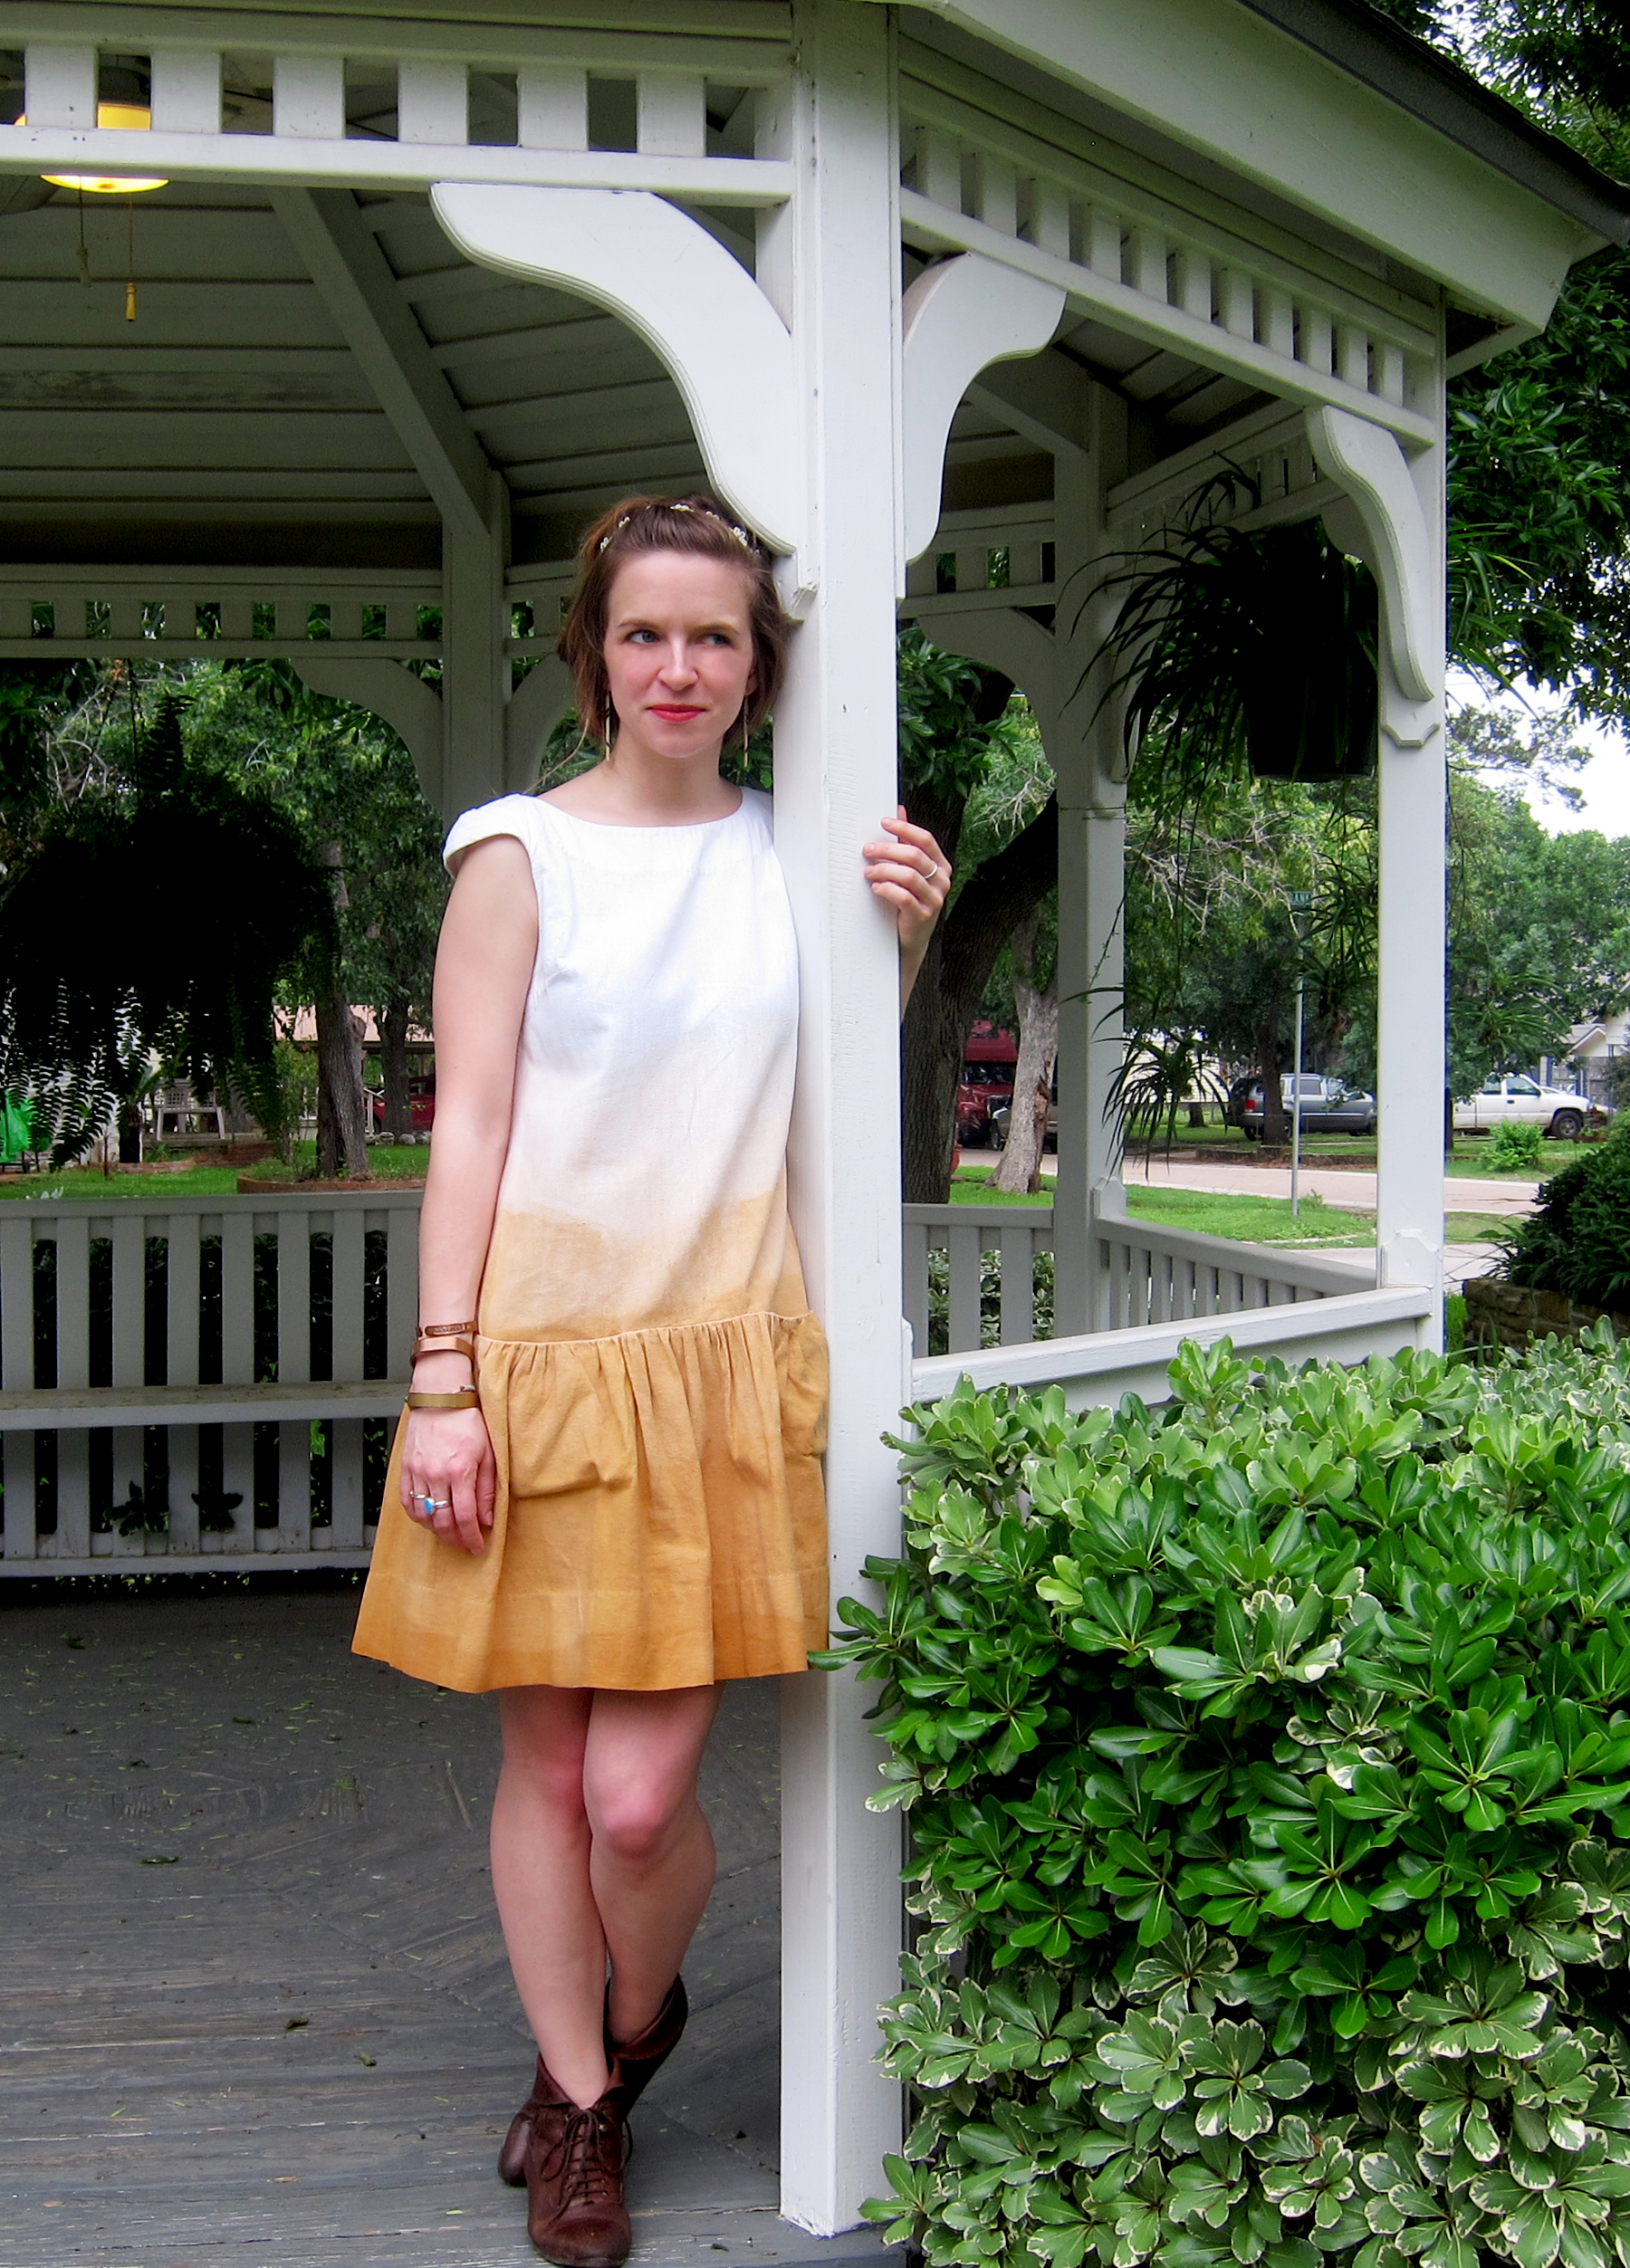
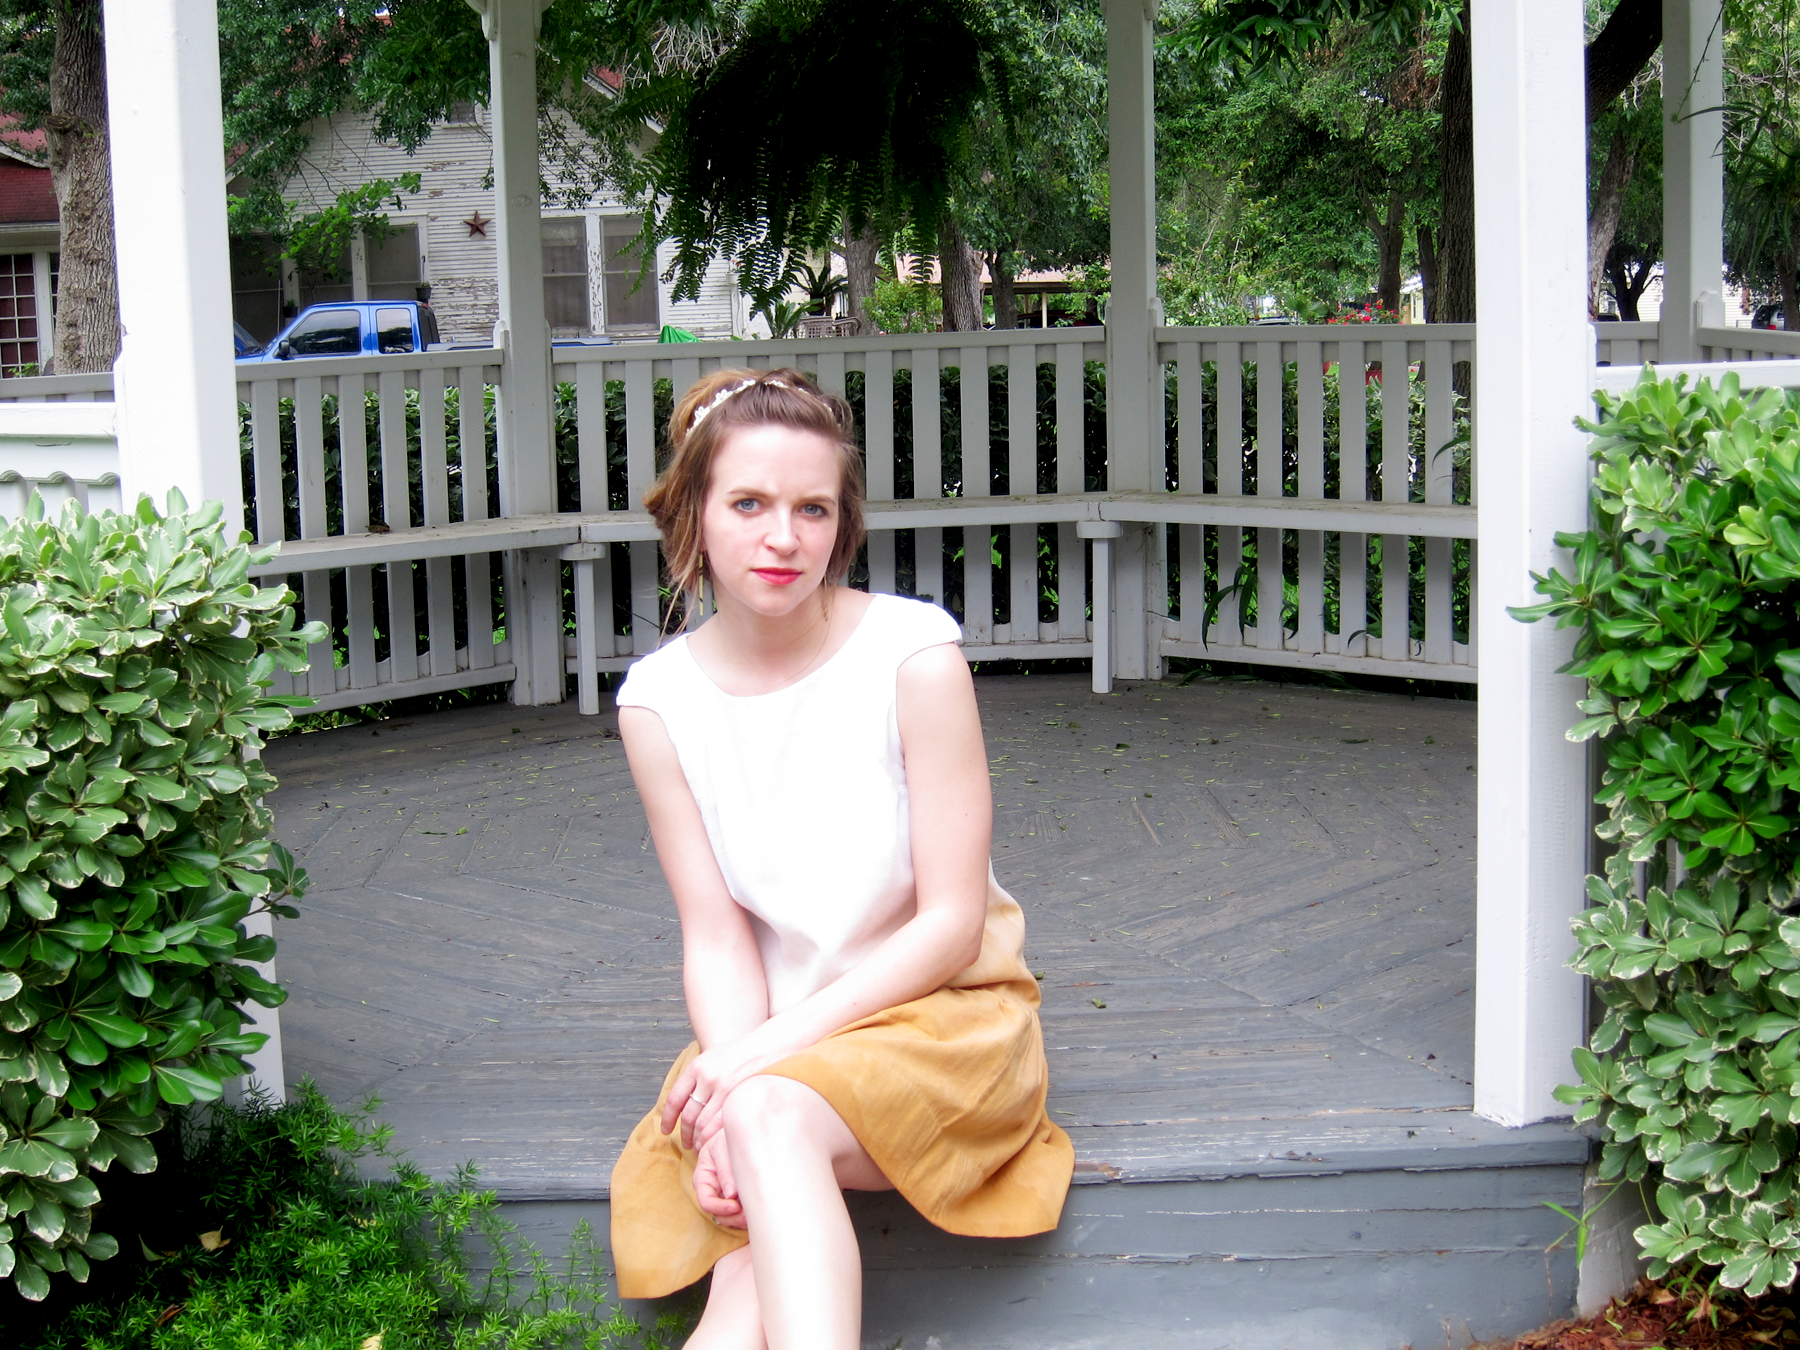
The pattern is by Pauline Alice and is available here. I have to say this dress is quite adorable. I’m really into the whole drop-waist situation lately, and y’all know how much I adore pockets! So throw some pockets into the seam of a drop waist dress and I’m one happy camper. I love the idea of an easy dress that you can just throw on with flats and run to the store or dress up with heels for a night out. Versatility + Comfort = A+ in my book! I’ve definitely been focusing on adding more items that fit this description into my wardrobe.
This was my first time sewing with a Pauline Alice Pattern and over all I was quite pleased. The instructions were very clear, I didn’t have to make any fit changes, and the pattern came together quite easily. The only change I made to the pattern was my usual dropping of the underarm – not something that would be necessary for everyone but I’ve started doing it to all my patterns lately because I’m such a spaz about a tight fitting underarm. Maybe I’ll do a tutorial on this at some point, yes?
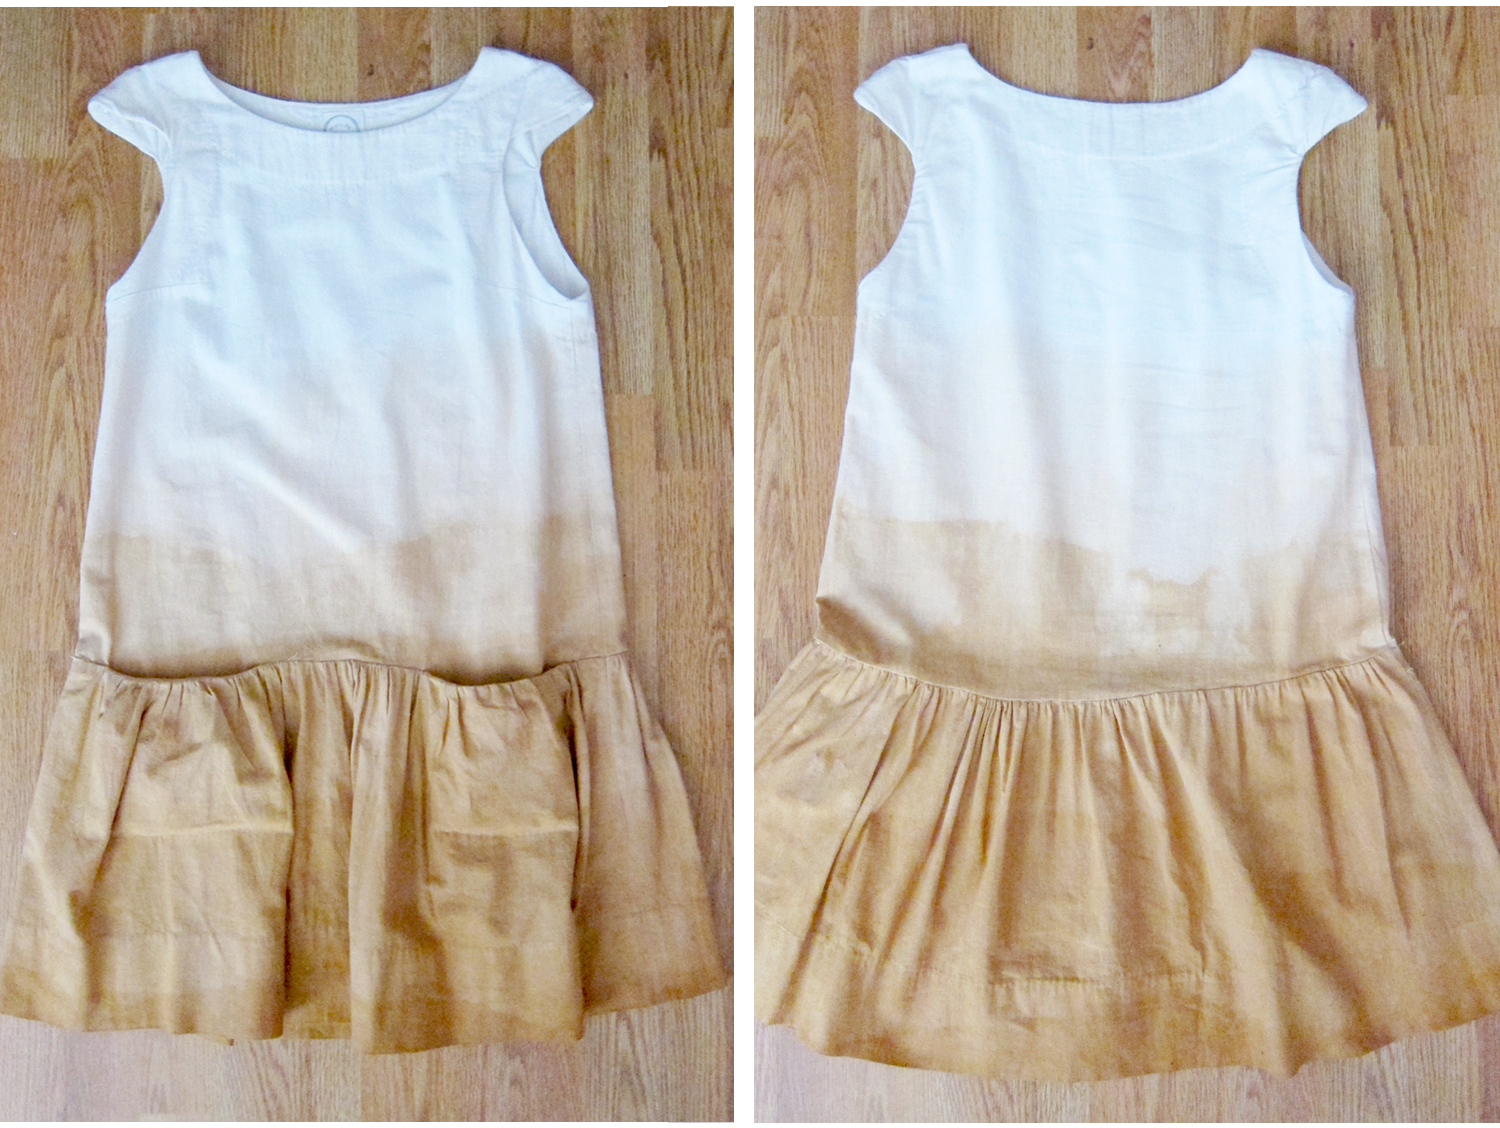
The ombre dye using onion skins was something I’ve had in mind to try for a long time. Coincidentally enough, we use a lot of yellow onions at the restaurant… so I have an infinite supply of yellow onion skins. When I saw this technique on Maddie’s blog (AMAZING sewing blog if you’re not familiar with it) I just had to give it a try. I highly recommend this tutorial – actually a guest post by Argaman & Defiance – definitely check out their website for great products and inspiration. I’ve done a lot of research on natural dyes and this tutorial is one of the most straightforward, clear, and easy to follow that I’ve seen out there. I’m more than happy with the results and cant wait to try it again with other projects. Although I’d be hard pressed to use this technique to do a solid color – the ombre just looks so cool! I will say to let the fabric get WAY darker than you think you want – there is a LOT of color fading after you rinse (obviously you should do a test run too).
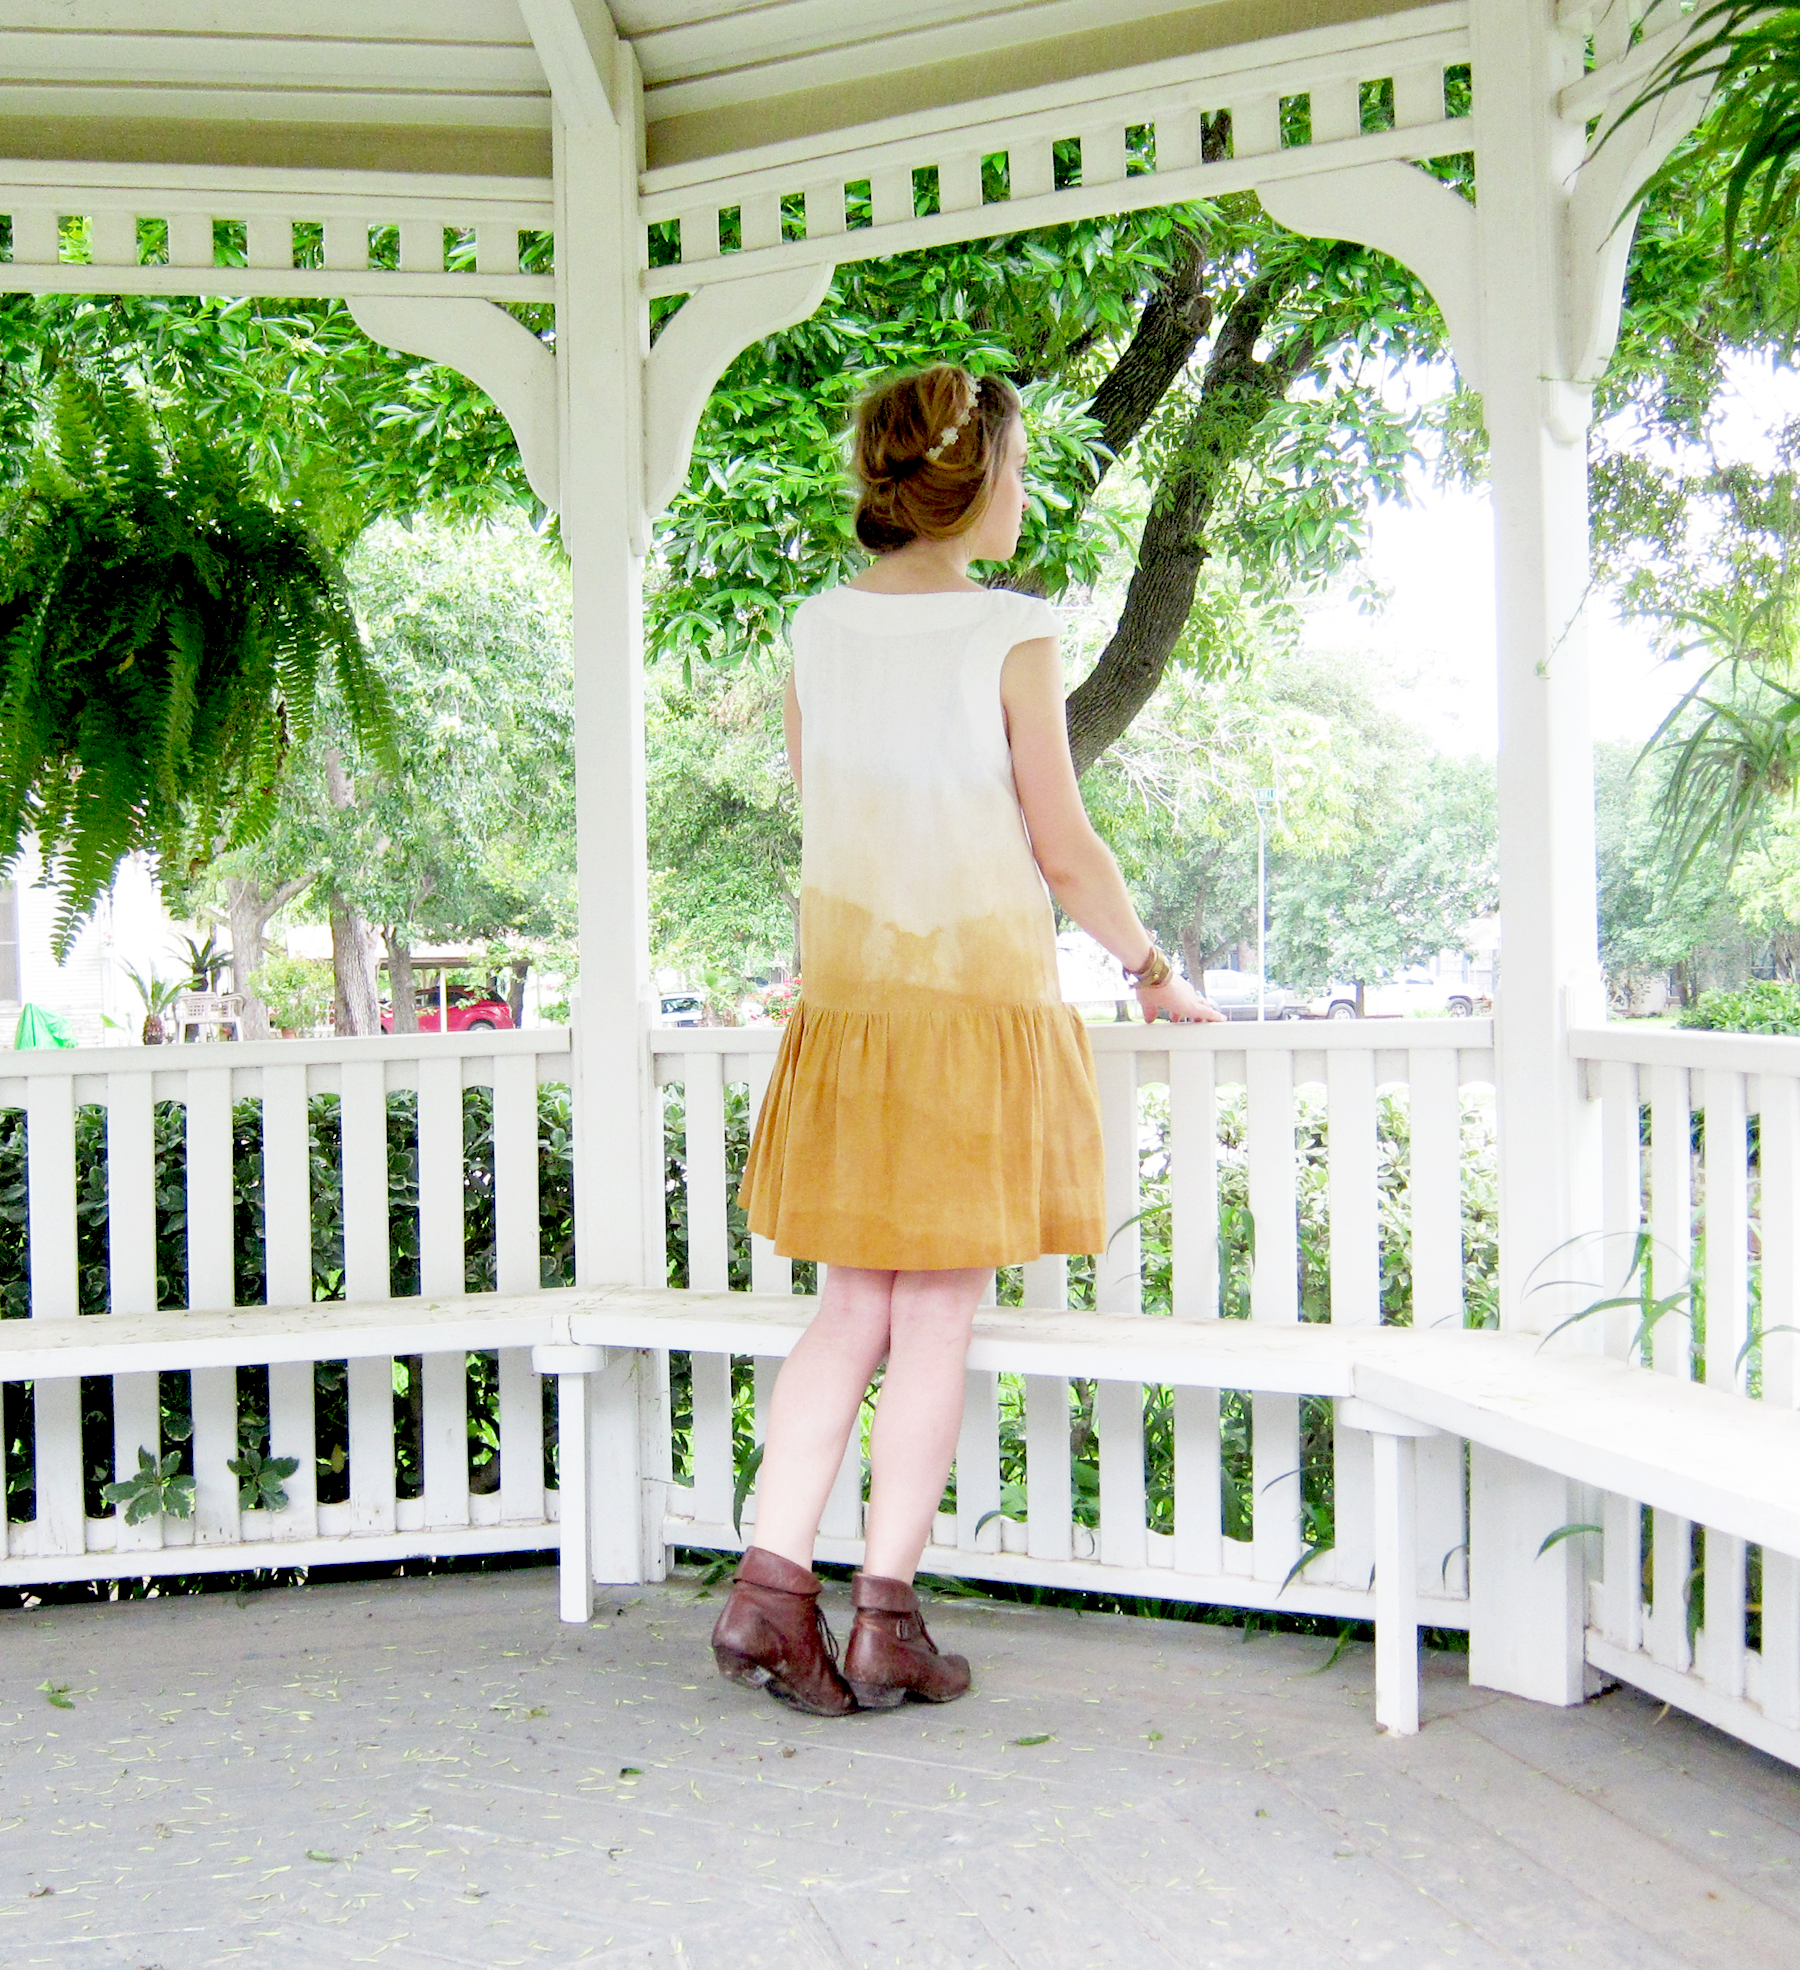
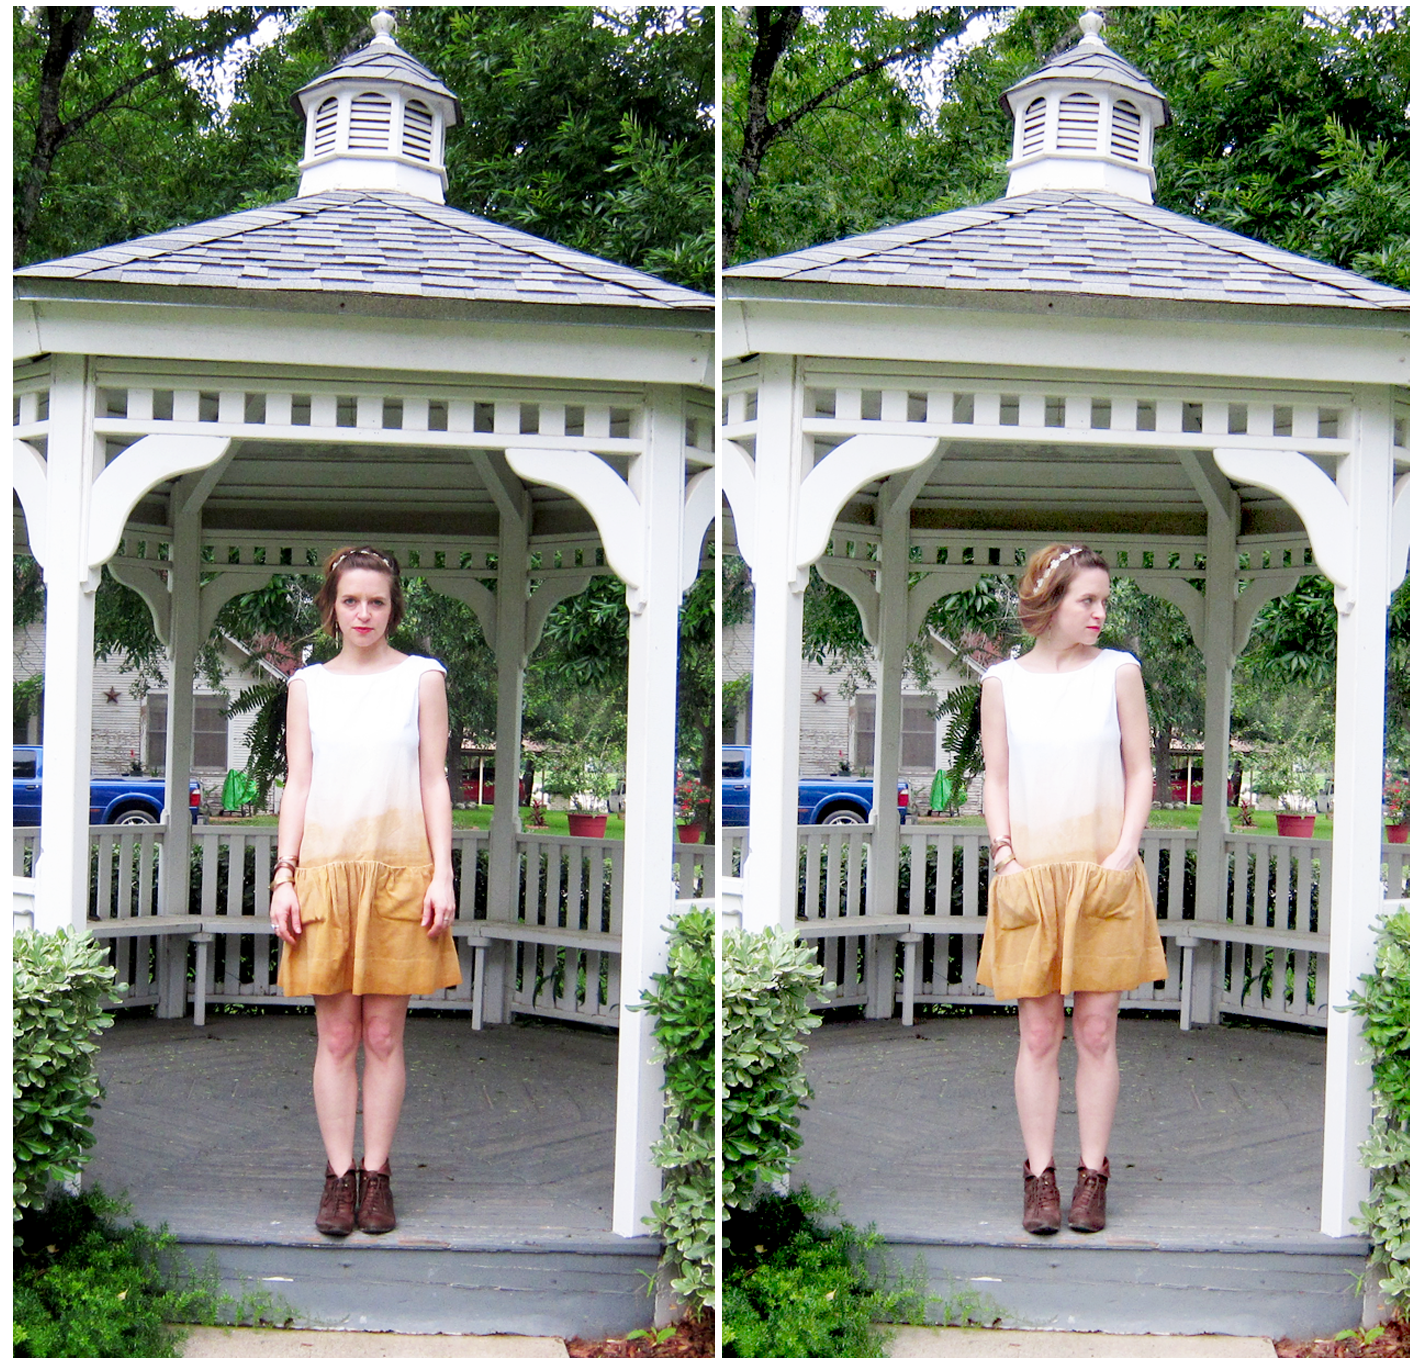
If I were to make another one of these dresses (which I very well might) the only thing I’d do differently is remove the little cap sleeve and make it a simple sleeveless silhouette. In the pictures the sleeve looks ok but in reality I feel its a little odd. It kinda reminds me of those military epaulettes – not quite enough to be a sleeve so it just sort of flops on the top of the shoulder. Maybe it’s just me. Its definitely not enough to keep me from wearing the dress. I even thought about changing it on the current version but decided that it didn’t bother me enough to go through the effort of fixing it. #lazysewerprobs
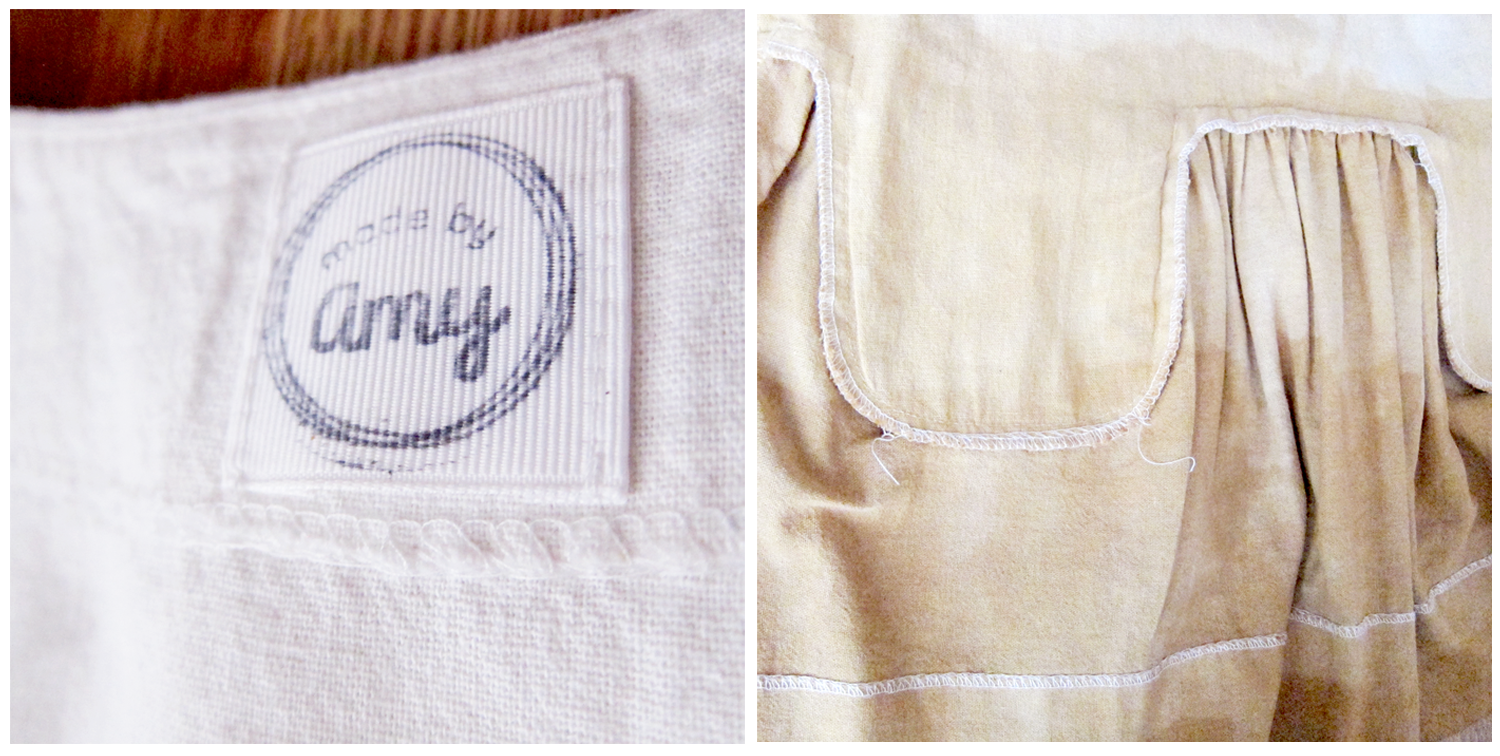
A few words on the little details: 1) I cut the pattern as is and took a 2″ hem – which I think is a little more than the pattern stated. I did this because I wanted the dress to be a bit shorter – I think it makes the loose fit a little more fun and youthful. I also just prefer a thicker hem – I feel it makes the skirt fall better, especially with thicker fabrics. 2) I love the in-seam pockets with the skirt gathers at the opening! Such an interesting touch. 3) I tried something different with the facings and ran the loose ends through my blind stitch machine instead of hand-tacking them down (more #lazysewerprobs). It obviously shaved away some time but it also makes the insides much nicer and secure. The only thing is that it shows through just a bit more than I’d like it to on the front.
Pattern: Malvarosa Dress – Pauline Alice
Fabric: White Linen – from stash
Notions: Thread – thats it!
Difficulty: Intermediate
Adjustments: Lowered Armhole, 2″ hem
Finishes: Serged edges, blind stitched hem
Time: Approx 2 hrs (not including dye time)
Sew it again? Yes! (But without the little sleeve cap.)

Leave a Reply