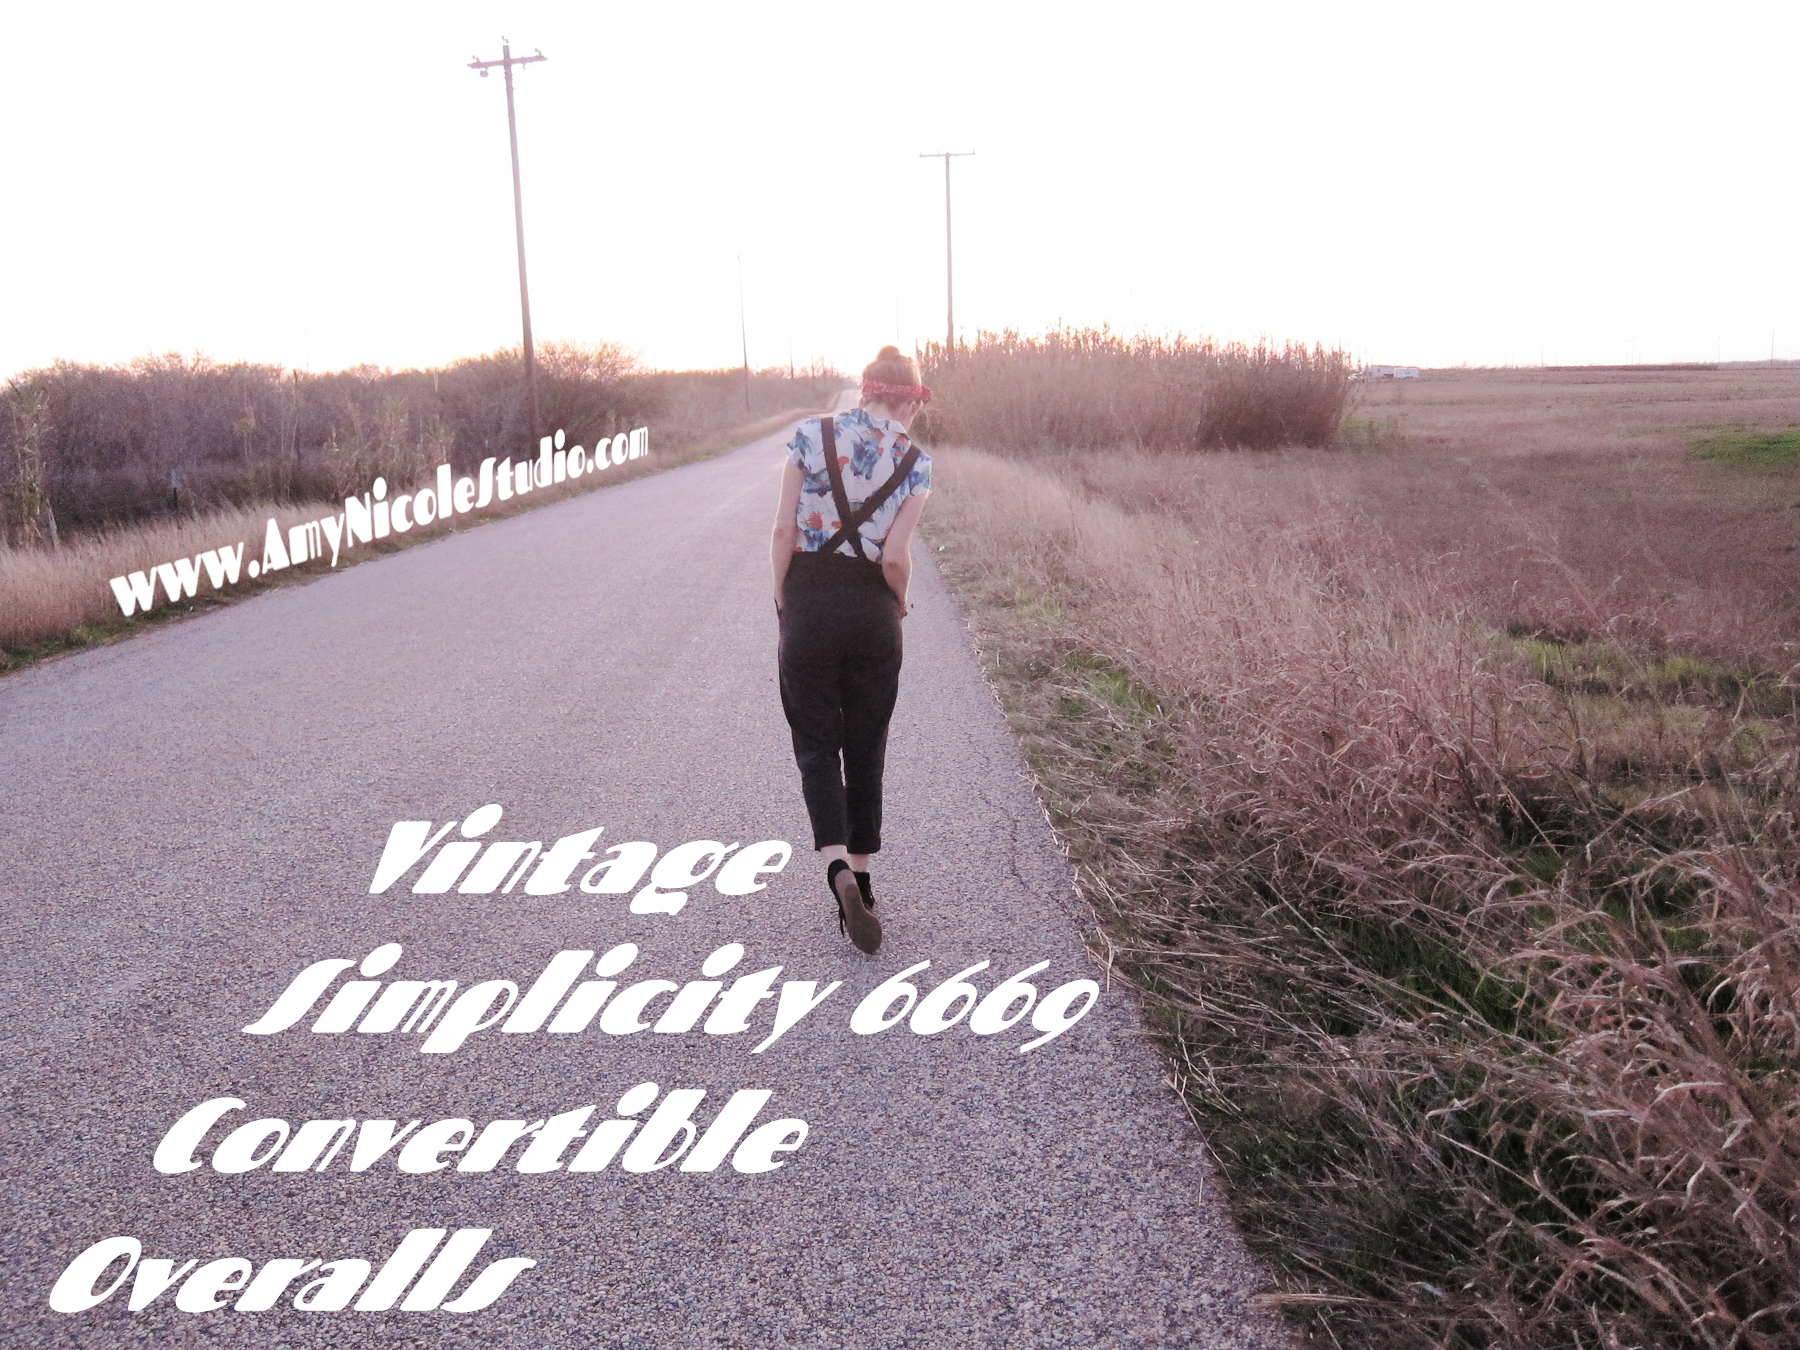
Have I mentioned that I’m addicted to overalls? So when I came across this pattern in an bin at a junk store I HAD to purchase it. Not only are they overalls… but their CONVERTIBLE! The bib can be removed by simply undoing a few buttons and VOILA… PANTS! Is that not genius or what?
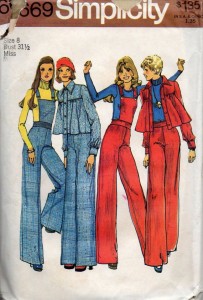
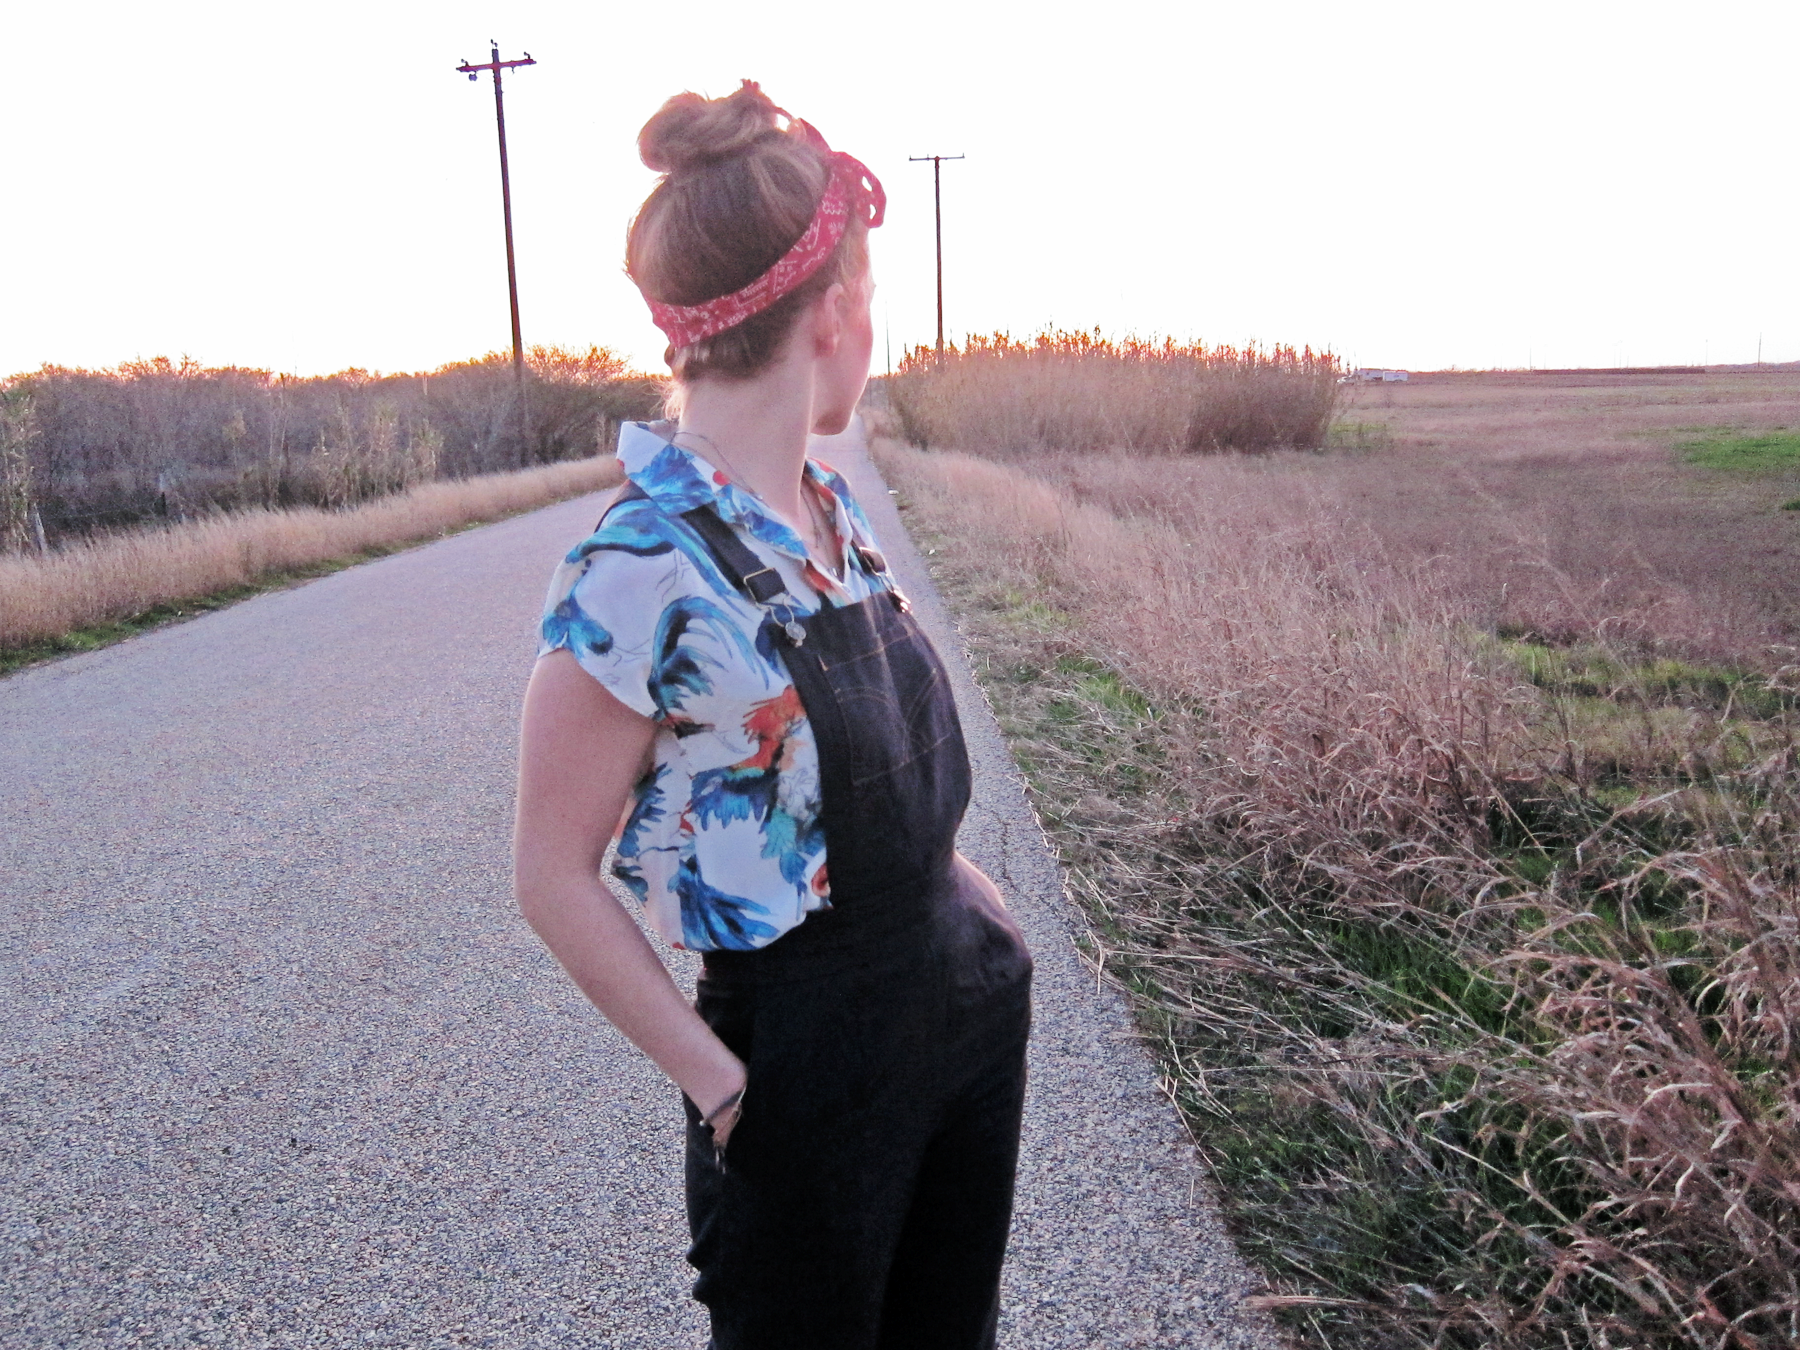
These overalls were actually on my sewing goals list for fall/winter 2013, but life shat on me in fall of 2013 so I didn’t get around to sewing these till last summer. As you can see from the pattern image here I made a few changes. Most notably I tapered the leg (me and wide legs do NOT agree). I also moved the waist zipper closure to the side (where I felt it made more sense), and added front pockets and a back welt pocket. All of these changes I drafted on the pattern itself before cutting any fabric.
I also sewed a muslin for this project, which I dont always do. I chose to do so for a couple reasons. For one, this was my first ever pair of pants to construct for myself. I have made pants for projects at school – but those had to fit our standard issue dress forms, which were never my size. Also, with vintage patterns (or really many home sewing patterns), you can never be too sure of the sizing… even if the measurements listed seem right. Mostly I knew I was making some pretty big changes to the shape of the leg, so I wanted to really make sure the fit was right before I cut it in real fabric. To my surprise the waist and tush fit great! I just made a few adjustments to the legs after I tried on my muslin.
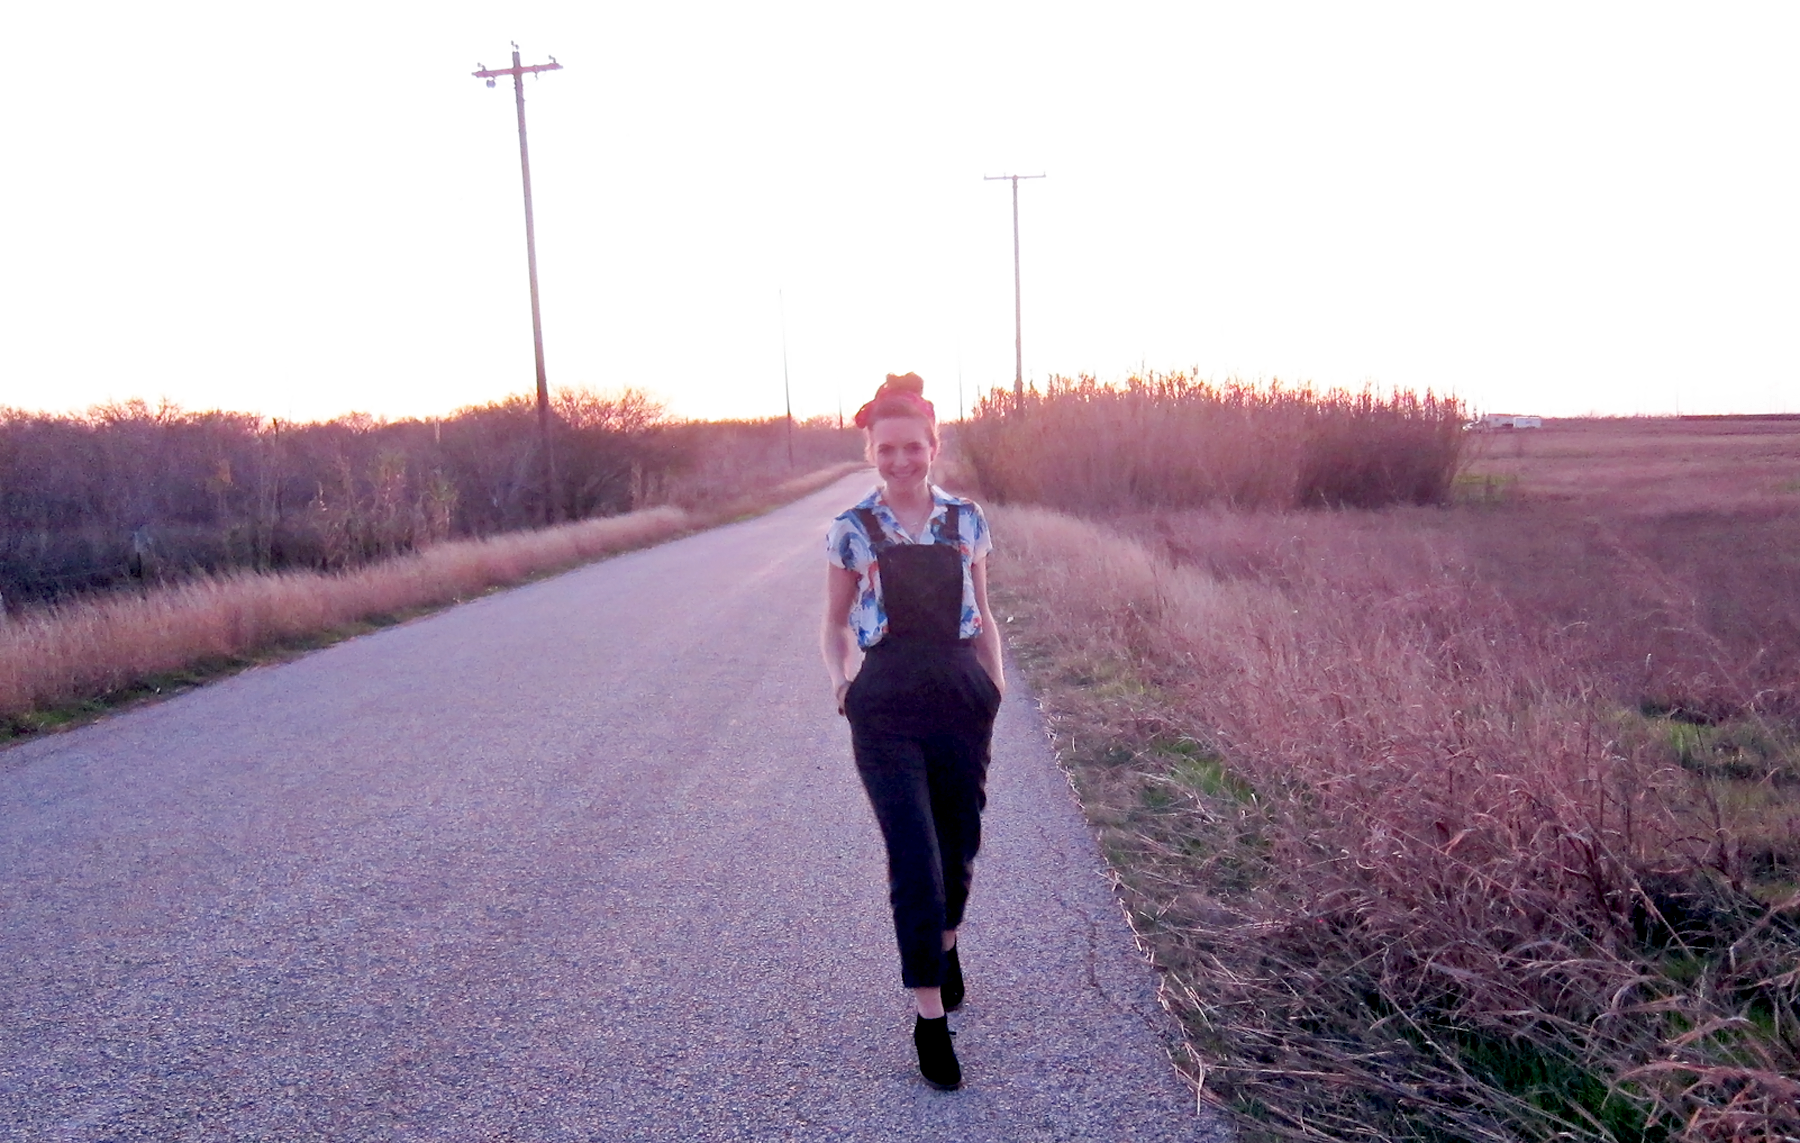
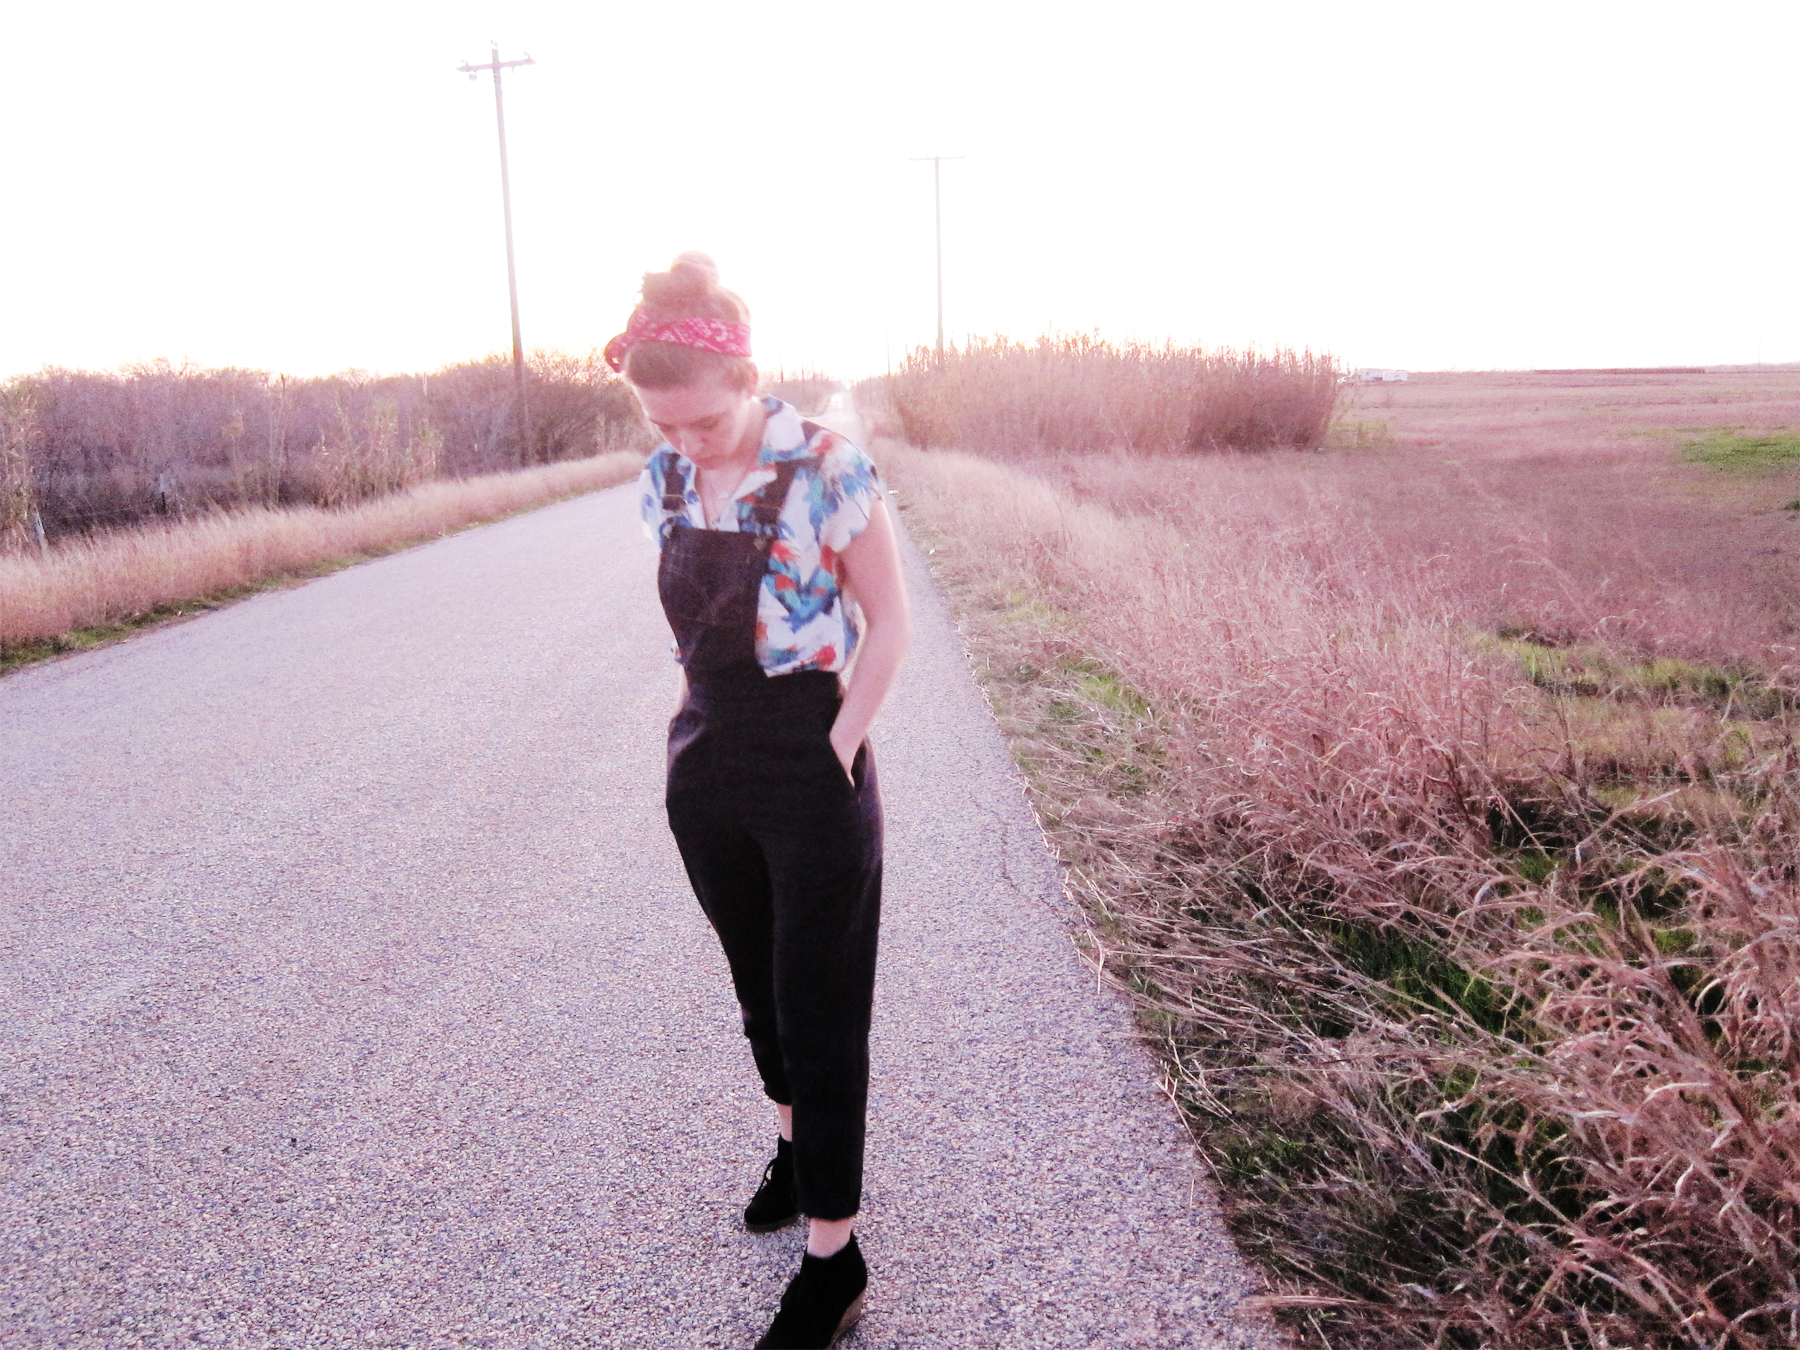
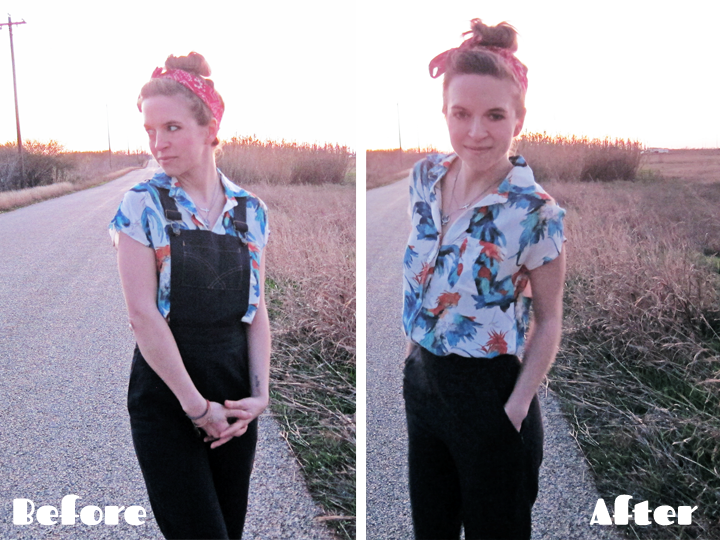
I cant say enough about how awesome the convertible aspect is. With the bib on, I have some a super fun and playful pair of tapered leg overalls. Unbutton a few buttons and I have a versatile pair of high waisted trousers. Gotta love a 2-in-1 garment! Not to mention they are extremely comfy whichever way you wear it.
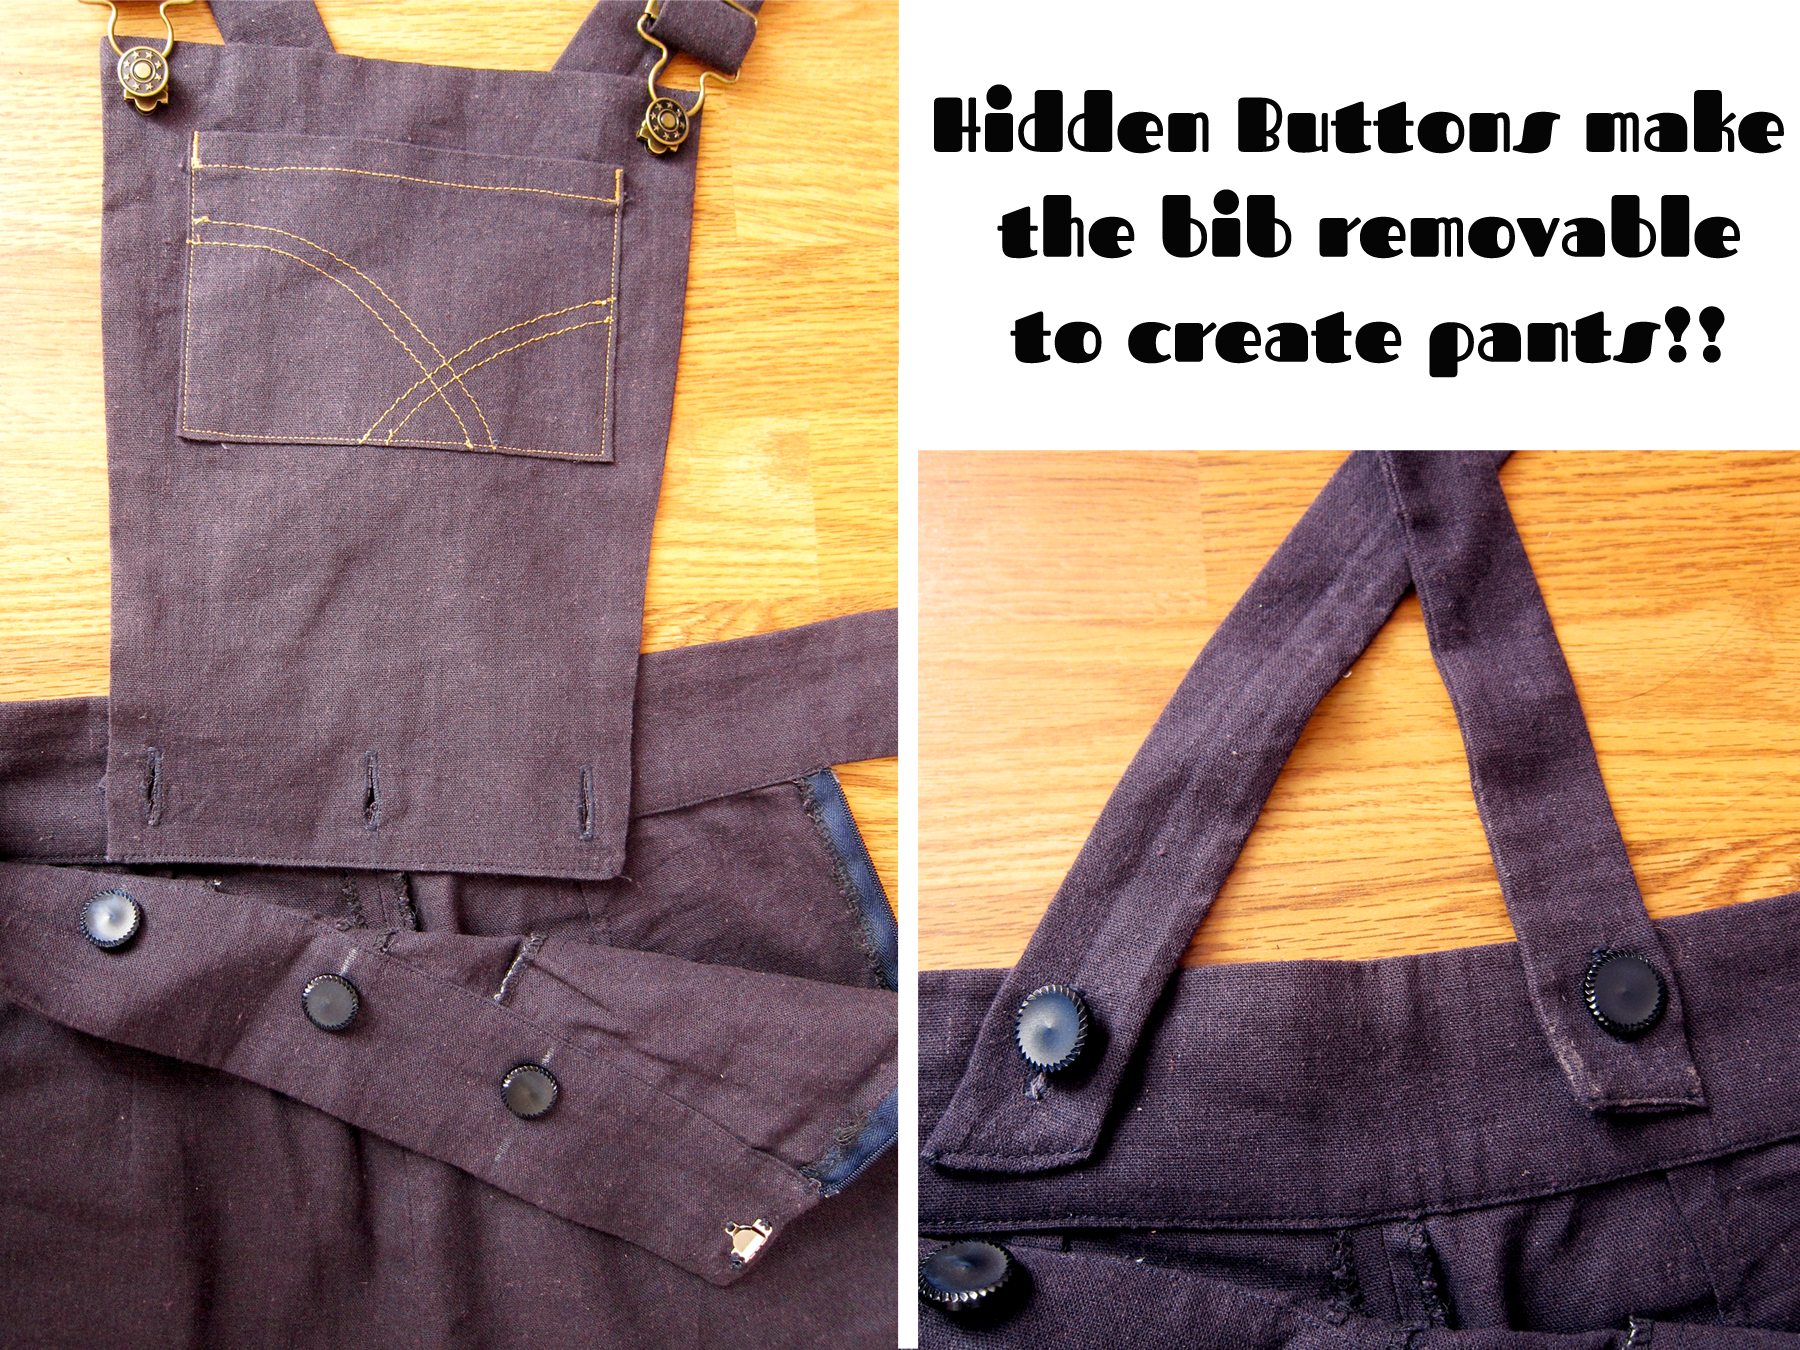
Below is an inside look at how the convertible construction works. Buttons are sewn to the inside of the waistband, barely catching through to the front waistband so they aren’t noticeable from the front. The waistband is fused on both size for extra strength and support. Buttonholes are added along the bottom of the bib, so the bib gets buttoned into the inside of the waistband. The key here is to make sure your buttonholes aren’t too big and your buttons are placed correctly on the waistband so you dont see any buttonholes peaking out when the bib is attached. The same idea applies to the overall straps and the back of the waistband.
For this project I used a deep navy linen that was lingering in my stash, leftover from a freelance project (the supplies needed were extremely over guesstimated – which worked out in my favor). I love how light (in body) the linen is to wear, yet the dark color makes it easy to dress up or down. My only complaint about the fabric is that it itches a bit after sitting a long time – not the highest quality linen I guess. For the pockets I used some scrap mini-windo pane fabric that I had in my stash from a vintage dress that I hemmed a good deal (I actually no longer have the dress). I love to hang on to even the smallest scraps of interesting fabrics to use for pocketing because – why not?
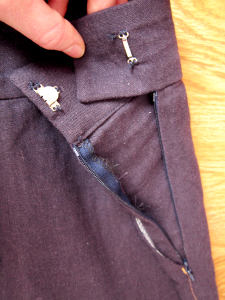
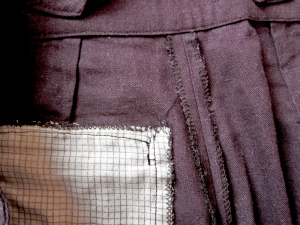
Here you can see the inside details of the finished seams on the left. On the right is a close up of the side zipper closure with a pants hook and eye. I felt a side zip just made more sense especially when worn without the bib. Besides, when is a back-zip pant ever a convenient idea?
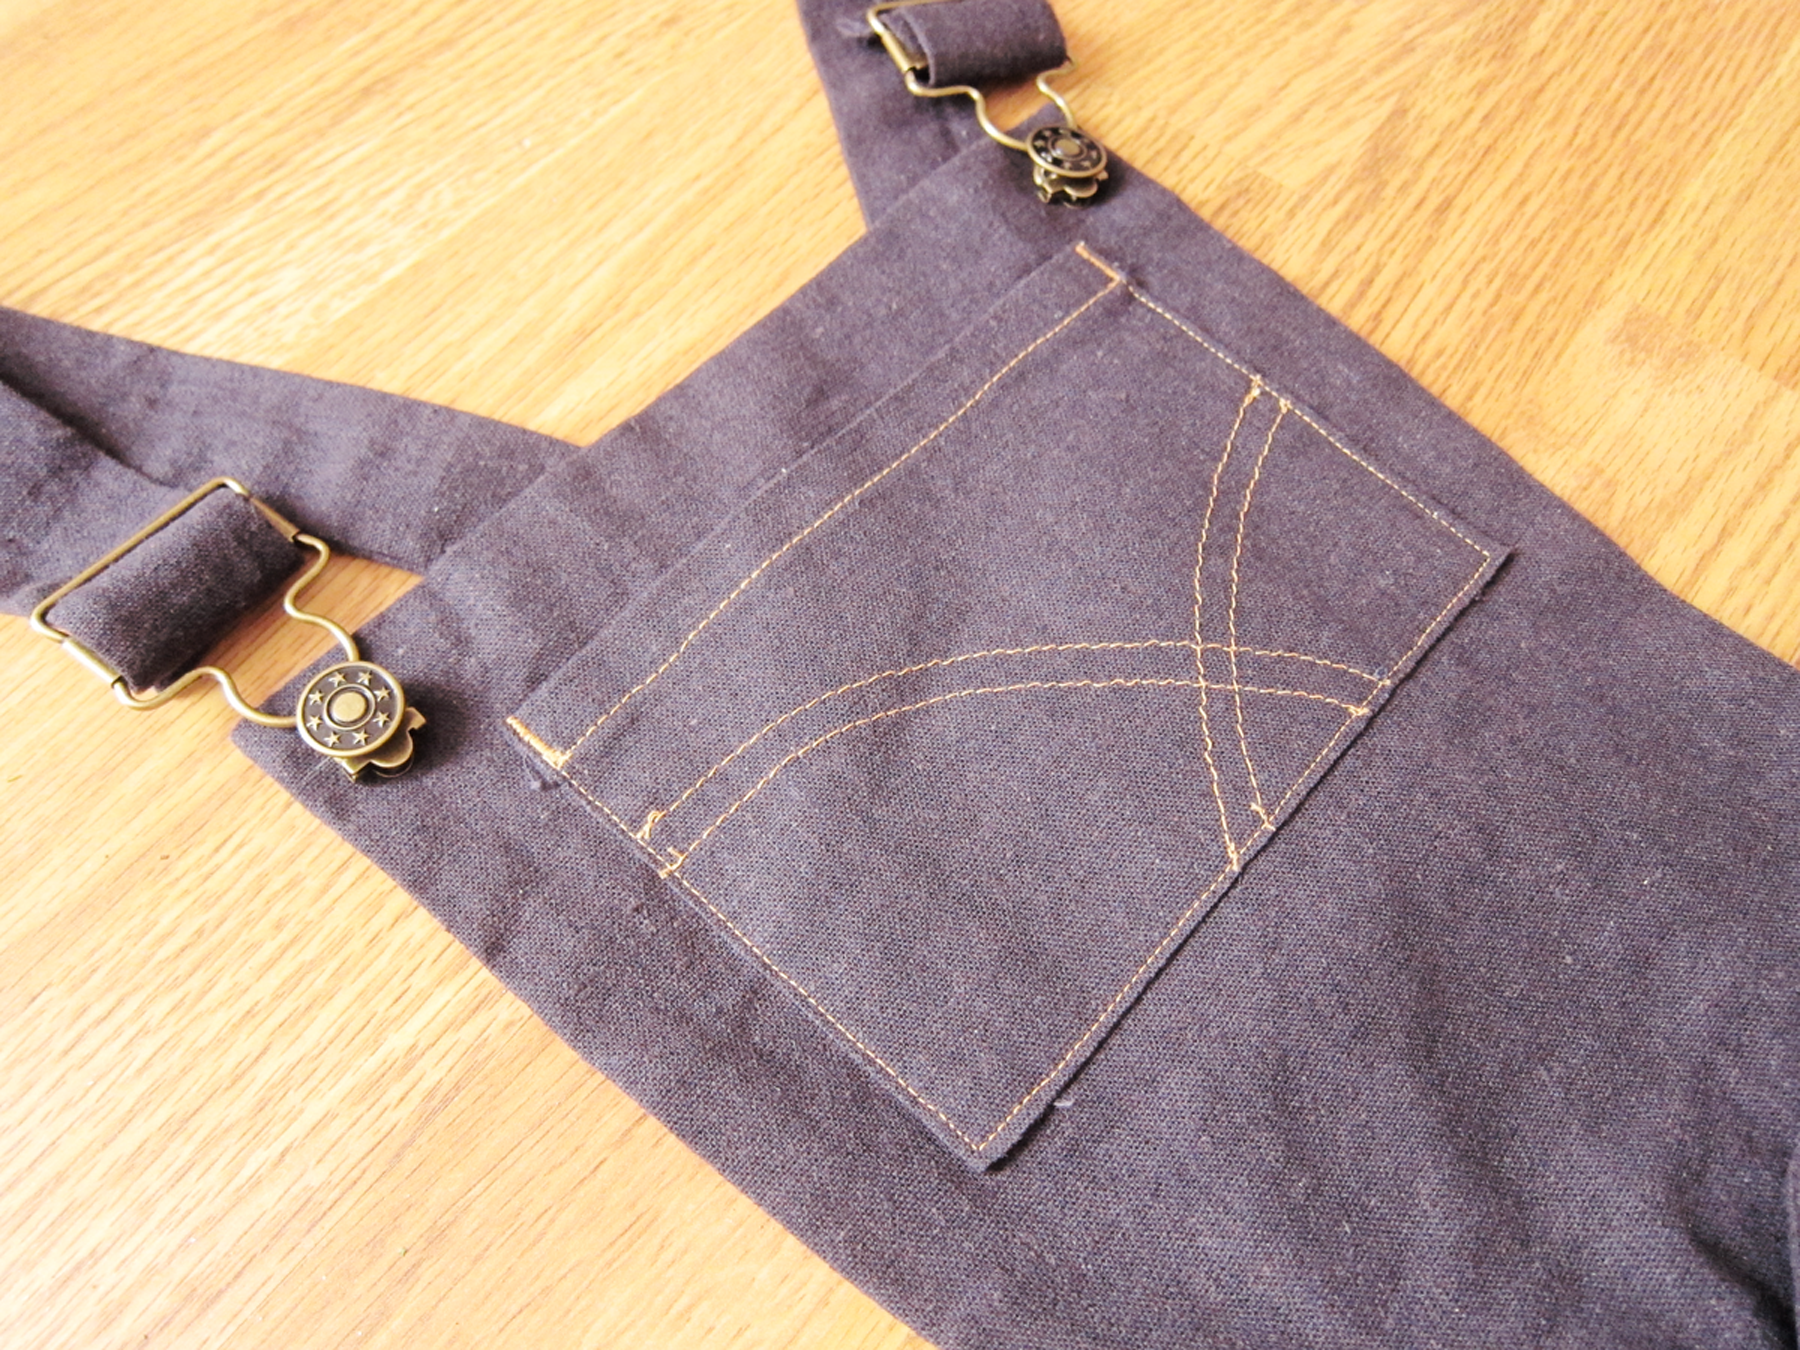
The pocket on the bib was also an add-on, as the pattern did not include one. Why anyone would bother to make overalls without a bib pocket is beyond me but I guess some people just dont get it. I also had to add some decorative stitching osh-kosh-style, which I just free handed. You can see in the pictures of the pocket details above that I added this stitching along the outer side seams as well with a bar tack at the bottom of the pocket for strength (and because it looks super cool and professional – duh).
Pattern: Simplicity 6669 – available for purchase on etsy.
Fabric: Navy Linen (body), Navy and White Windowpane Plaid Cotton (pocketing)
Notions: Overall Buckles, invisible zipper, pant hook & eye, gold contrast thread
Difficulty: Intermediate
Adjustments: Taper Leg, add pockets (front and back), add bib pocket. After wearing them a couple times now I think I will also go ahead and cuff the hem to an ankle length. I left it long at first just to try it out but I’ve been cuffing them every time I wear them. I don’t really see myself ever wearing them un-cuffed.
Finishes: Serged seams, Contrast top stitching on outer side seam
Time: Approx. 8 hours for pattern adjusting, cutting, and sewing
Sew it again? Possibly. If I decide to make another pair of overalls I’ll probably go with a looser fit next time, but these aren’t completely off the table.
Am I the only one out there obsessed with overalls? I think my next pair will be the Bly Overalls from Named Clothing. I like the relaxed fit and the button-front is interesting.
Happy Sewing Lovelies!




those turned out so cute!! Very nice detail work, too!
Thanks so much Suzannah!! And thanks for all the comment love! <3
Awesome! I just came across your post while scouting out overall patterns, and I’m not sure that I would get a lot of wear out of them. But these are just genius, and really look great on you. Who knows when I may get around to tackling overalls, but this is some serious food for thought!
Thanks Chloe! I’m such a sucker for overalls in all shapes and sizes… I think everyone should give them a try!