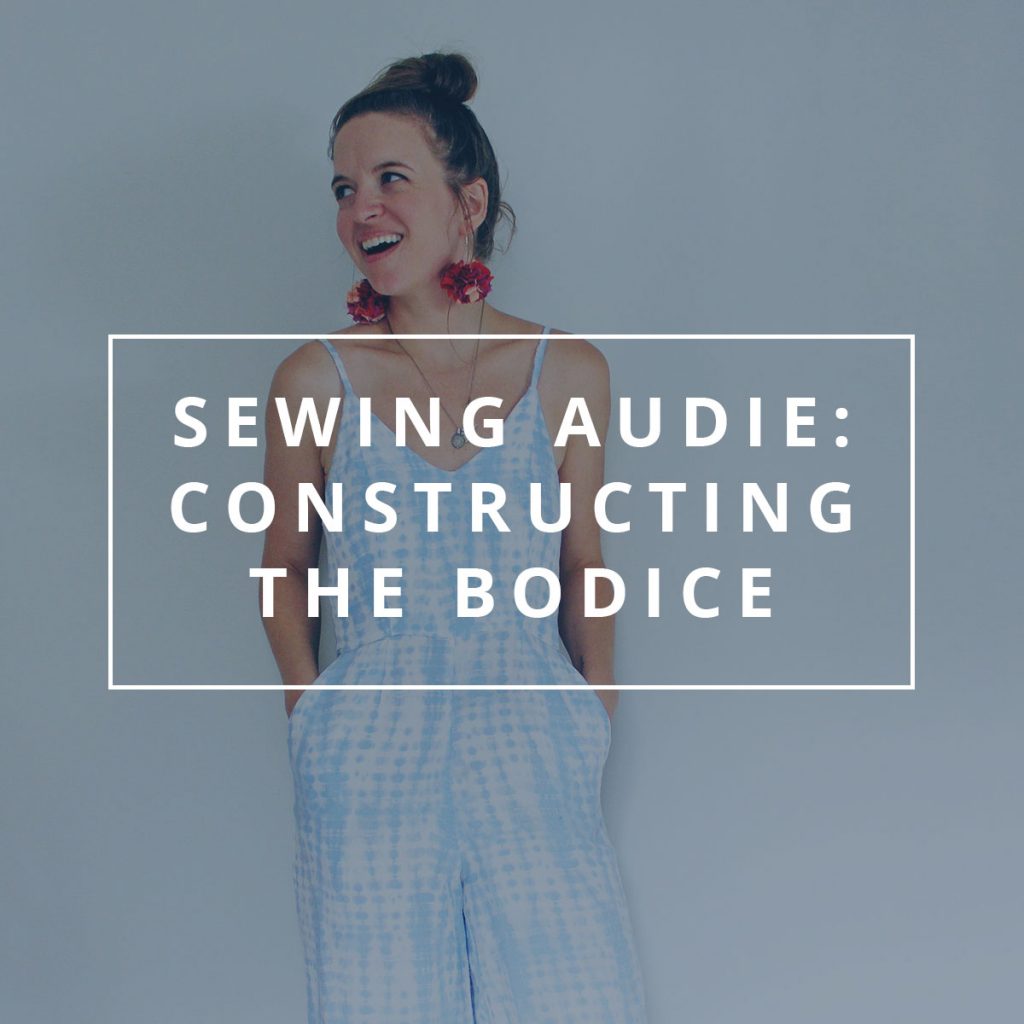
We are back on the Audie Playsuit Sewalong train and this week we are getting going with construction! For this part of the sewalong we will be jumping around a bit. This post is all about tips for constructing the bodice. Later this week I will bring you tips for constructing the pants. These two posts are meant to be used together to help you through the trickier parts of the Audie Playsuit construction. Don’t for get to check out the previous posts in the sewalong all about getting the perfect fit for your playsuit.
PRINCESS SEAMS: Step 12
Princess seams can be tricky, especially if you’ve never done them before. The most important thing is to make sure your notches line up. Sometimes seeing it in action can be helpful so I’ve made this video for you to reference and help you through step 12.
TURNING STRAPS: Step 2
Everyone has their favorite method for turning out a spaghetti strap. My personal favorite is a loop turner, but you may not have one of these in your studio. (Ones like these are fairly inexpensive and a great investment for your studio if you are looking – I use mine all the time!) Use this video to see some different examples of turning loops to make your spaghetti straps in step 2.
UNDERSTITCHING: Steps 4b & 44
The key to getting a clean looking lined bodice is the under stitching. Pretty simple in theory, but it can take a while to get the hang of maneuvering your garment in the right way. Watch this video to help with steps 4b & 44.
Now you have everything you need to construct a successful Audie Playsuit bodice. You may be wondering where the info is about inserting the zipper! I will be covering that after we finish the bottom half.
Lastly, If you need a more in-depth look at making the Audie Playsuit from start to finish, join the Topstitch Makers community for FREE and take part in my LIVE virtual sewalong on October 20th & 22nd.
Happy sewing,

Leave a Reply