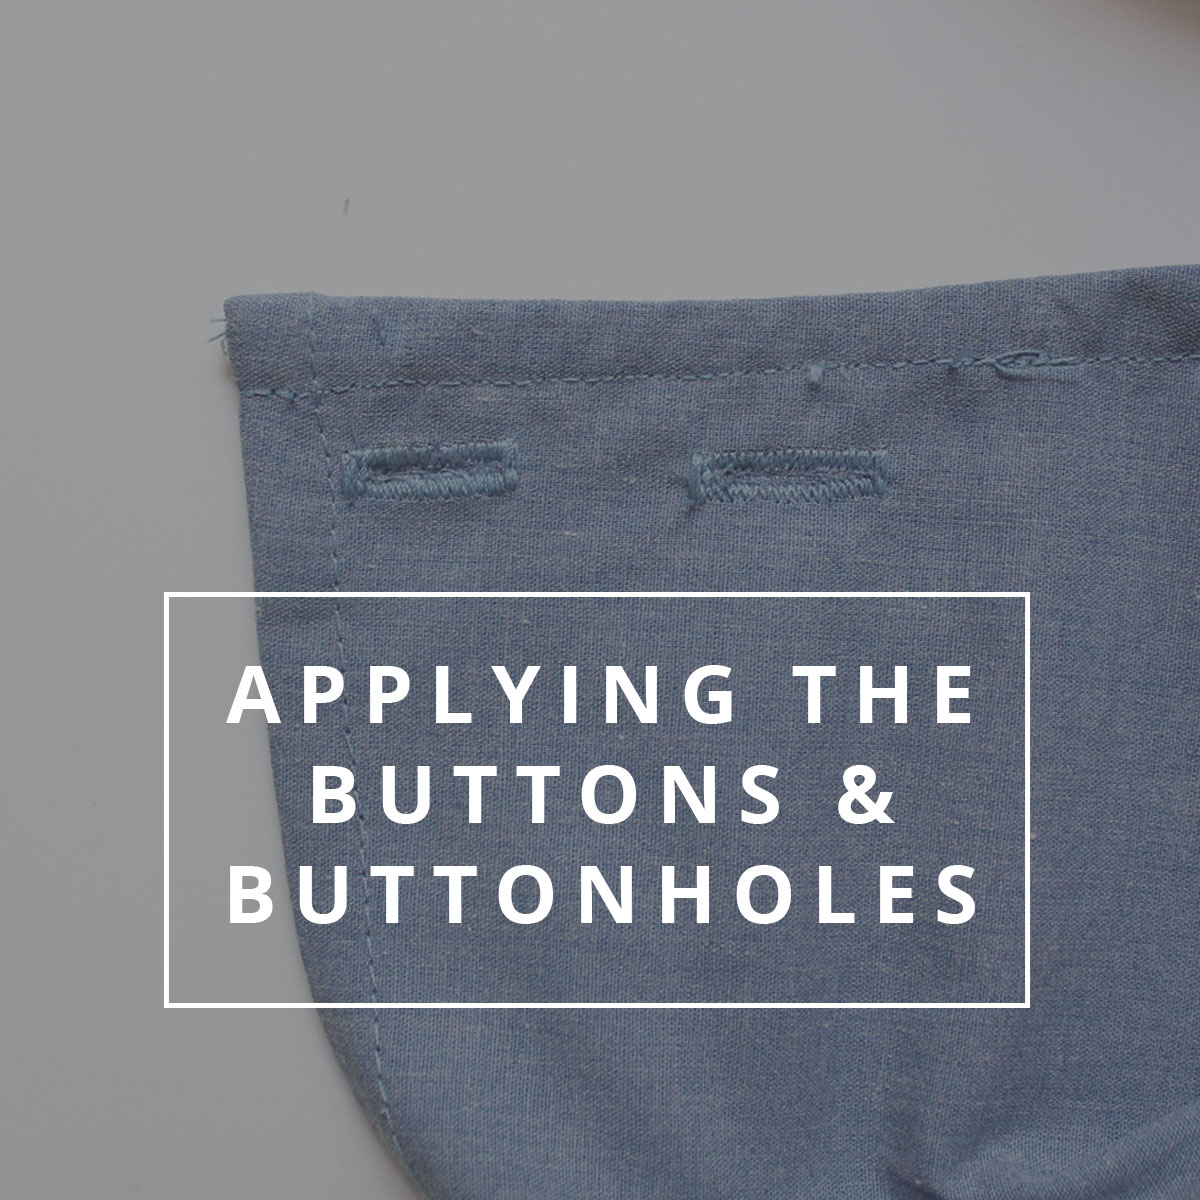
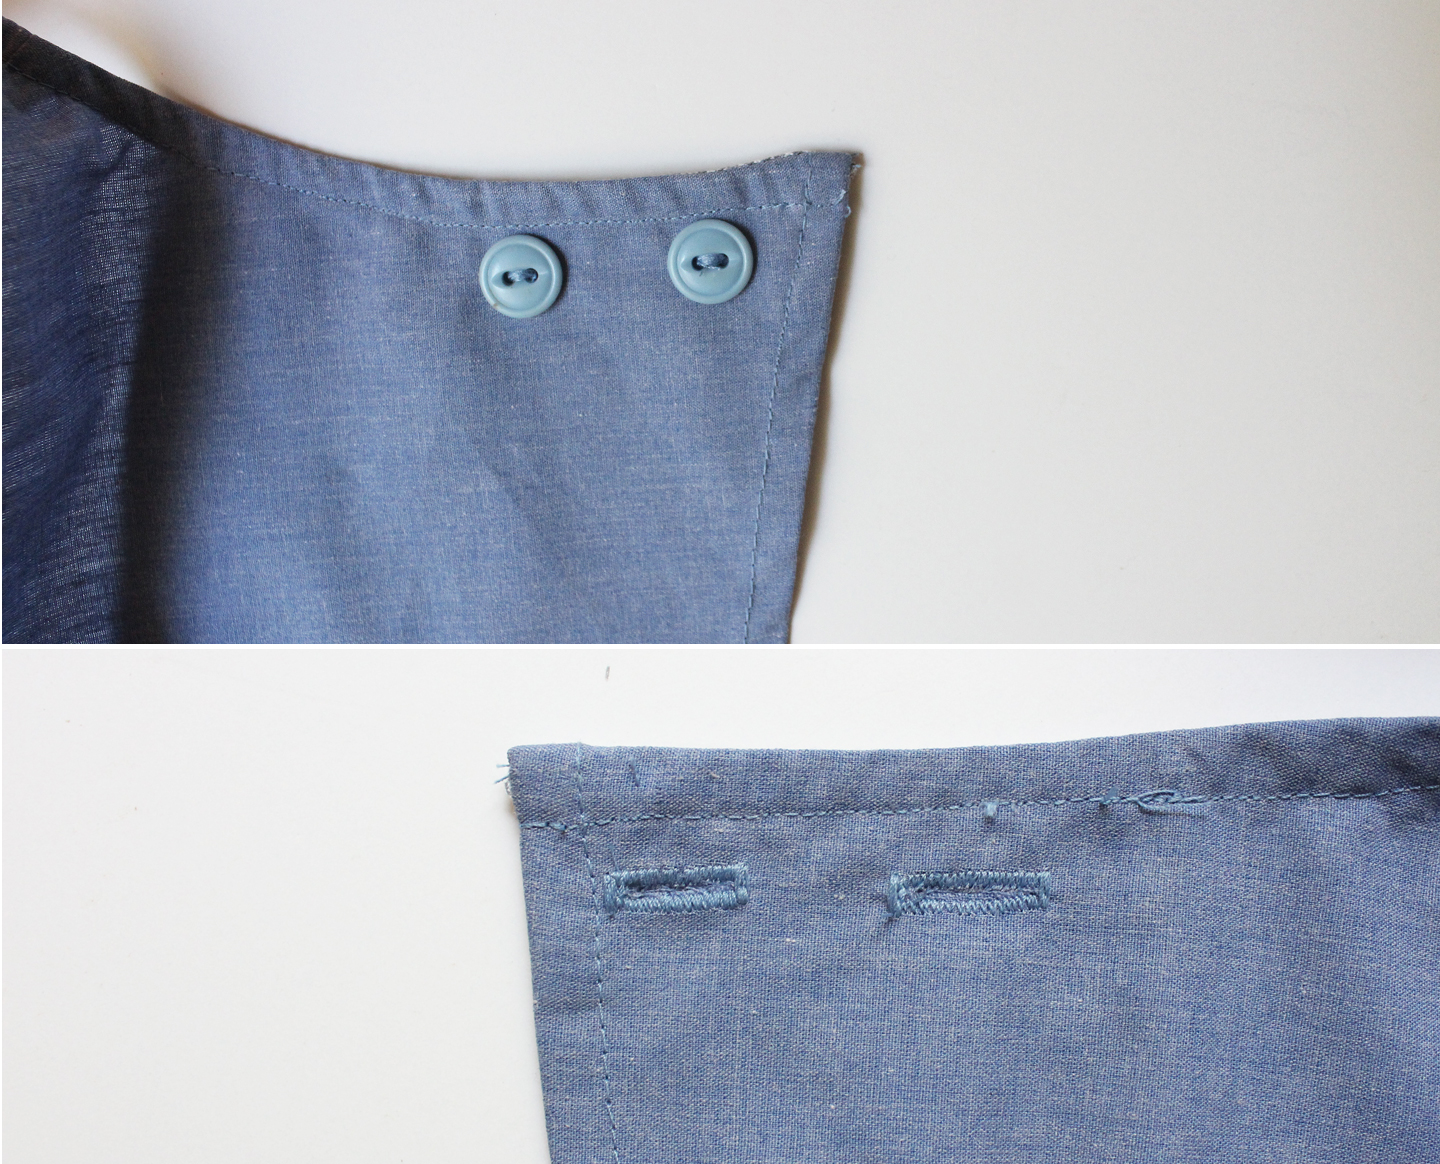
We all have those settings on our sewing machine.. but some of us are just afraid to go there. Today I am going to walk you through applying button holes with your machine as well as how to mark the button placement on your Krissa Crop.
First things first is getting to know your machine and it’s settings. My instructions will include how button holes work on my machine. Yours may be slightly different. Revisit your manual and familiarize yourself with the buttonhole settings on your machine. As always (and especially with button holes) its a great idea to do some test runs on scrap fabric before you sew them on your garment. (Trust me on this one… unpicking buttonholes is a b*tch).
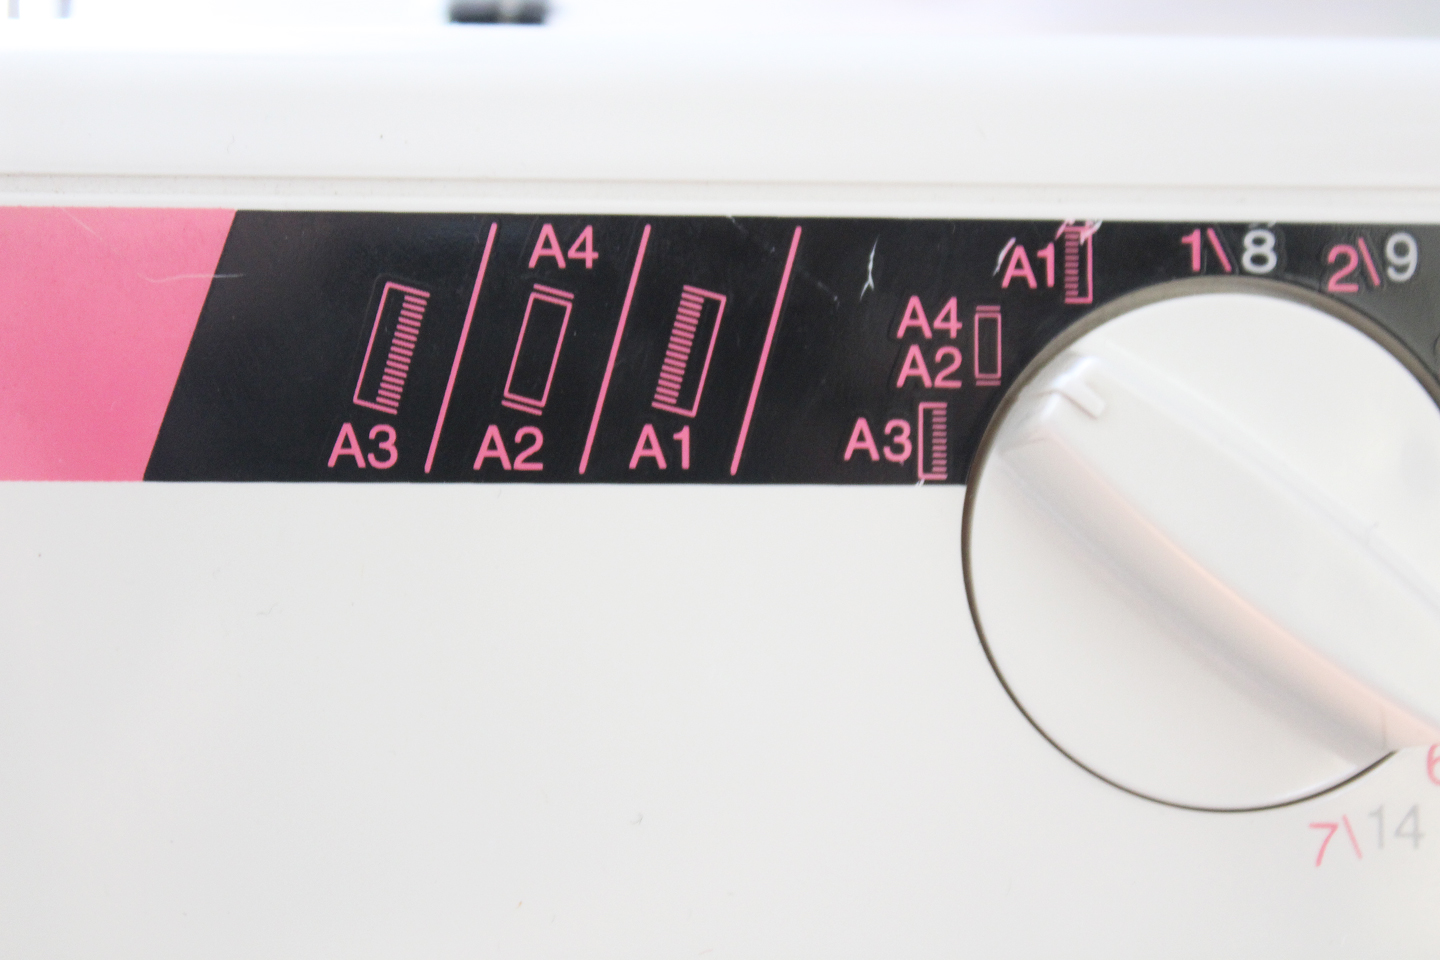
This is what the buttonhole settings look like on my machine. First there are the actual button hole stitches:
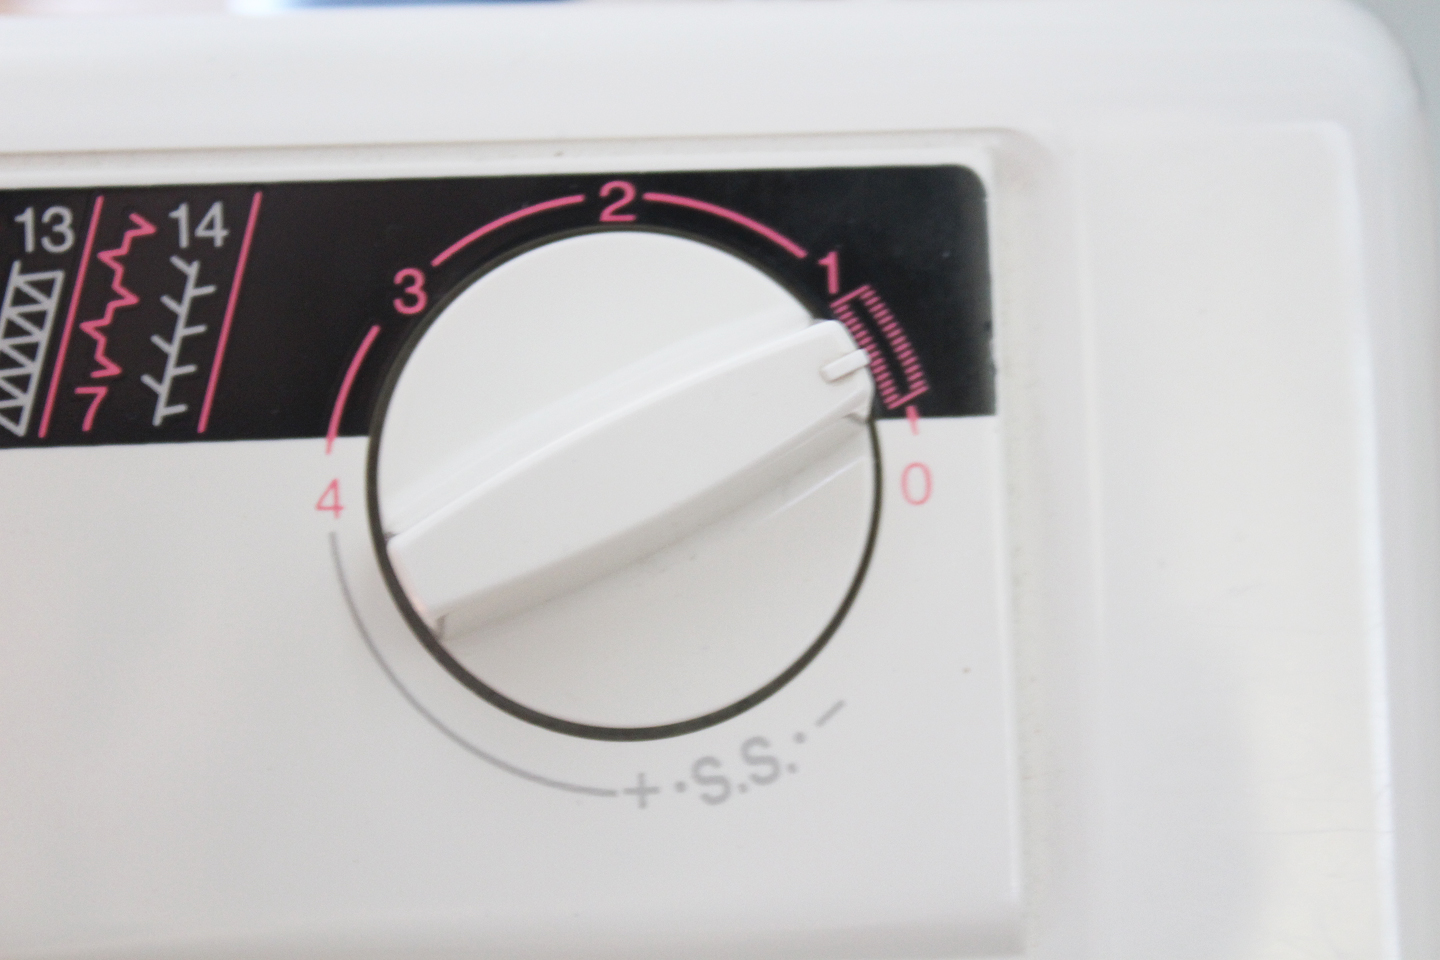
Then I have to set my stitch length dial to the buttonhole setting:
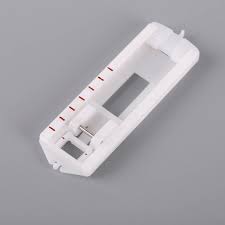
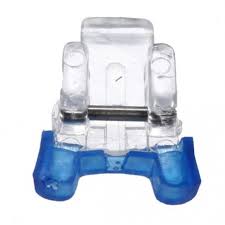
Now bust out your button hole foot (which looks something like whats pictured below) and lets get button hole-ing!
VIDEO
Now that we’ve got our button holes in, we can mark the placement for our buttons. The Krissa Crop is going to want to pull open at the back, so its important to mark the button placement properly for the best fit.
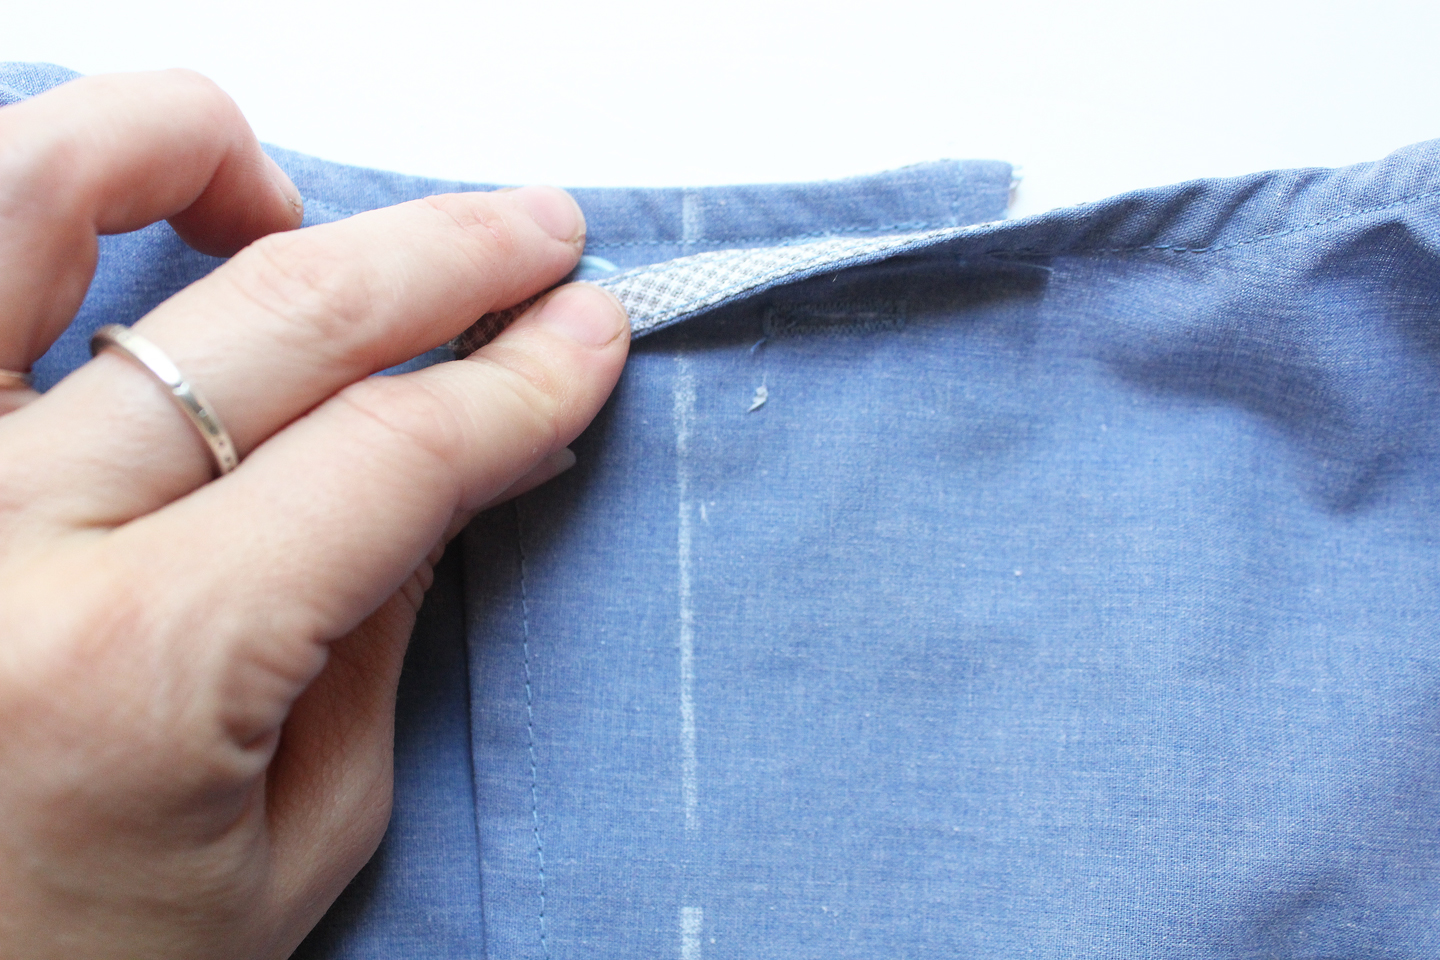
First, lay one back piece over the other (it doesn’t really matter which), lining up the neckline edges and the center back lines you marked on your fabric when cutting. Pin or hold in place.
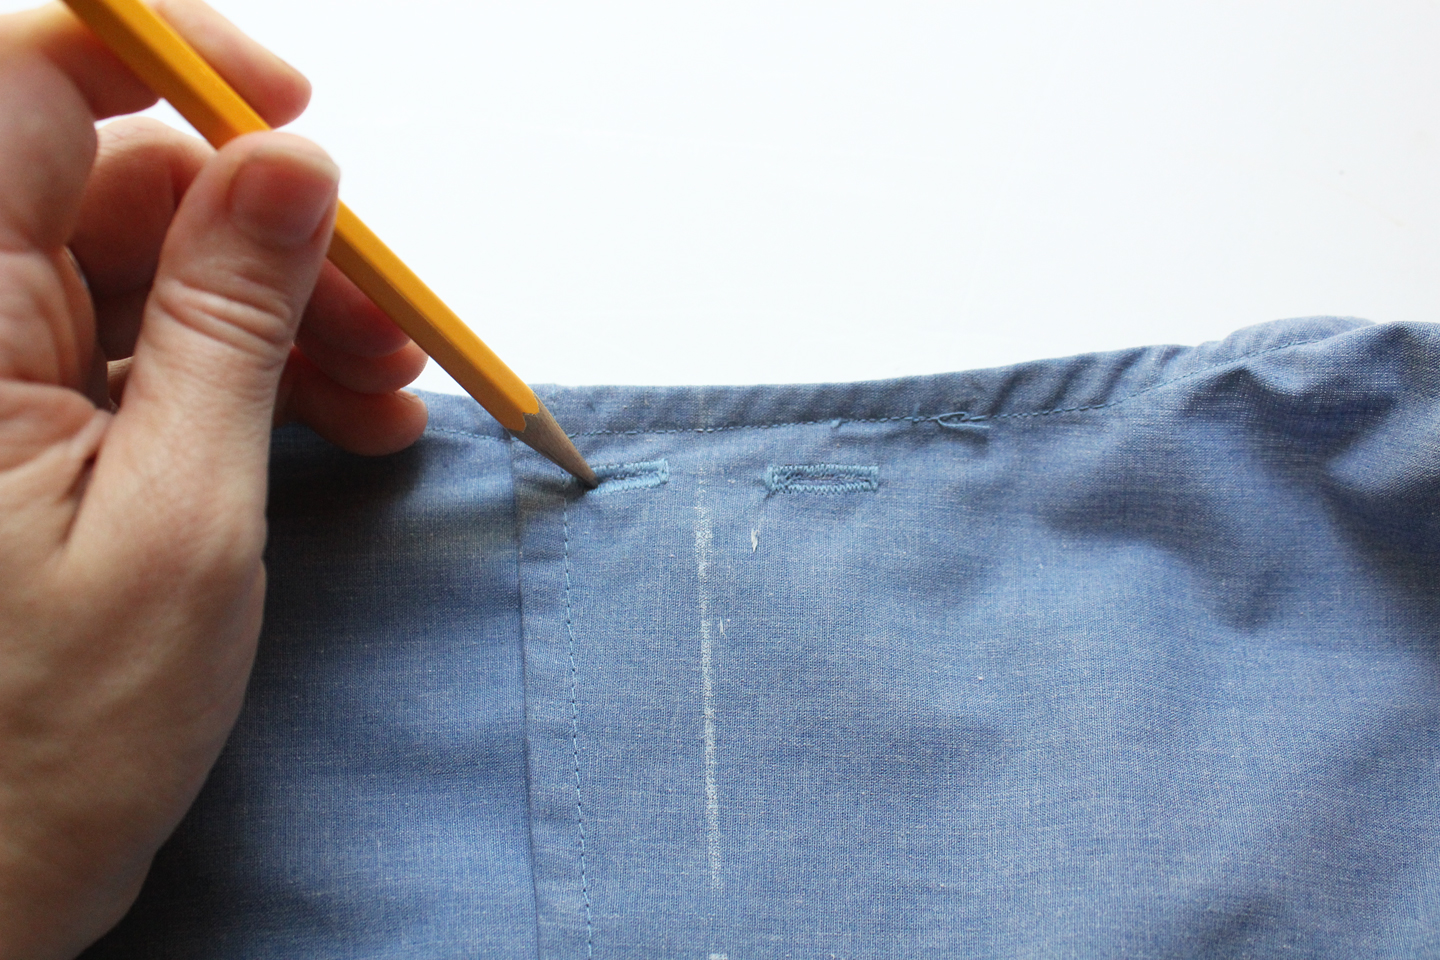
Next using a pencil or your favorite marking tool, mark the button placement by sticking your pencil through the button hole opening at the end closest to the edge of the back opening.
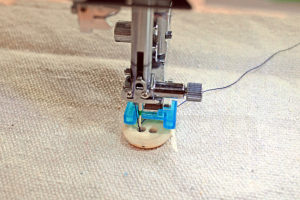
Now you can sew on your buttons! I love doing this on my machine using my button foot (pictured below). You will need to be on the same setting you used for the ends of the button holes (for me thats setting A2/A4) Simply place your button under the foot with the center of the button over the placement mark. Align the holes of the button with where the needle enters the fabric by hand cranking the needle to make sure the button is aligned properly. Then sew a few stitches using this setting and thats it! If you have a four hole button repeat the same process with the other buttons. I like to tie a not in my thread ends for extra security but its not necessary.
Congratulations! You have successfully created a button hole opening for your garment.
Join me tomorrow and we will finish up our tops with a blind hem!
Happy Krissa Crop Sewing!

Leave a Reply