It’s our first day of sewing in the Nita Trousers sewalong! Today my goal is to get you through steps 1-5. A note about my free sewalongs: I won’t be videoing every single step. Instead I like to focus on the parts that I know may be new to beginners or look a little confusing in the booklet illustrations. In between steps will be mentioned but not demonstrated. In the future I hope to offer full sewalong classes that cover every single bit of construction.
In step one we are ironing on all of our interfacings. This one is pretty self explanatory so I’m going to leave you to it!
Next is the belt loops. Note that these are stitched with a 1/4″ seam allowance. If you are comparing this sewalong with the instructions, we won’t be pressing the belt loops yet. But I like to turn them right side out as soon as I sew them.
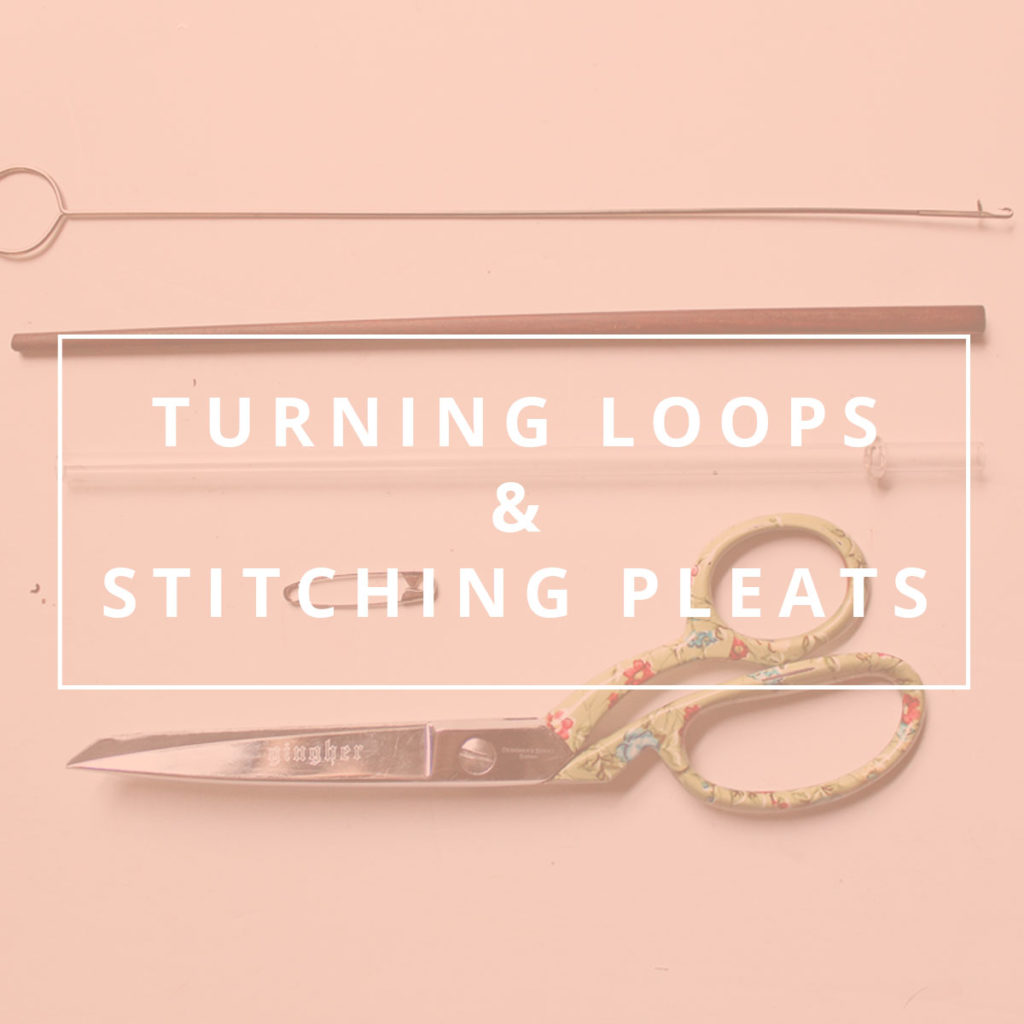
Turning loops can seem like no big deal, but if you have a thick fabric things can be a little tricky. This video shows five methods to help make turning loops easier. If you don’t have one, I highly suggest a loop turner like this* for my favorite method.
Next up is stitching the pleats. Stitching pleats is pretty simple, quite similar to stitching darts. Watch this video for a closer look at how its done, as well as some insight on pleat direction.
The only other thing you should be getting done in steps 1-5 is stitching along the bottom angled edge of your fly facing, right sides together.
Join me tomorrow and we will go through steps 6-12.
Happy Sewing!

Leave a Reply